Ever wondered how to make two Global Address Lists (GALs) “talk” to each other? Well, you’re in luck! Here’s an easy, step-by-step guide on how to perform a two-way GAL to GAL sync.
This article will outline how to sync the Global Address List (GAL) to another GAL with CiraHub.
We’re breaking down the entire process into digestible steps that anyone can follow, whether you’re an IT professional or just a tech-savvy individual. So, buckle up and let’s demystify two-way GAL sync synchronization together!
Steps to Sync a Global Address List With Another Global Address List
If you are like me and prefer videos, check out the video below to two-way sync global address lists.
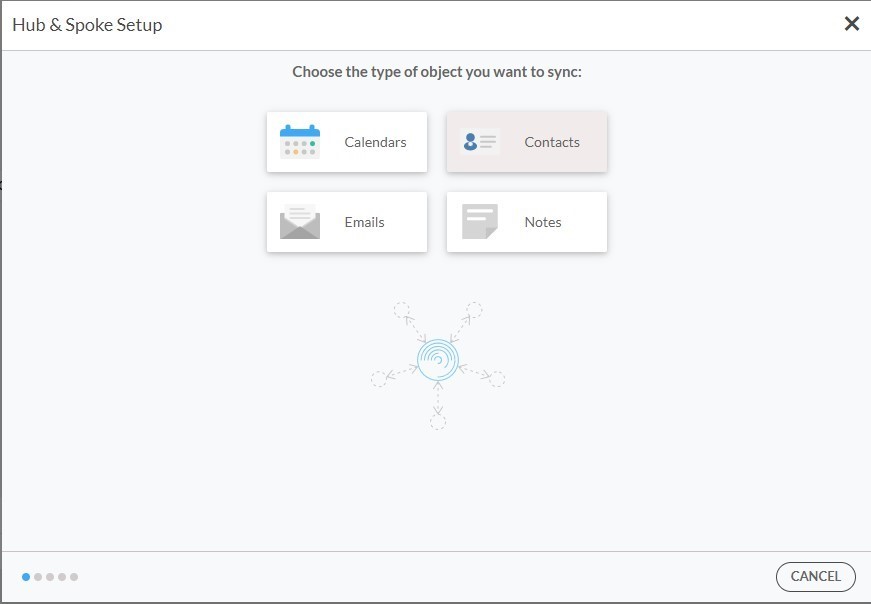
1. First, Log in to CiraHub. You will be taken to the onboarding wizard. (See figure below.) Next, select the object you want to sync. In this example, “Contacts” has been selected.
Did you know? Contact synchronization allows organizations to streamline their contact management by ensuring consistent, updated information across different platforms. Our guide to two-way contact sync details the process of establishing constant sync between multiple sources.
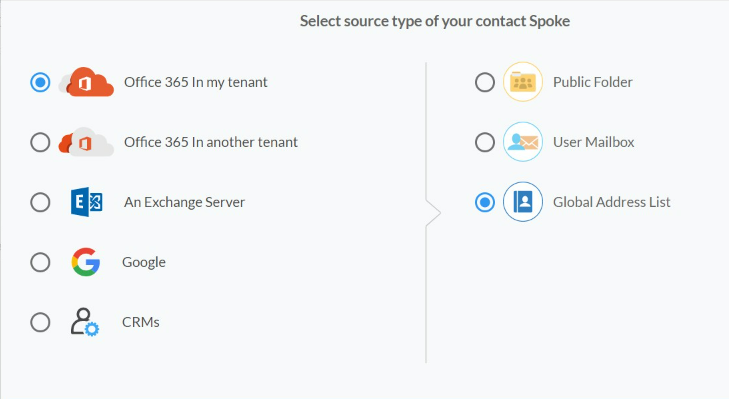
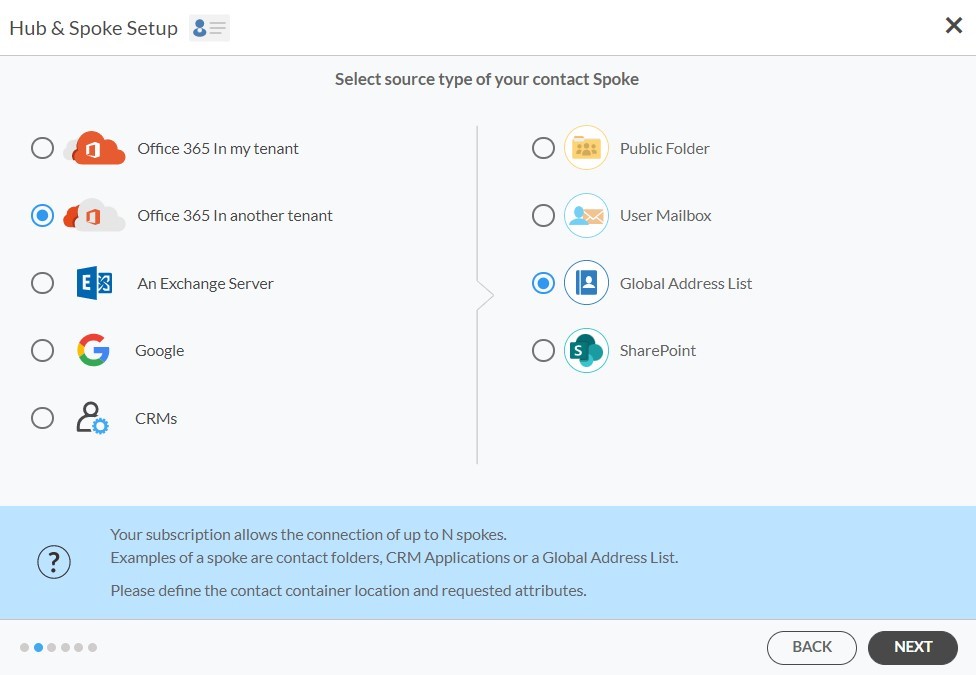
2. Next, start the Hub and Spoke setup. Click on “Microsoft 365 in my tenant”, then Select Global Address List as the source type for your contact spoke. You will need to have a Microsoft 365 account in each tenant with the Global Admin role assigned to it.
Looking to learn more about the GAL synchronization process? Our comprehensive guide to two-way GAL sync will provide you with in-depth knowledge on how to ensure seamless bi-directional sync between different GALs.
2. Choose Your Authentication Method
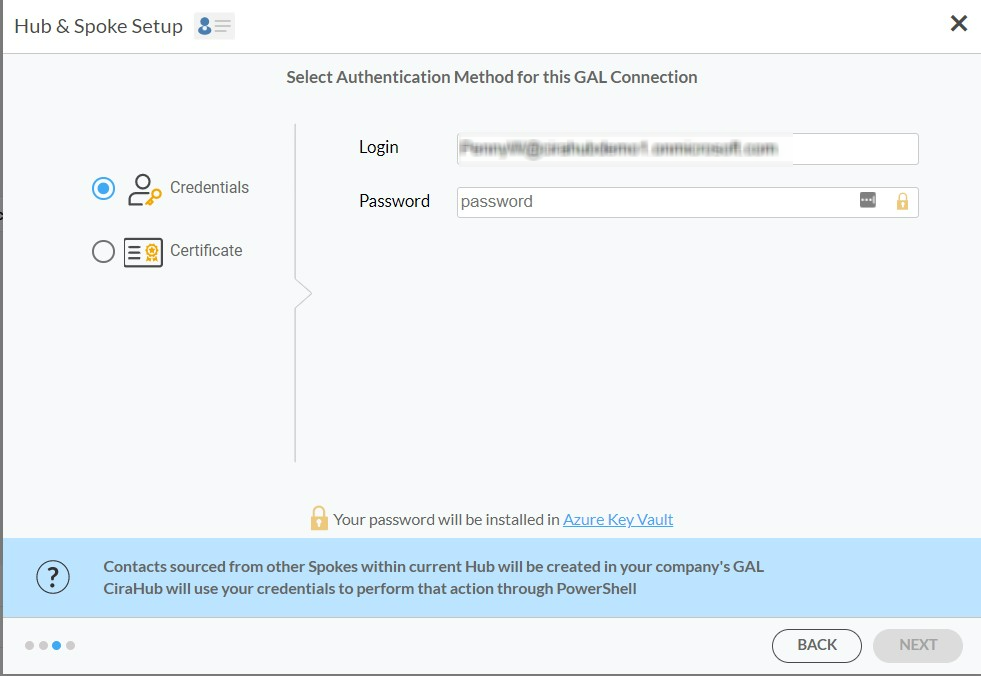
3. There are two authentication methods – Credentials and Certificate based:
3.1.2 Next the Microsoft sign-in page will appear. Provide the Email and Password to your account. 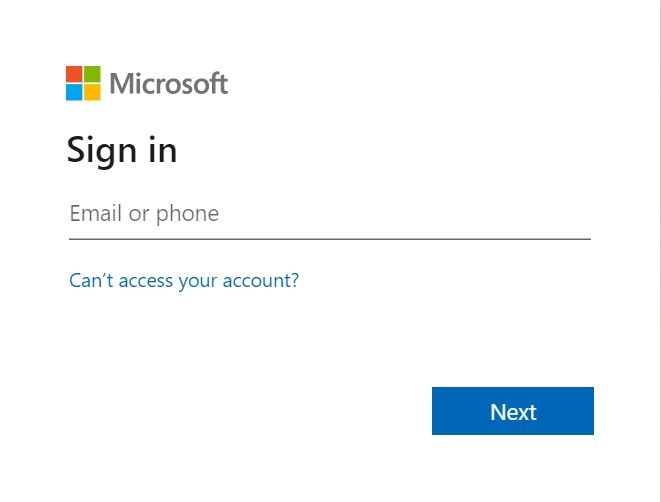
3.1.3 Click Accept to give CiraHub access to your Microsoft Account. You should always leave the “Consent on behalf of your organization” box unchecked when you sign in for the first time. This option lets other users under the same domain access this Hub if they login with their company email address. This user would not have access to this specific Hub, but the user would be able to login and create their own hub. 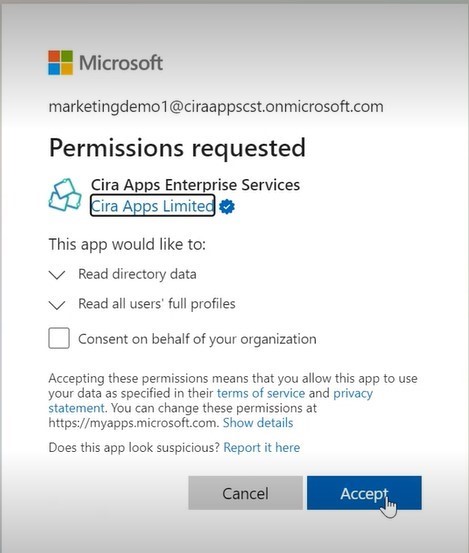
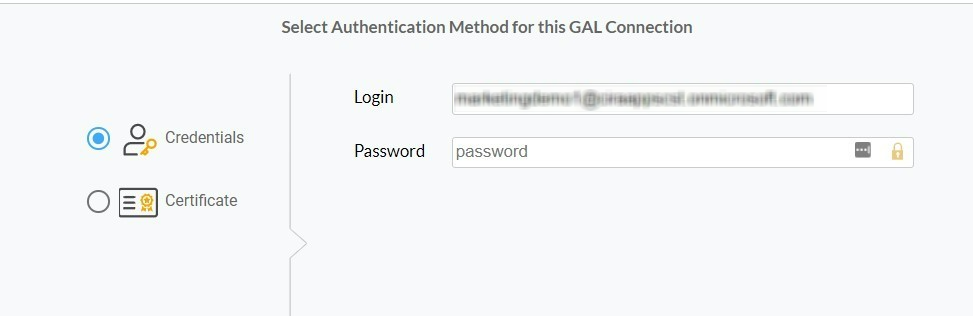
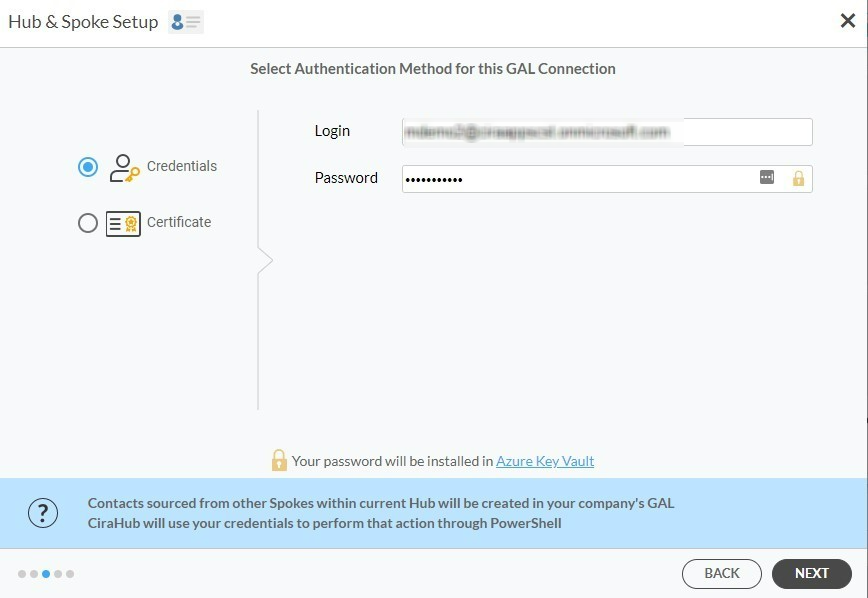
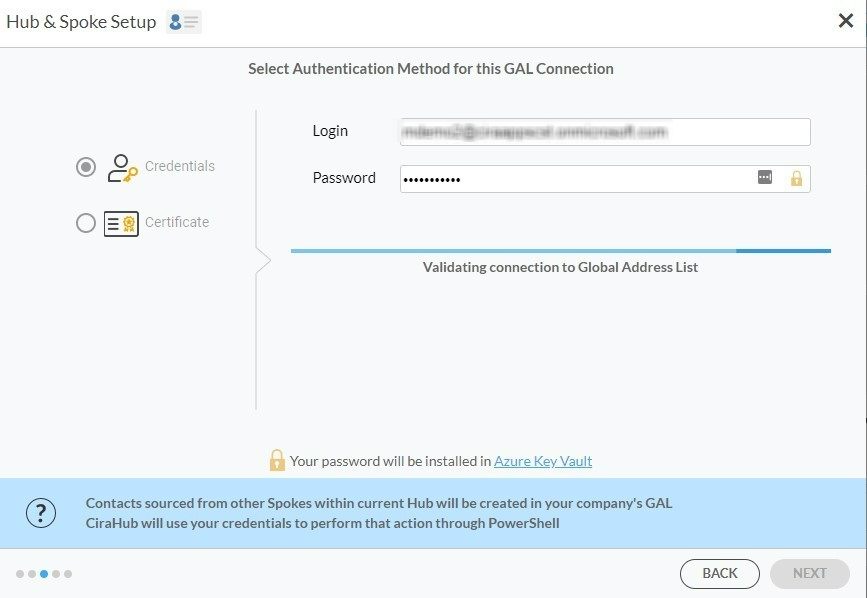
3.1.4 Select Credentials and Re-Enter your Microsoft Account Login and Password Information for the GAL Connection. The sync is automated and seamless with CiraHub. See all you can do with our GAL multi-way sync.
3.1.5 Wait for CiraHub to validate the connection to the Global Address List after entering the Microsoft Login and Password. 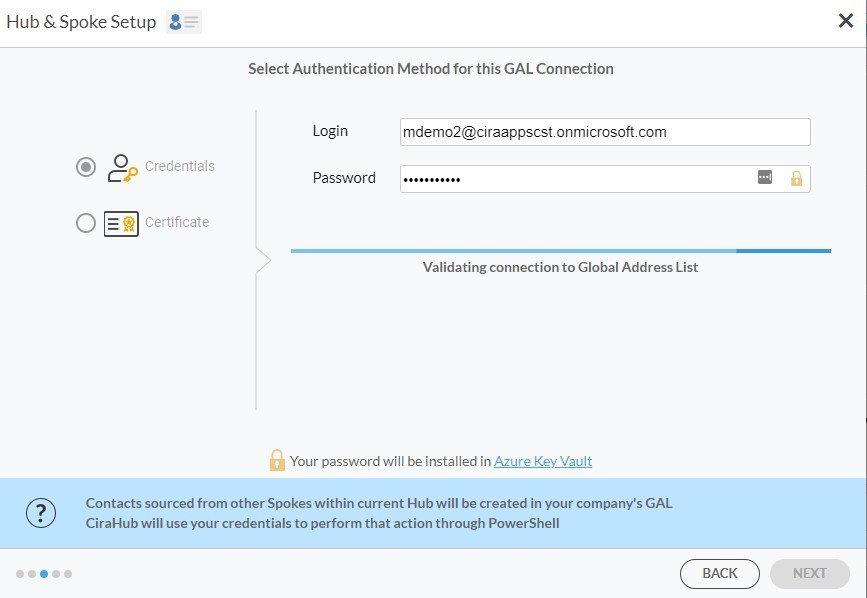
3.2.1 With the Certificate Authentication method, you will be prompted to either “Automatically Generate a Certificate” or you can choose to Import a PFX Certificate File and enter your password. 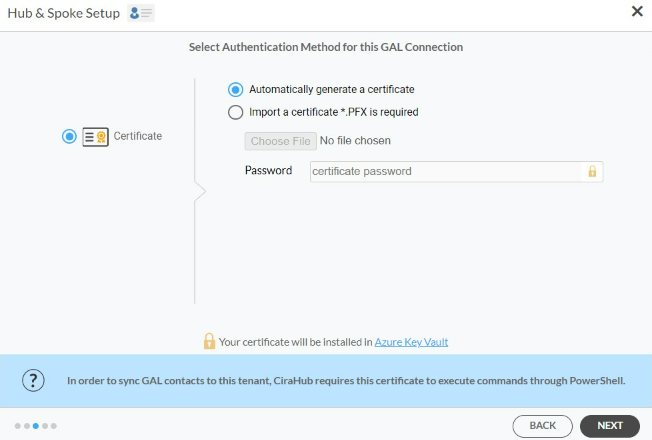
3.2.2 Next the user will need to enter in their Microsoft Global Admin email address. CiraHub will then store the users’ account information in the Microsoft Azure Vault when it is synced from Powershell. 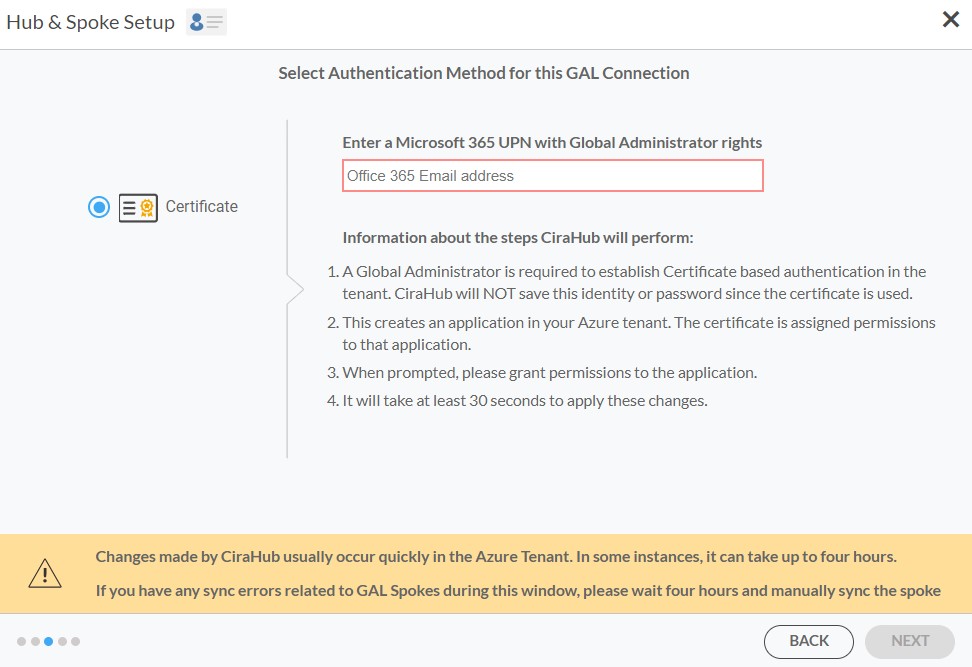
3.2.3 Lastly the user will need to wait for CiraHub to Install Certificate Based Authentication for the GAL connection and then click Next. 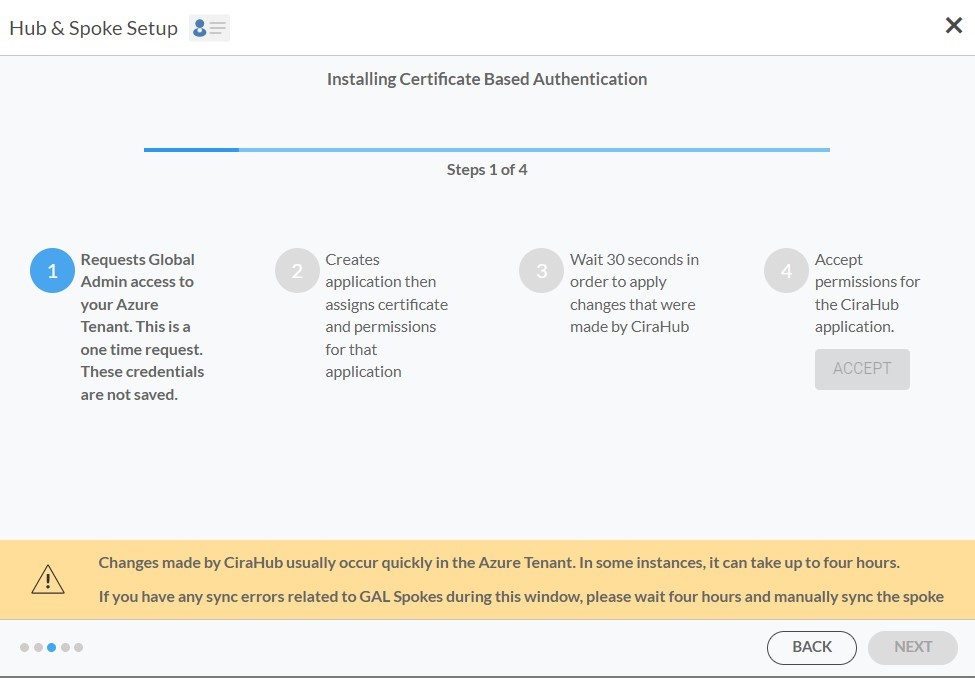
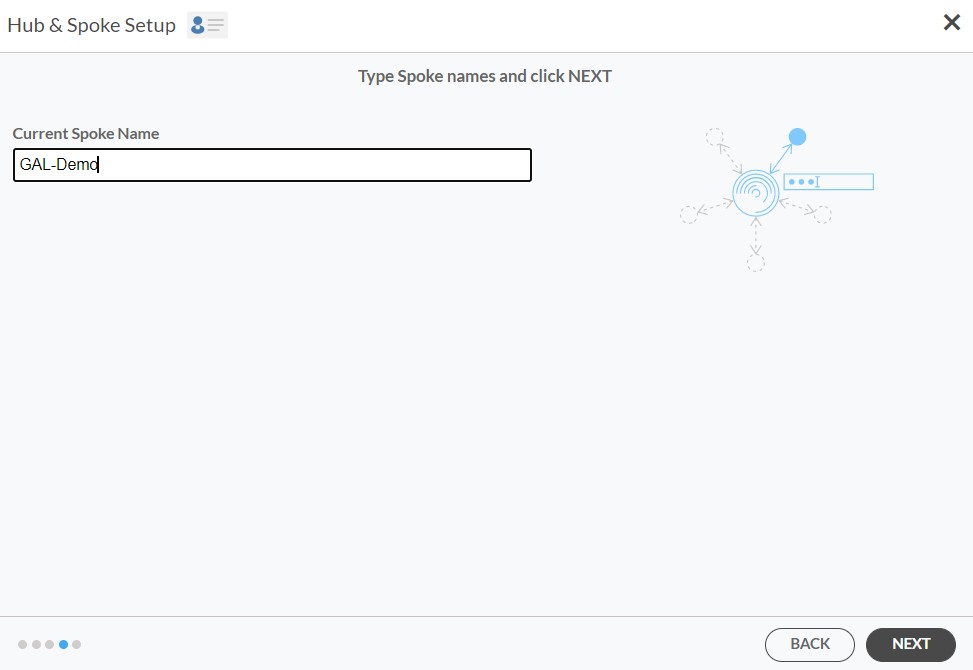
4. Type in a Spoke Name and click Next.

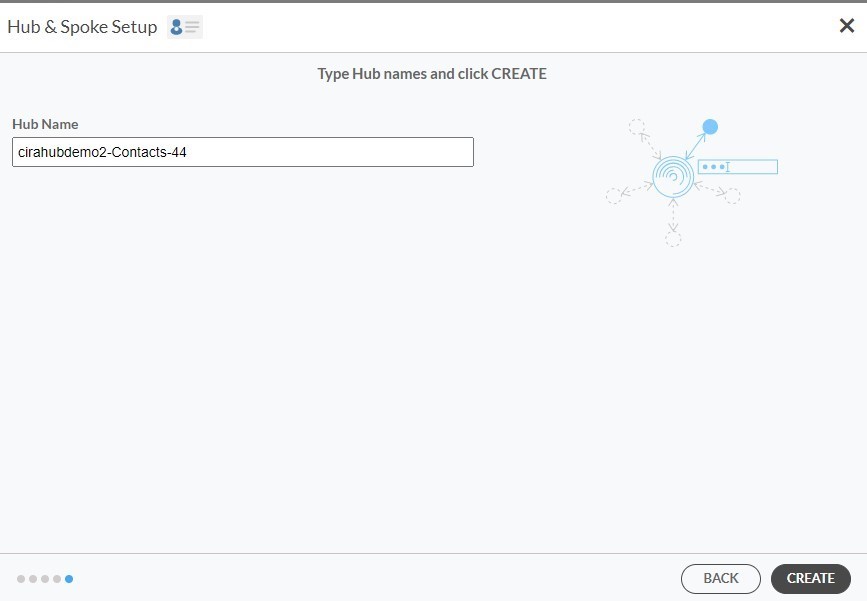
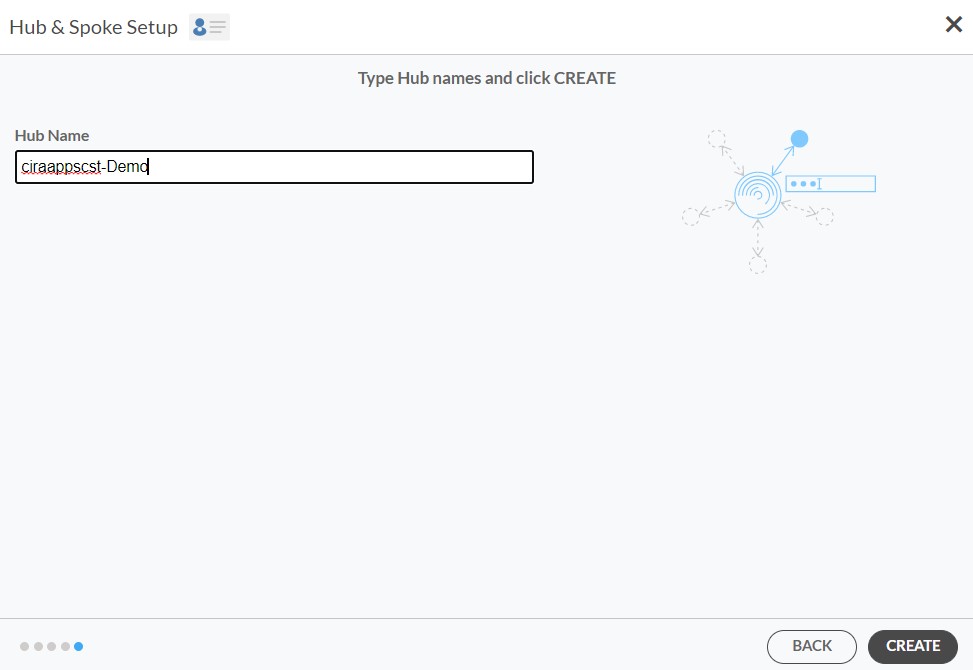
5. Next, type in the Hub Name and click Create.
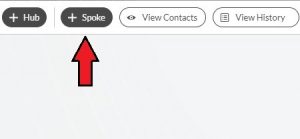
6. Click +Add Spoke at the top-right corner of the CiraHub dashboard.
3. Type a Spoke Name and Connect a Second GAL
7. Select Microsoft 365 In another tenant and Select Global Address List as the source type of your contact spoke. Each tenant will need a Dedicated Service Account with the following roles: access to Address Lists, Mail Recipient Creation, Mail Recipients permissions.
Check out this guide to learn the permissions and settings required for a two-way Gal sync in CiraHub.
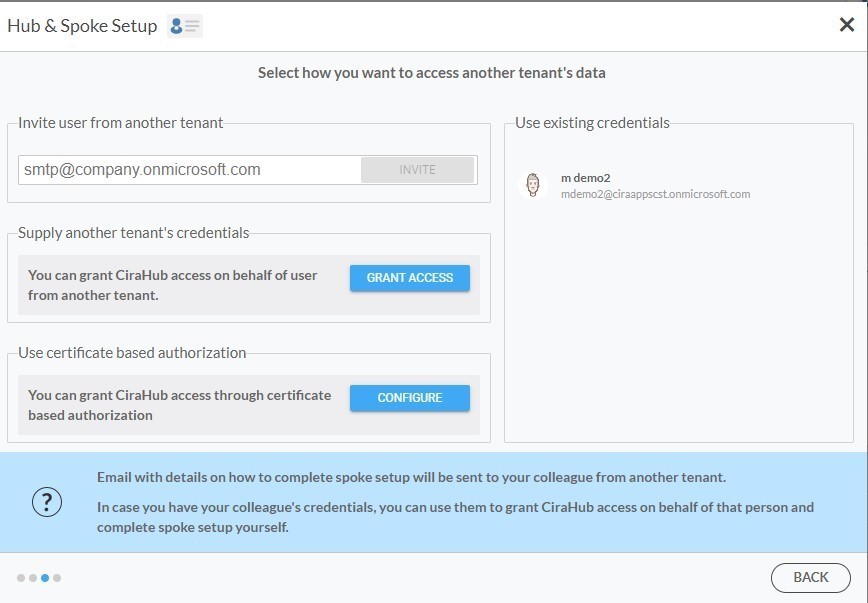
8. Click “GRANT ACCESS” or select any existing credentials that have already been saved. You can also choose to invite users from another tenant by entering their email address or Click “CONFIGURE” to grant CiraHub access through Certificate Based Authorization.
9. Next, you can sync your Microsoft Service account to the GAL connect by choosing an Authentication Method. In this example, we selected credentials and entered the login and password.
10. Wait for CiraHub to validate the connection to the Global Address List after entering the Microsoft Login and Password.
11. Type in a Spoke Name and click Next.
12. Type in a Hub Name and click Create.
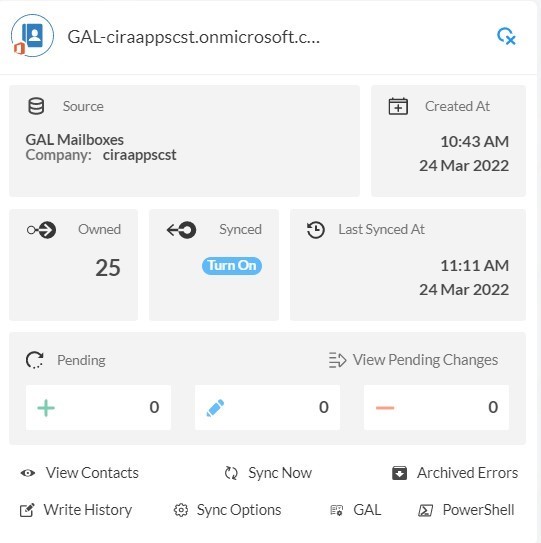
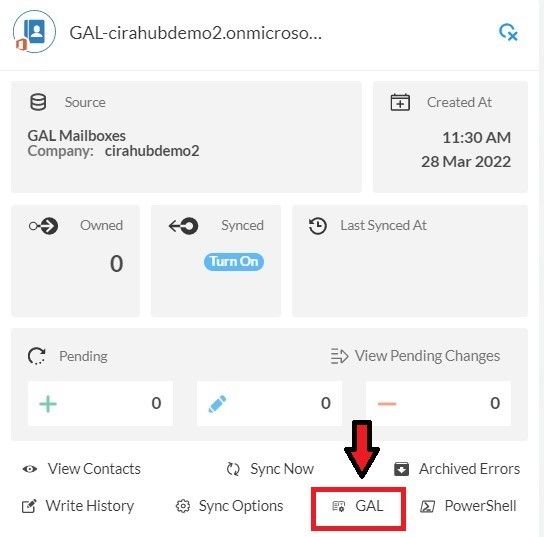
13. Click the Spoke that was just created. Click Turn On under the Synced tile.
14. The Spoke Sync Options will open. (See figure below.) Click the Allow Hub to create and sync items in this spoke checkbox to enable two-way sync.
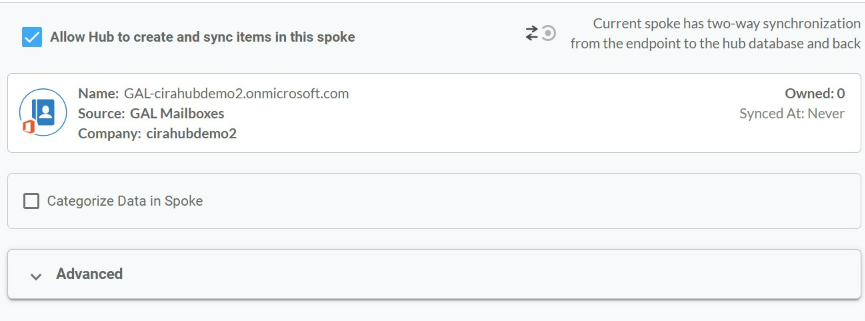
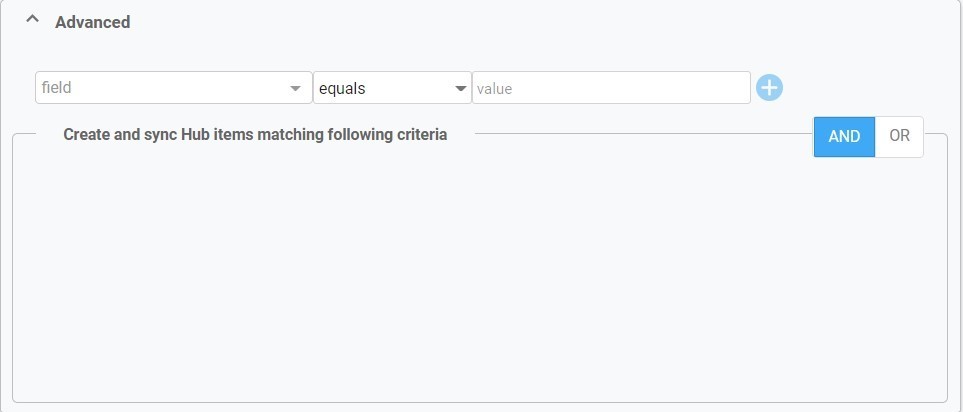
15. Users can customize sync settings by expanding the Advanced Tab and adding sync filters to the Spoke. This would enable a user to synchronize and create Hub items based on specific criteria. Then Click Save.
Check out this guide to learn how to use contact filtering.
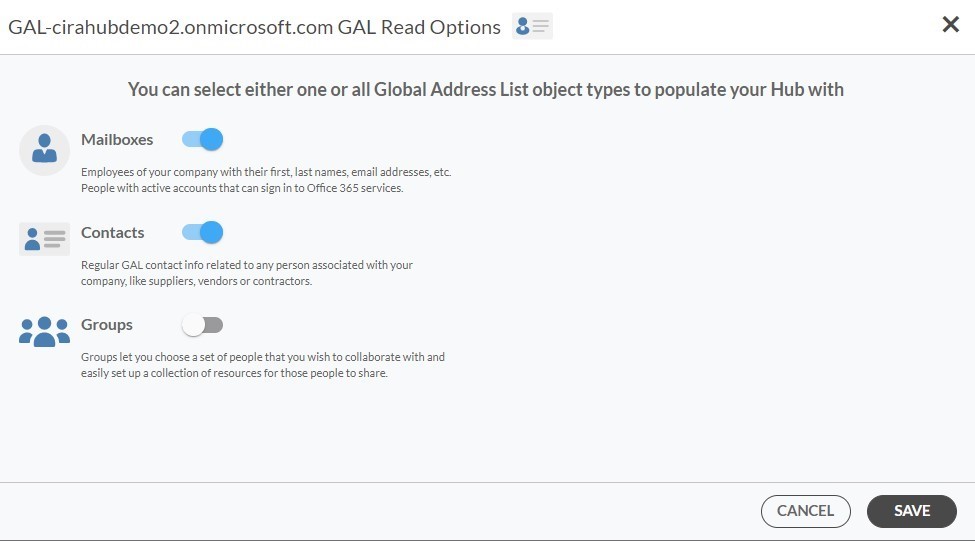
16. Click on the GAL Tab to set up GAL Read Option Settings.
18. Here, you can choose which Global Address List Objects (Mailboxes, Contacts, and Groups) you would like to populate this Hub with.
4. Turn On Two-Way Sync to Sync the Two GALs
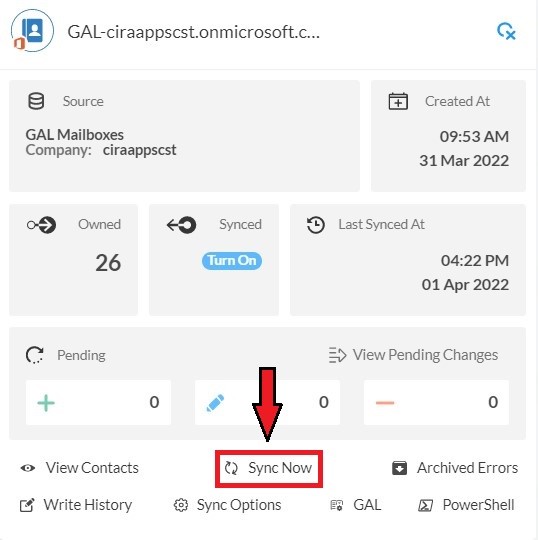
19. Click on the Hub and then click Sync Now to enable two-way GAL sync.
What’s Next?
CiraHub is not just a tool for Two-way GAL sync; it can also sync other vital business data. Some other services that can be synced with CiraHub include:
Calendars:
CiraHub can synchronize calendars between different users or organizations, ensuring everyone is on the same page regarding schedules and events.
Mailboxes:
Employees from various departments may need to synchronize mailbox to mailbox or from mailbox to public folders and other sources.
For example, an employee from operations at an engineering firm may quickly need to look up contacts of vendors or part suppliers available to logistics/supply chain personnel.
Public Folders:
In most organizations, public folder contacts are a means of organizing and sharing information within work groups or departments so that it is easy for each employee to access. However, when organizations need to work together, information may be difficult to access, and manual sharing can be repetitive and time-consuming.
A 2-way public folder contacts sync allows contacts to be shared on-demand between different tenants and constantly updated throughout the day.
Google Contacts:
Whether working from home (WFH) or at the office, more employees are taking their work with them wherever they go. Mobile apps allow people to work from any location. Having a 2-way sync solution that integrates with Google’s Contacts features allows easy sharing of information with automatic updates, tremendously boosting productivity across teams.
CRMs:
CRMs are ubiquitous tools in a wide range of organizations for storing essential data relating to customers, vendors, potential leads, and more. CRM tools can benefit immensely from a 2-way automatic sync solution, whether within the organization or between multiple tenants, to streamline communications and improve organizational workflows.
