Salesforce is a customer relationship management tool that links businesses and consumers. This CRM platform provides organizations with a single, shared view of each of their customers. If your organization also uses an Exchange Server mailbox, you’d certainly want to access the same contacts on both platforms.
With CiraHub, users can two-way sync contacts between an Exchange Server Mailbox and Salesforce. You and your Exchange administrator must follow a number of procedures from Salesforce and your Exchange server in order to connect Salesforce to your company’s Microsoft Exchange server utilizing a service account.
In this article, we will outline how to sync an Exchange Server Mailbox and Salesforce contacts in both directions.
Two-Way Sync an Exchange Server Mailbox and Salesforce Contacts
Create a Spoke for the Exchange Mailbox
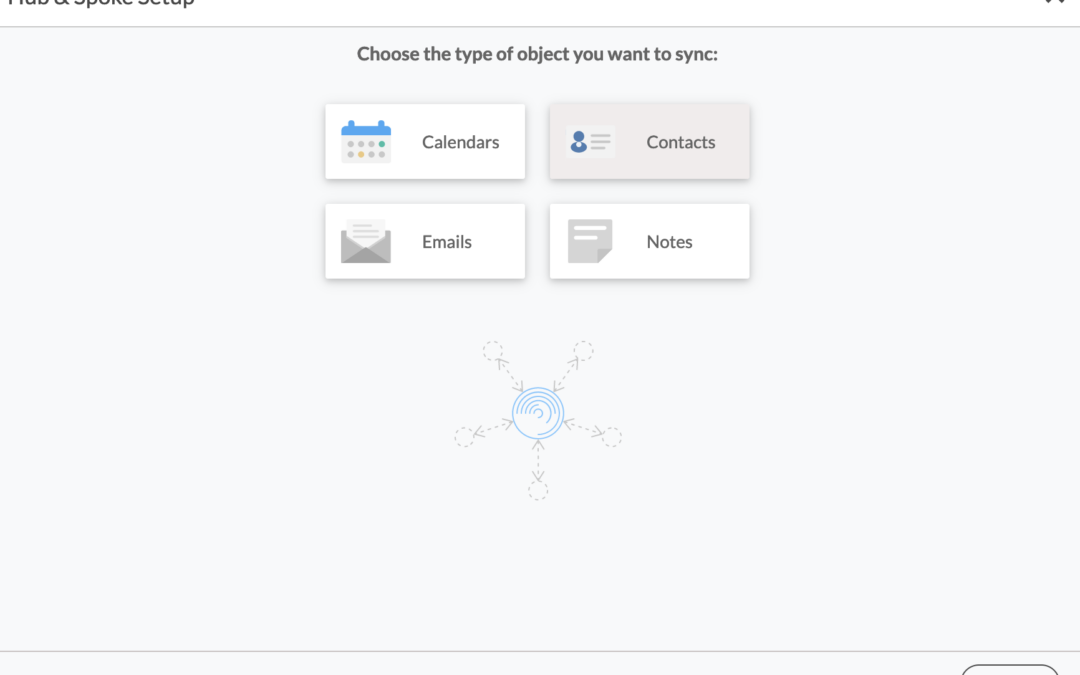
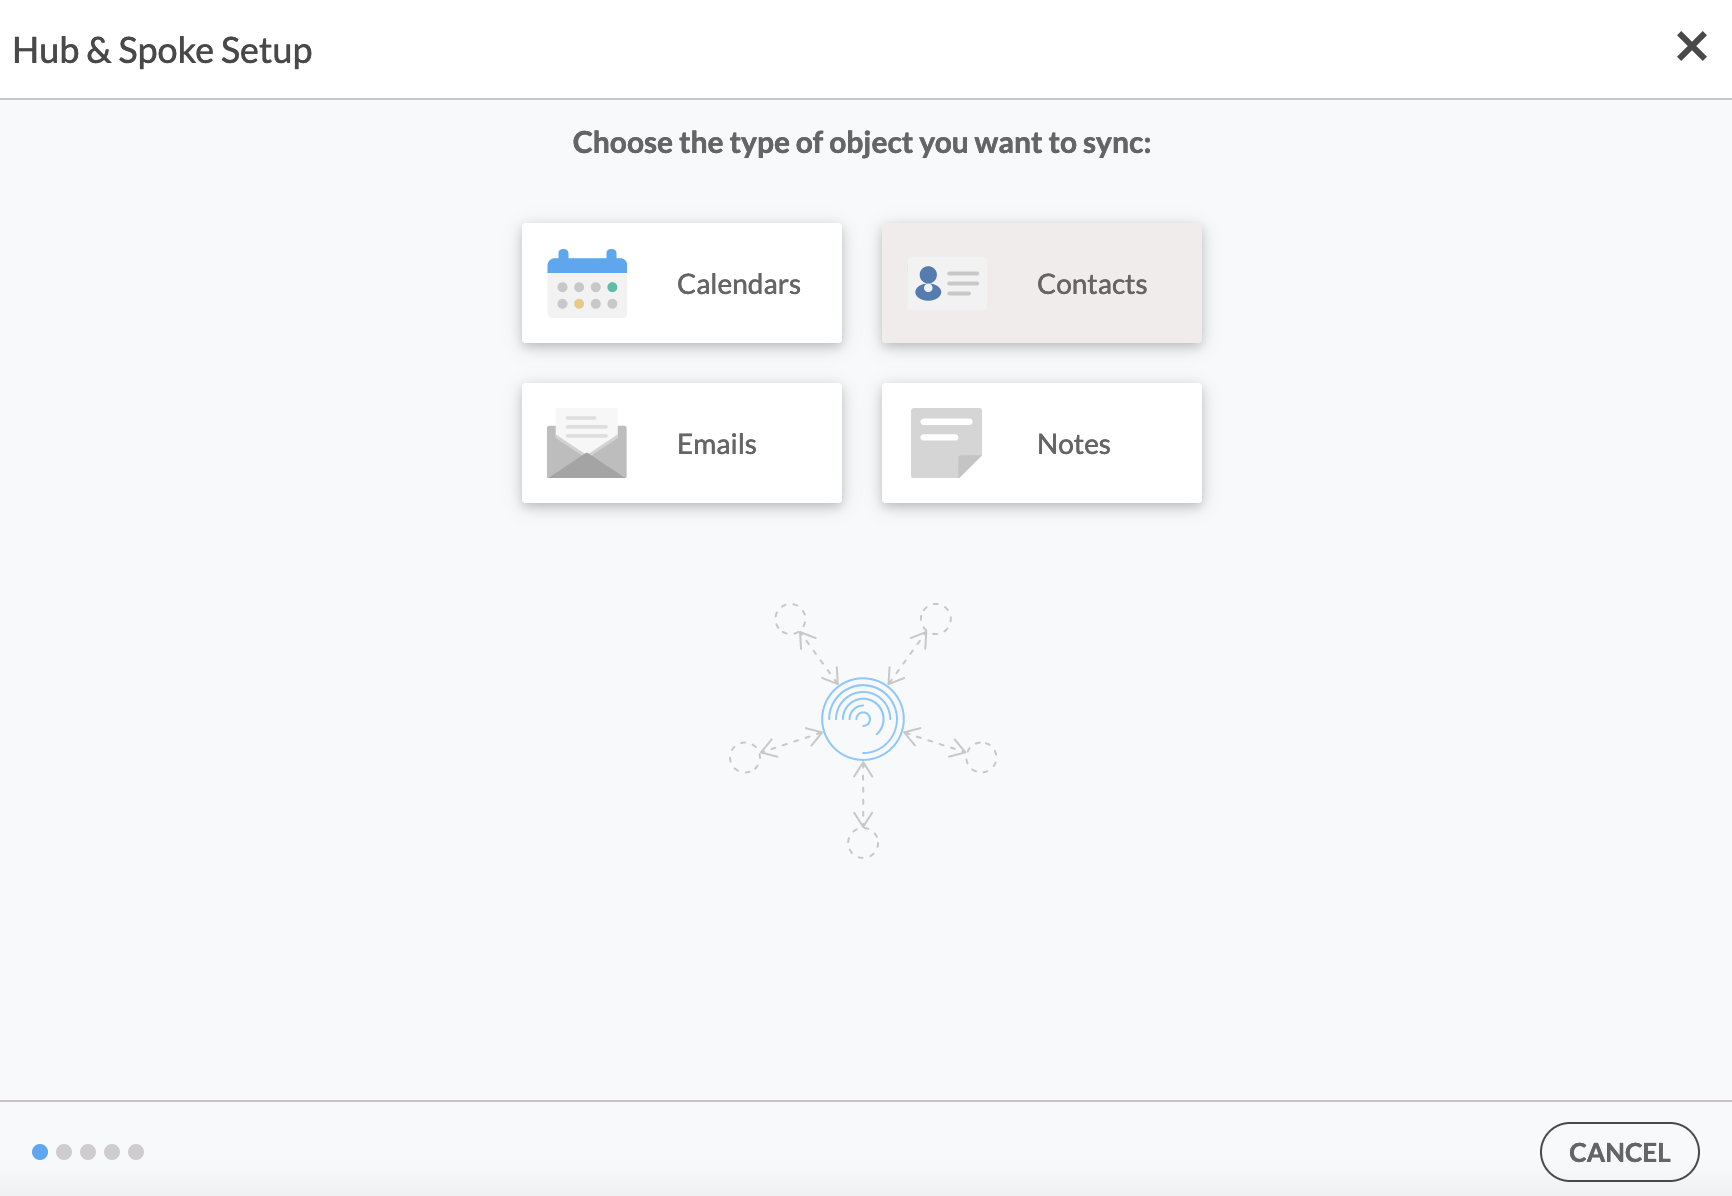
- First, Log in to CiraHub. You will be taken to the onboarding wizard. (See figure below.) Next, select the object you want to sync. In this example, the contacts object has been selected.
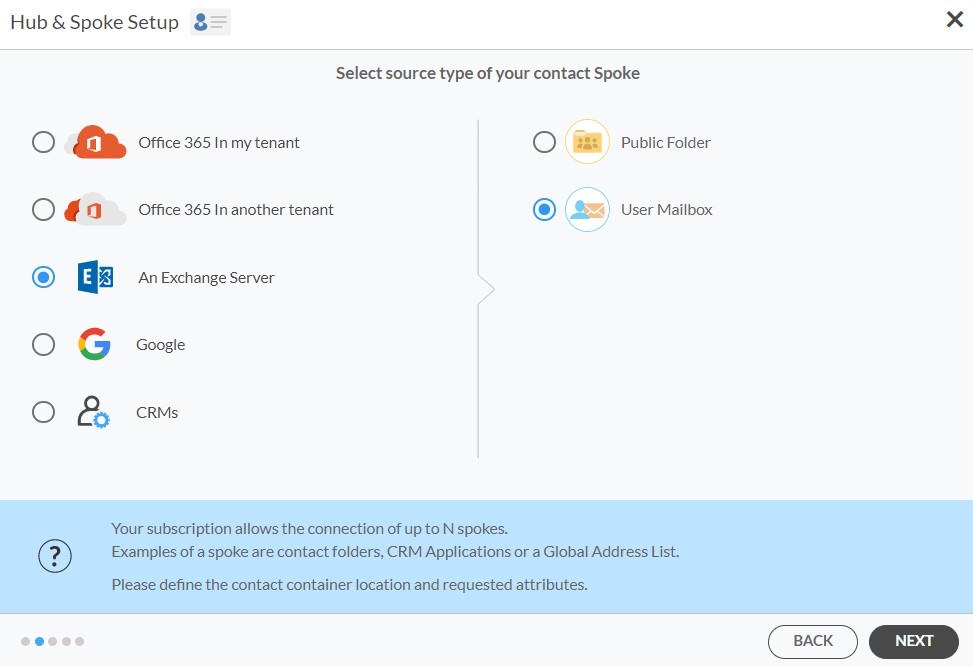
- Click on “Exchange Server” as your source type for your contact spoke and select User Mailbox.
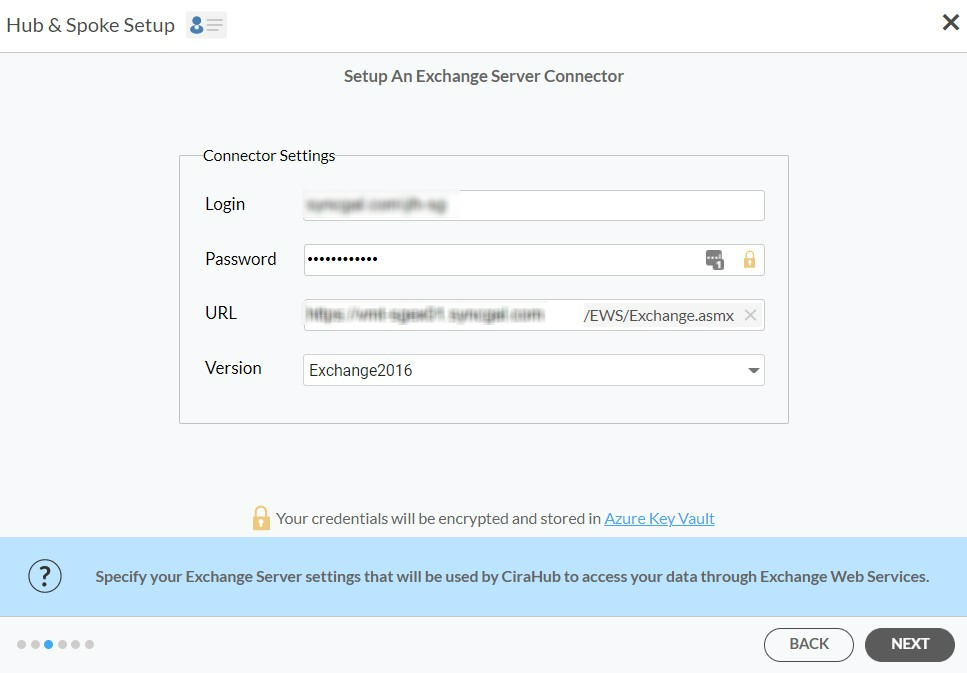
- Enter your Exchange Sever Connector Login, Password, URL, and Exchange Version. If you are running an Exchange Server Version dated 2016 or later, always select Exchange 2016 in your Connector Settings. ]
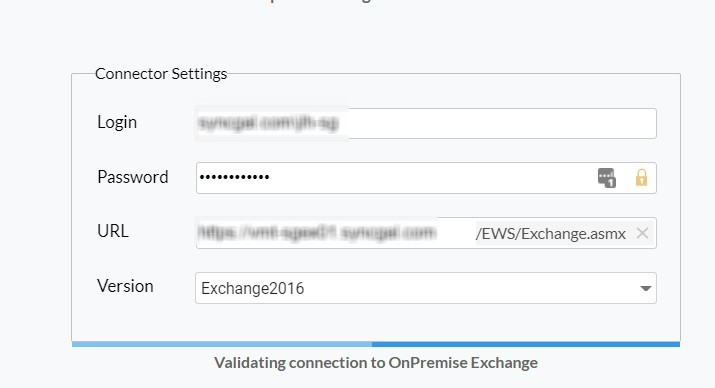
- Wait for CiraHub to Validate your Exchange Server Settings in order to access your data.
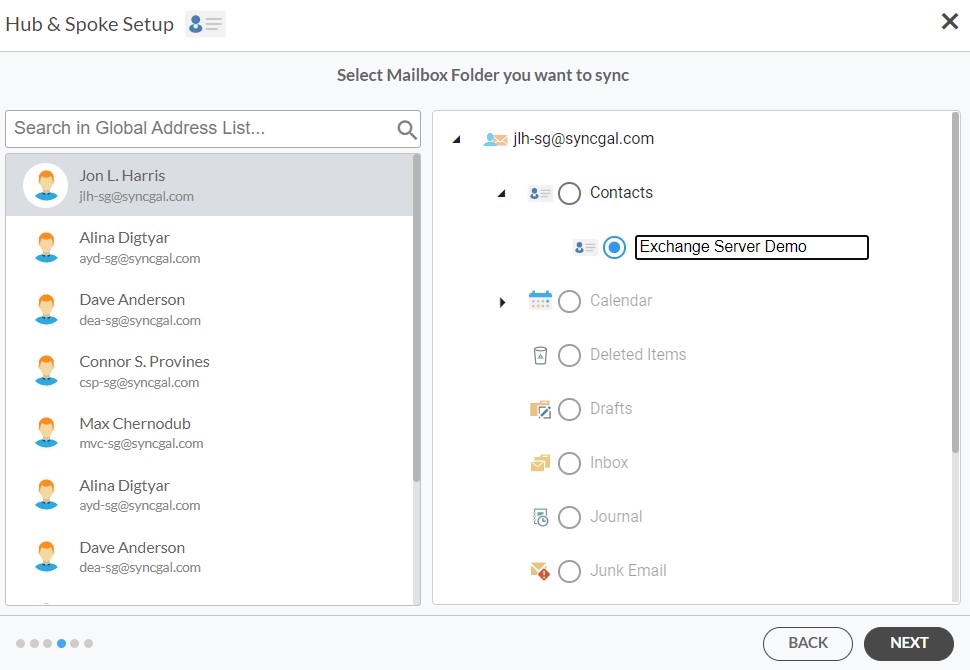
- Select the Mailbox Folder you would like to sync for your Exchange Server.
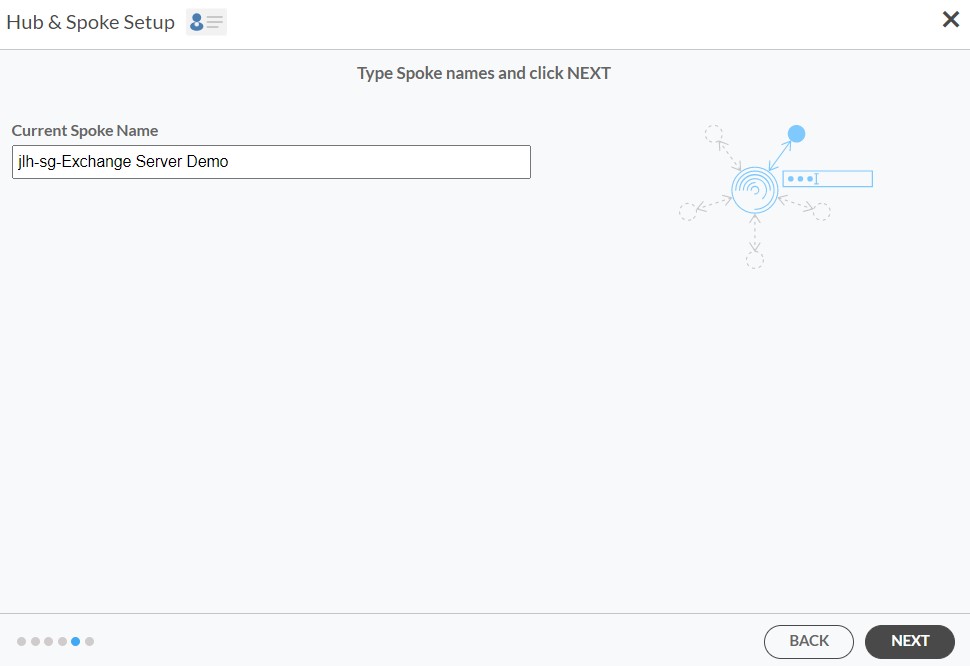
- Type in a Spoke Name and click Next.
- To two-way sync Exchange Server contacts, provide a Hub name and select the next option.
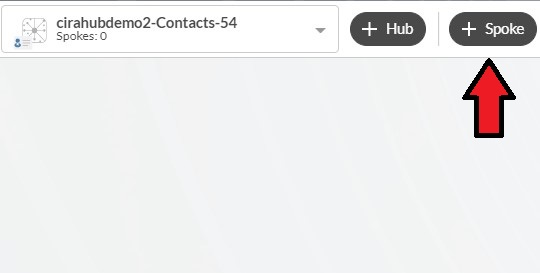
- Select the option to add an Additional Spoke.
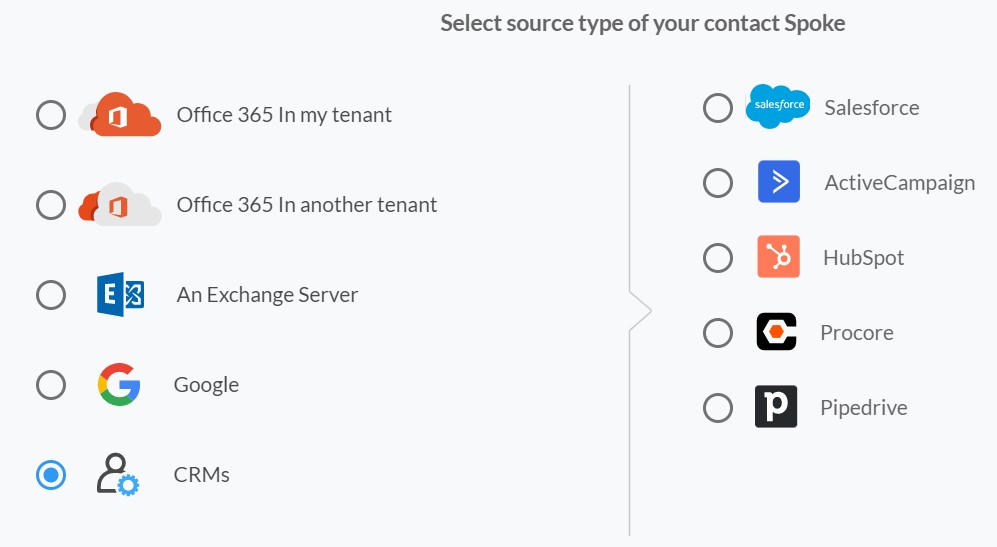
- Click on “CRMs” as your source type for your contact spoke. (The Hub contains all synced Contacts from each spoke; a spoke can be a Public Folder, a user mailbox, the GAL or a CRM.)
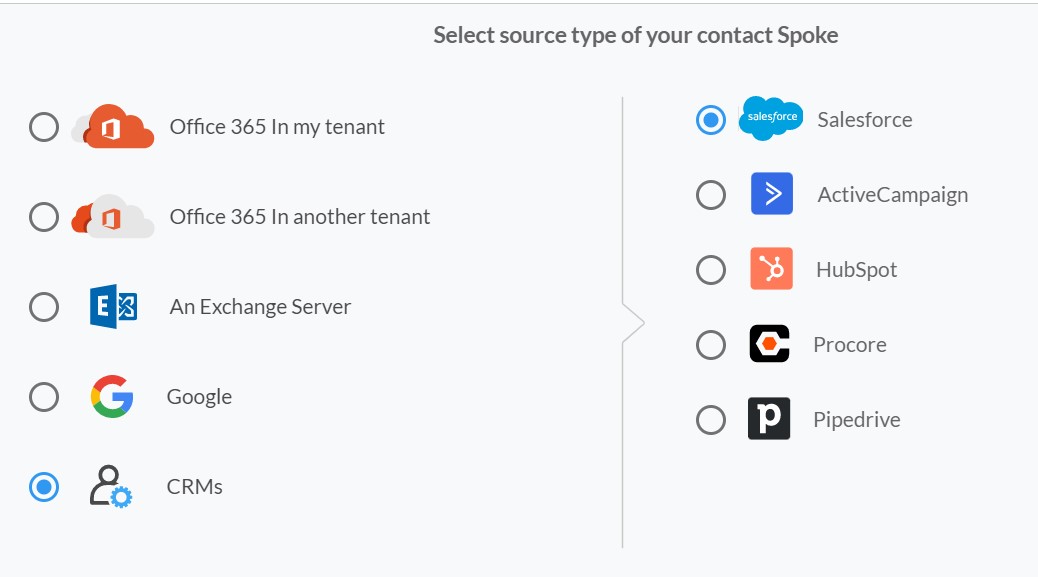
- Select “Salesforce” as the contact spoke type.
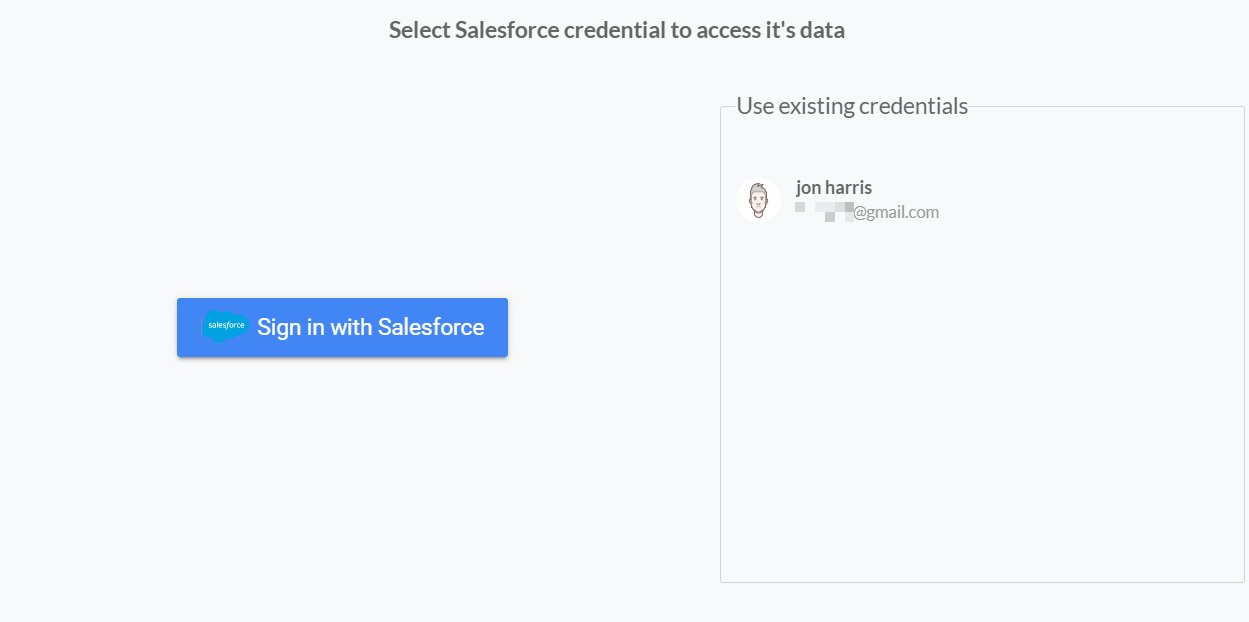
- Sign in with Salesforce to add your account to the Hub, or select an existing Salesforce account.
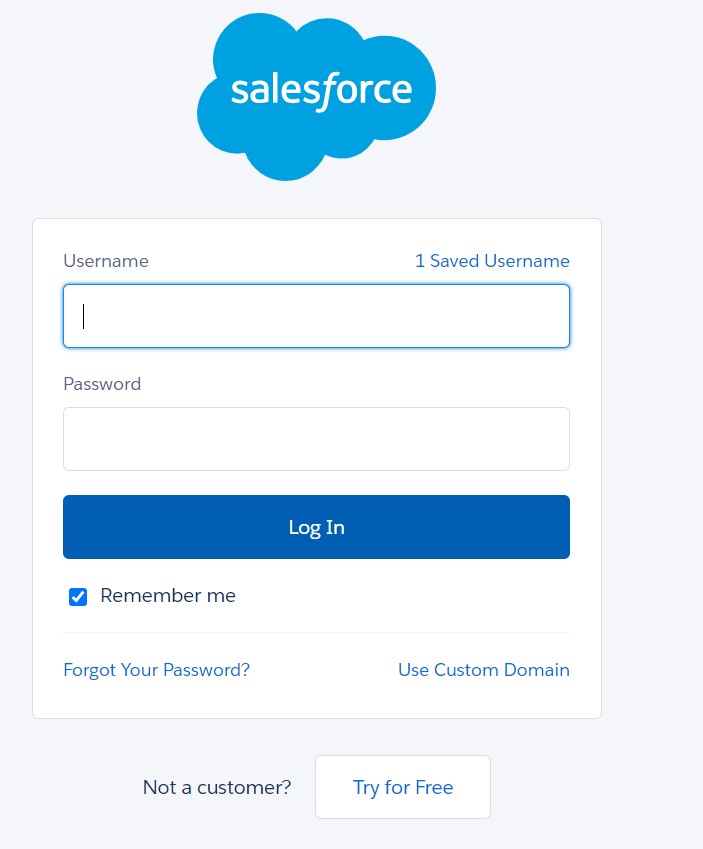
- If you selected “Sign in with Salesforce”, you’ll be prompted to this screen to enter your Salesforce username and password.
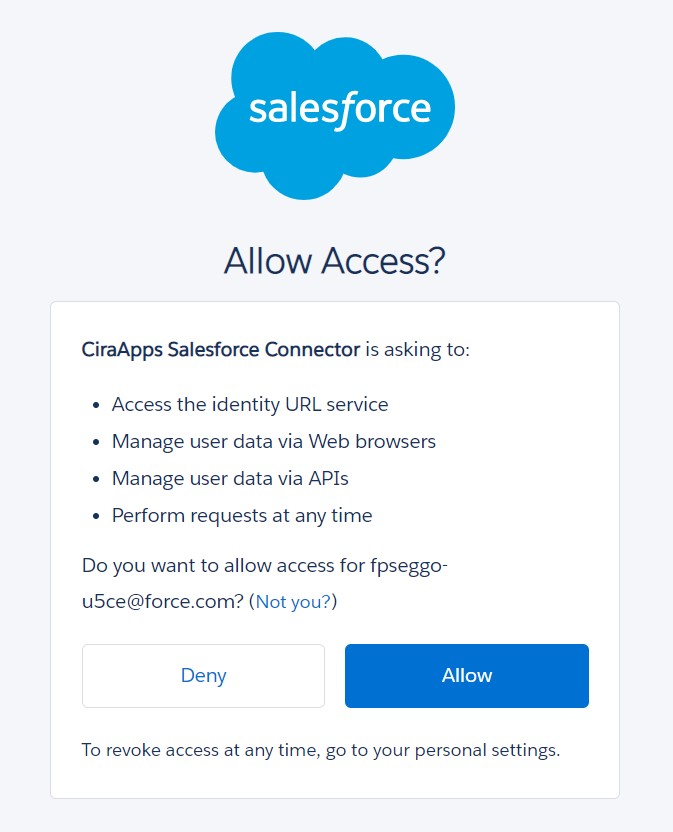
- Select “Allow” to two-way sync Salesforce contacts and connect your Salesforce connect to the CiraApps Salesforce Connector.
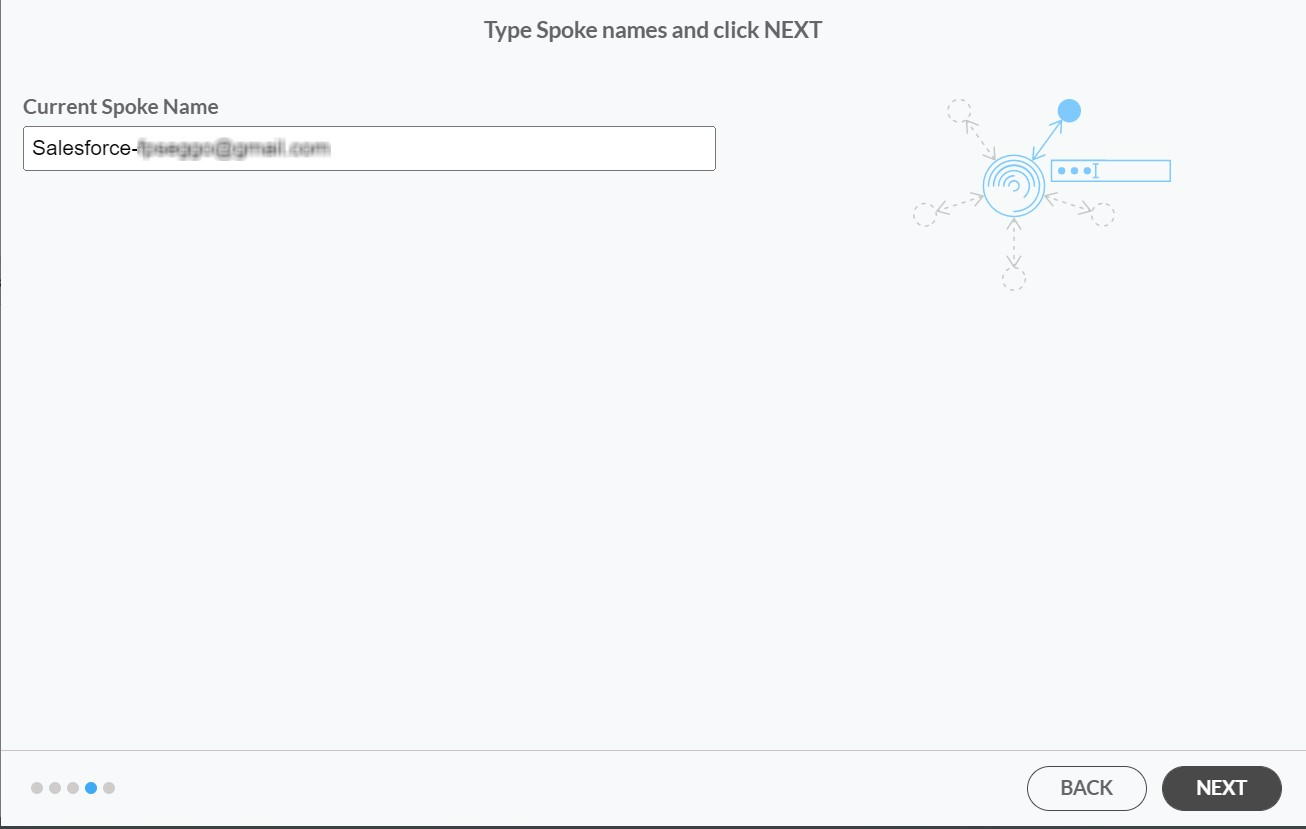
- Type in a “Spoke Name” and click Next.
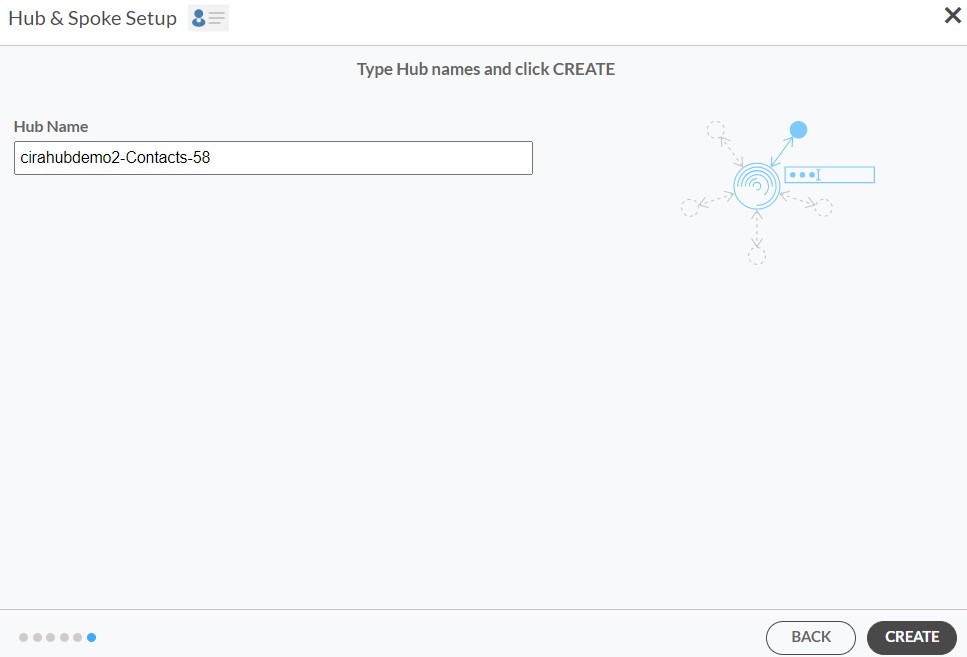
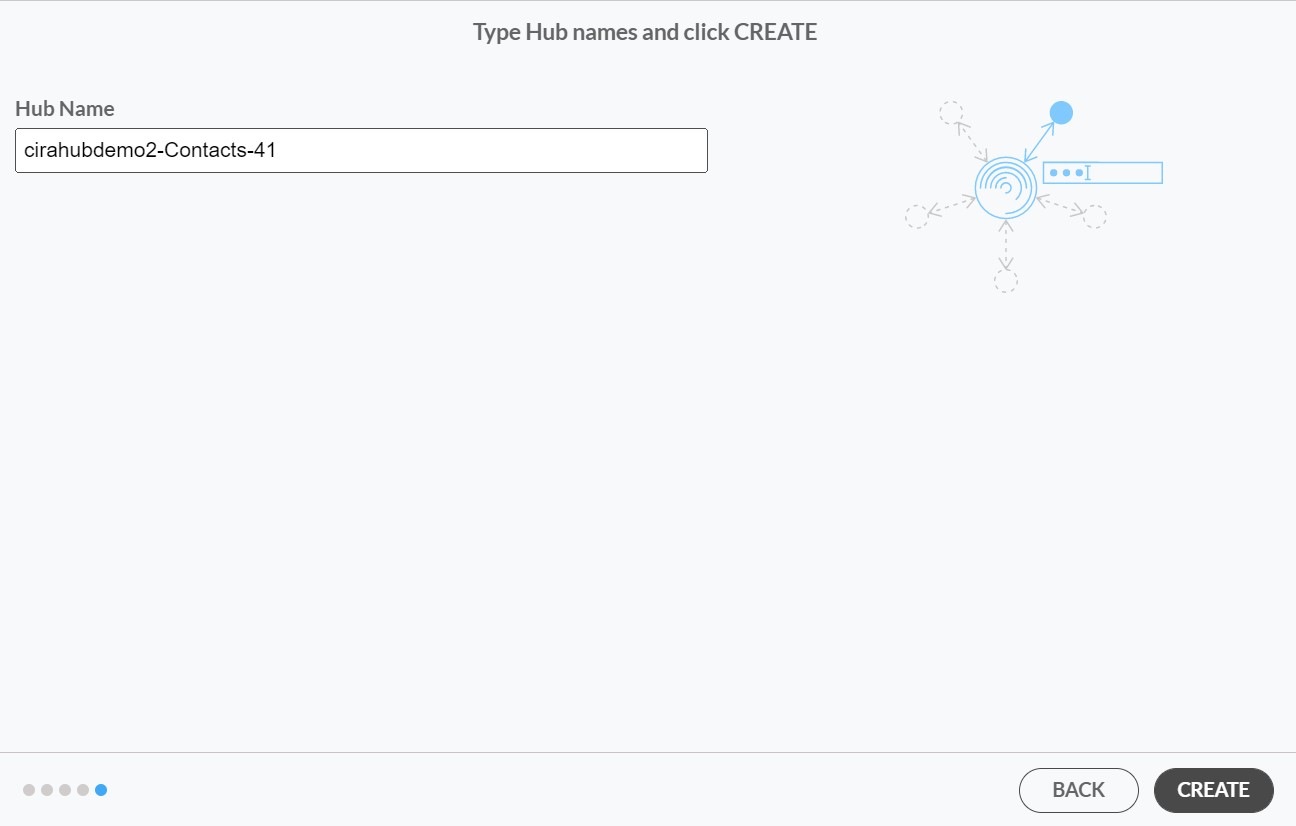
- Next type in the “Hub Name” and click Create.
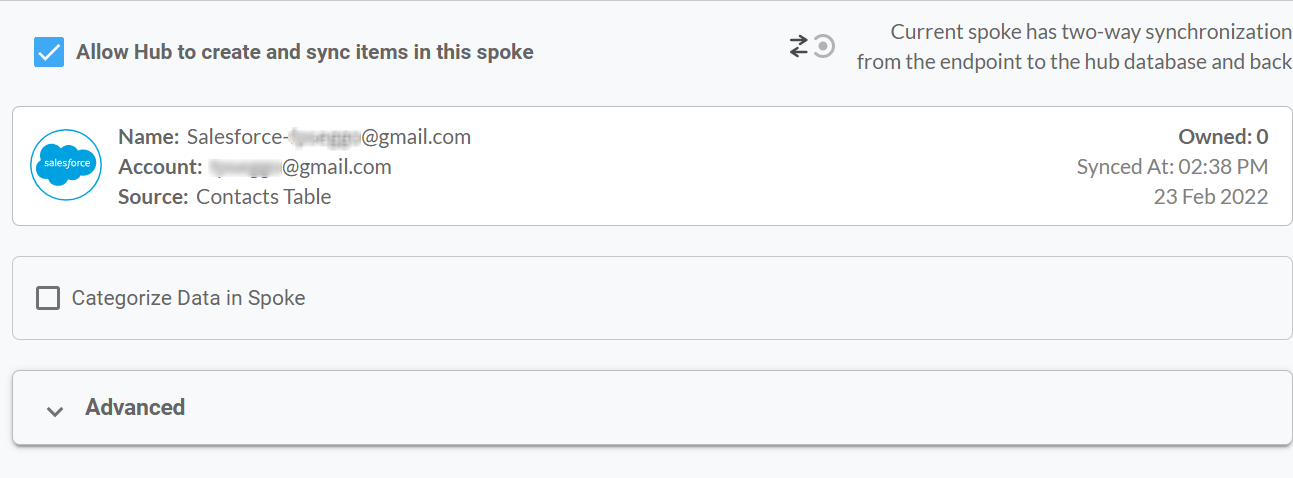
- Next, right click your spoke, and select “Sync Options”. From there you will be taken to a new window, click the box which says, “Allow Hub to create and sync items in this spoke.”
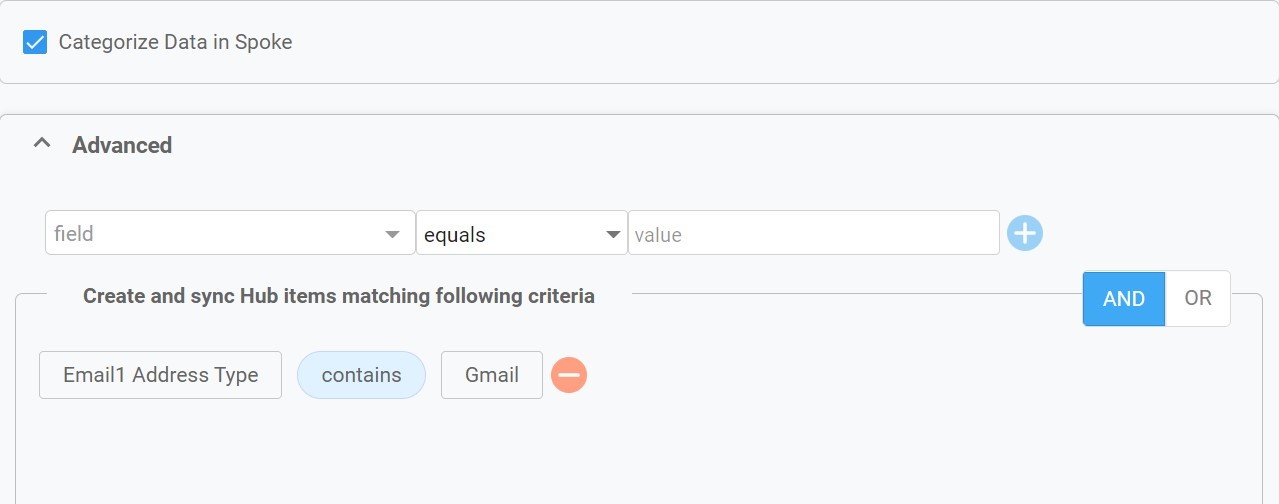
17. Click on “Allow Hub to create and sync items in this spoke”. This will enable two-way synchronization from the endpoint to the hub database and back. Select Categorize Data in Spoke if you would like to filter out which items you would like to sync.
18. Click the Advanced tab to set up contact filtering settings for Salesforce This would enable a user to synchronize and create Hub items based on specific criteria.
19. You can also enable Field Mapping to create customized Hub fields for data in Salesforce and CiraHub.
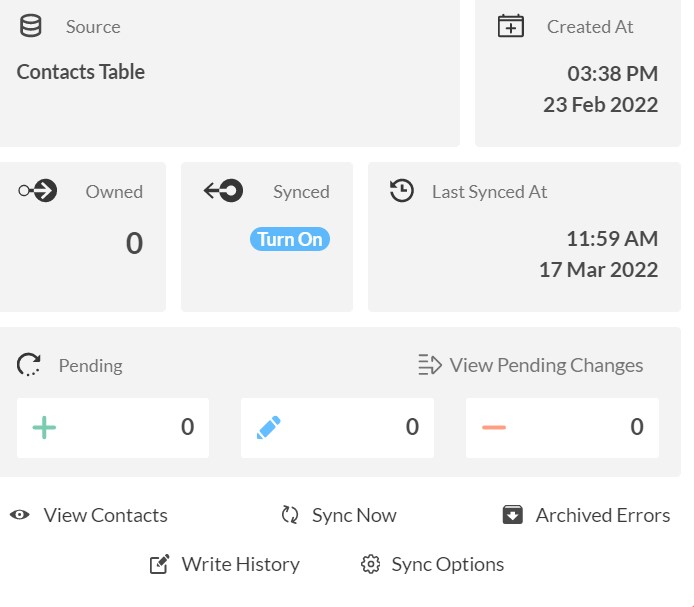
20. Click on “Sync now” to two-way sync an Exchange Server with Salesforce for the current spoke. You can also edit any synchronization options for each of your spokes below.
More About CiraHub!
With CiraHub, contacts can be merged or synced in two directions from a wide range of sources, as well as between tenants. Hubs and individual Spokes are paired in multi-way contact sync to ensure that data synchronized is consistent across all other Hubs. For example, a Hub with Salesforce spokes attached can sync contacts to another Hub with Exchange Server. Organizations continue to find multi-way CRM sync tremendously beneficial as they grow and scale. Click here to learn more about how you can start a CiraHub trial today!

 18.
18. 
 20.
20. 