This comprehensive article will outline how to two-way sync contacts between QuickBooks and SharePoint.
QuickBooks is a small business accounting tool that allows you to manage your company’s income and spending as well as keep track of the company’s financial standing.
Syncing QuickBooks Online with SharePoint can help strengthen team communication by making it easy to exchange information and stay on top of assignments.
Thanks to this Two-way sync feature, you can
- Sync SharePoint contacts directly into QuickBooks.
- Have access to a clean and intuitive dashboard.
- Sync from QuickBooks, Salesforce, HubSpot, ActiveCampaign, and more.
This article will show you how to enable a two-way sync for QuickBooks and SharePoint.
Set Up Two-Way Contact Sync Between QuickBooks and SharePoint
Step 1: Create a Spoke for QuickBooks
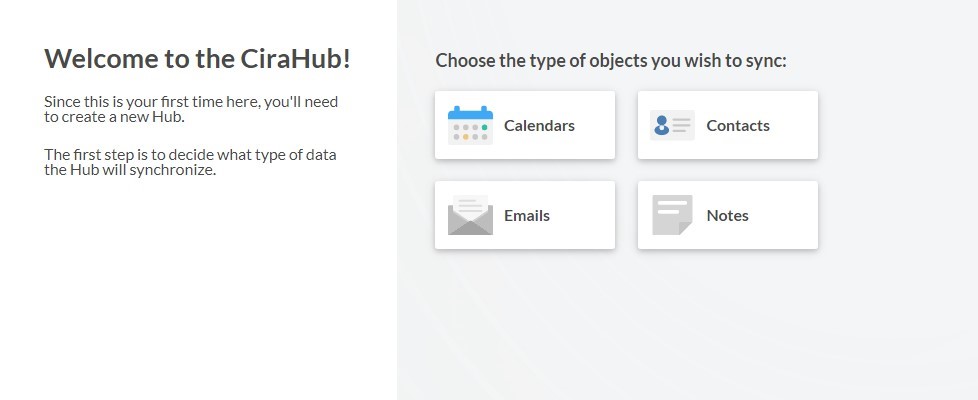
1. Log into CiraHub. You will be taken to the onboarding wizard.
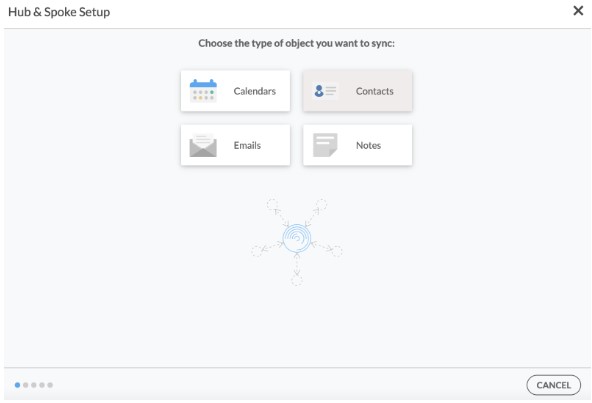
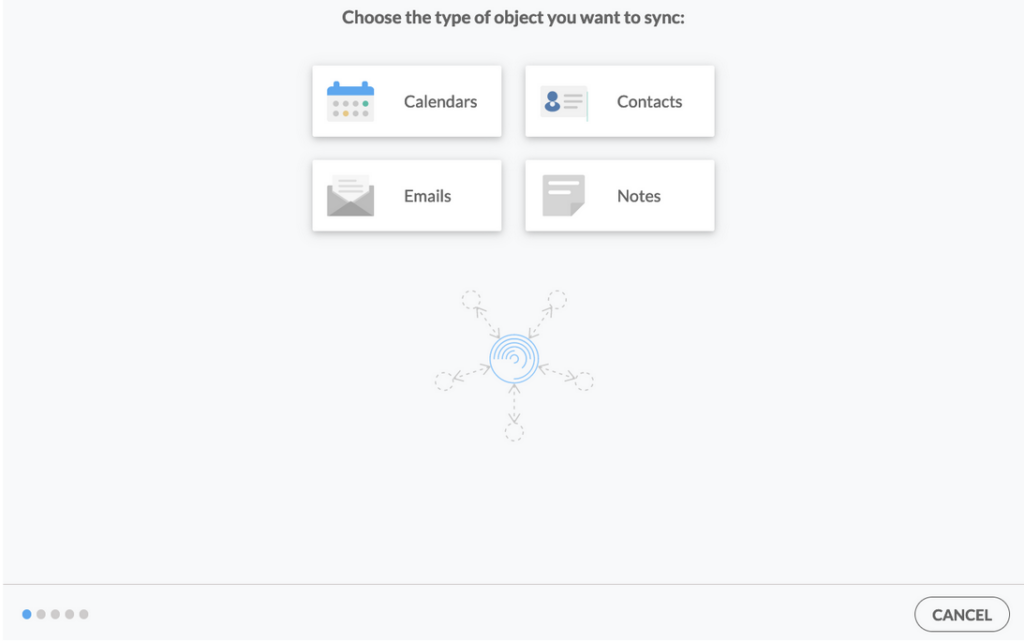
2. Next, you’ll need to choose the type of object you want to sync. Select “Contacts.”
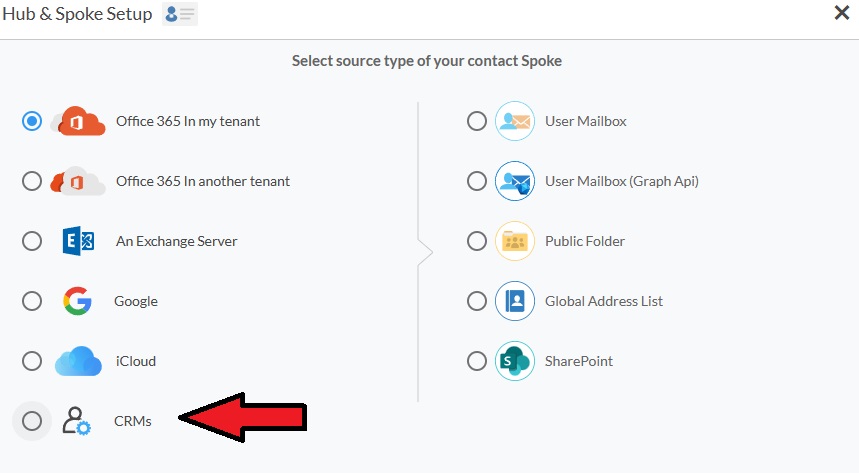
3. To start your Hub and Spoke setup, click “CRM” as the source type of your contact spoke, then select “Quickbooks” from the list of CRMs and click NEXT.
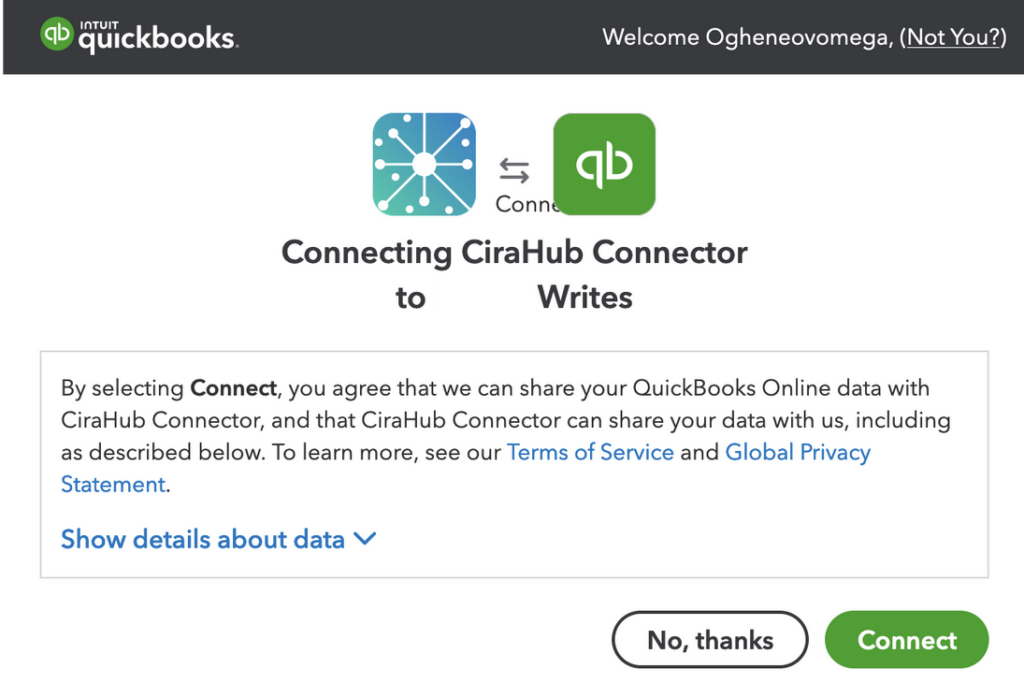
4. Click “Sign in with QuickBooks” and enter your company’s name, then click “Create Company” to connect with the CiraHub Connector.
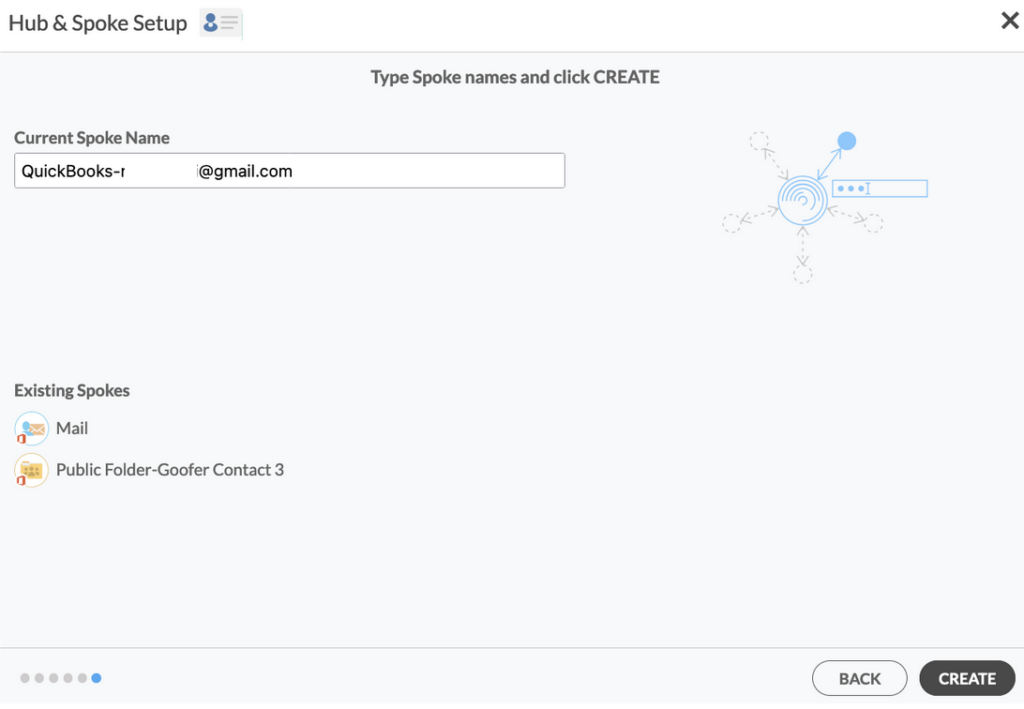
5. Enter a name for your current spoke and click “CREATE.”
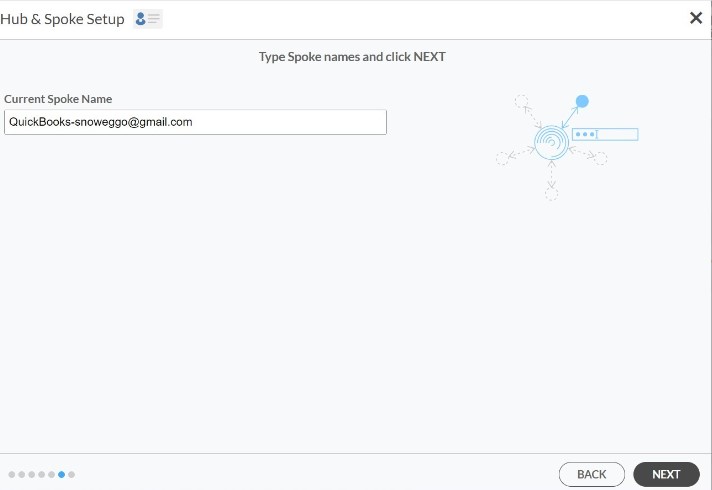
7. Type in a Spoke name and click NEXT.
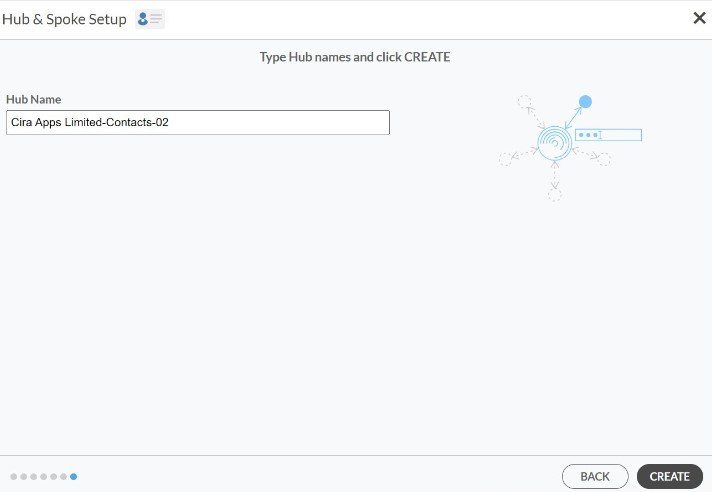
8. Type in a Hub name and Click CREATE.
Step 2: Create a SharePoint Spoke
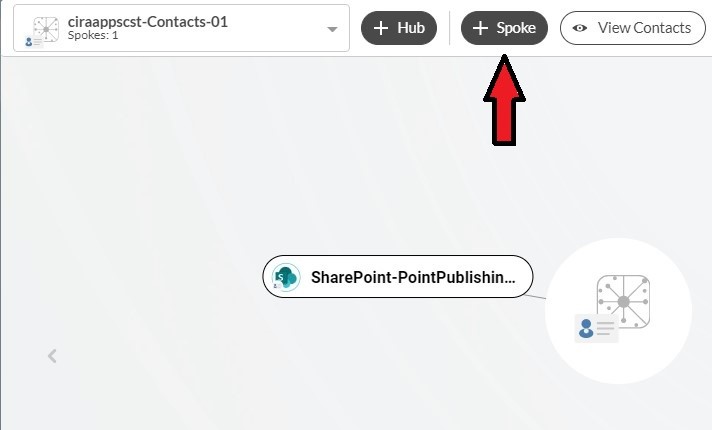
9. Select the option to add an Additional Spoke
10. To perform this sync, you’ll first need to log in to CiraHub. You will be taken to the onboarding wizard. (See figure below.) Next, select the object you want to sync. In this example, the “Contacts” object has been selected.
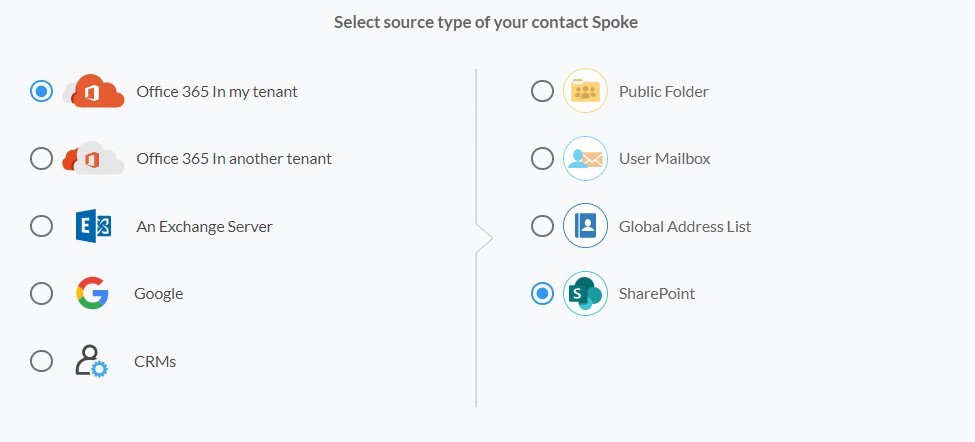
11. Next, select SharePoint as the source type for your contact spoke.
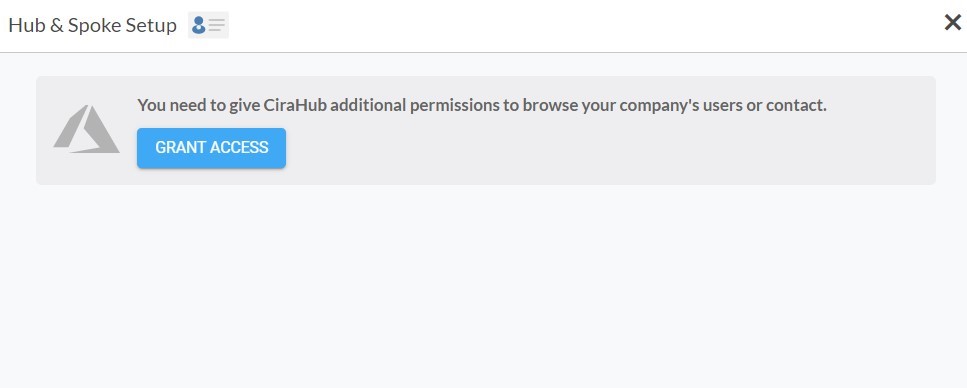
12. Click Grant Access to give CiraHub Permission to browse your company users or contacts for SharePoint.
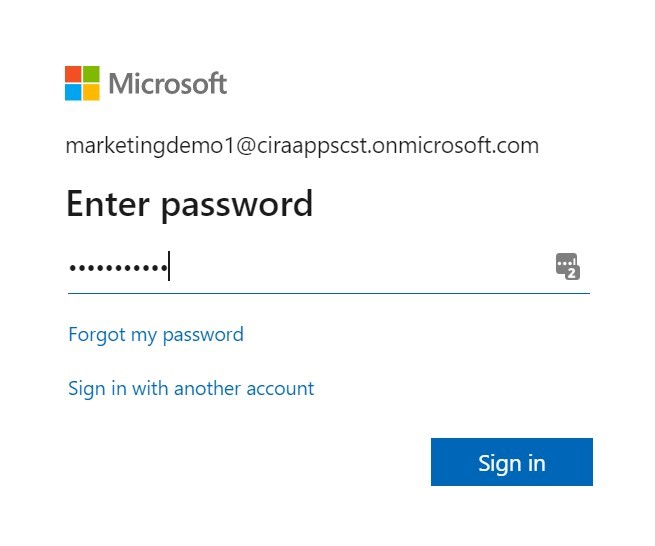
13. Sign into your Microsoft Account that is attached to SharePoint.
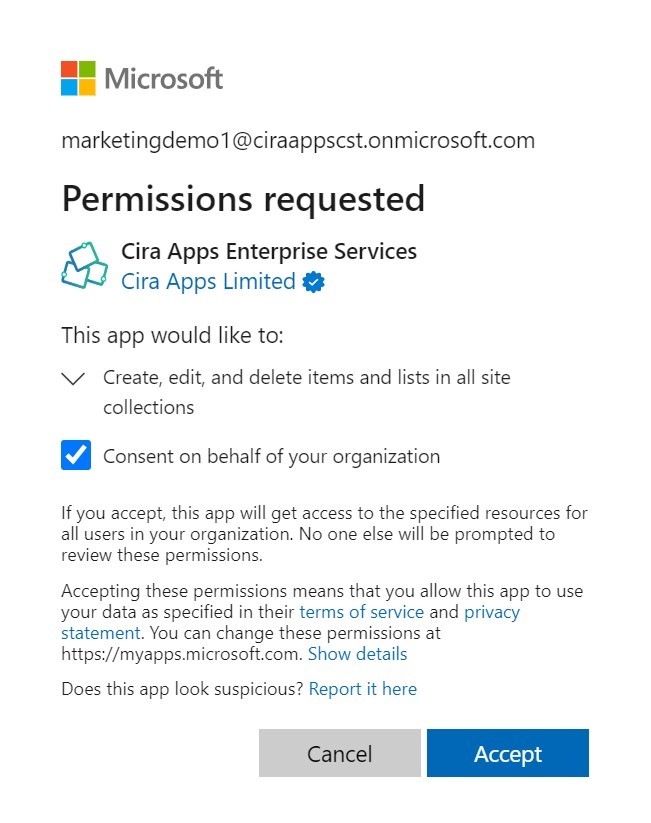
14. Give CiraHub Access to your SharePoint account so you can two-way sync SharePoint contacts, and always check the box that states “Consent on behalf of your organization”.
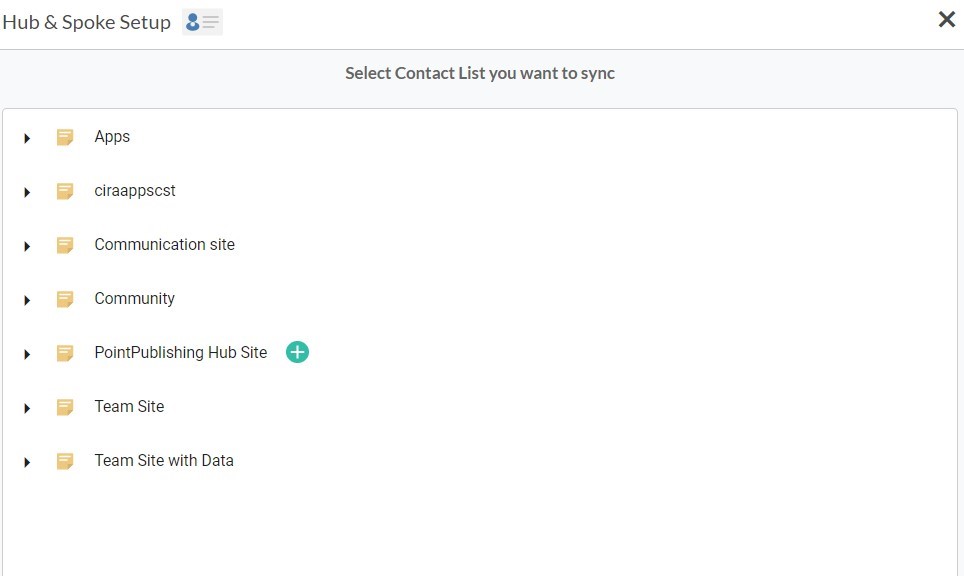
15. Select a SharePoint Contact List to sync with CiraHub.
16. Next, right-click your spoke, and select “Sync Options”.

17. From there, you will be taken to a new window; click the box that says, “Allow Hub to create and sync items in this spoke.” This will allow you to two-way sync Between an Exchange Server User Mailbox and SharePoint.
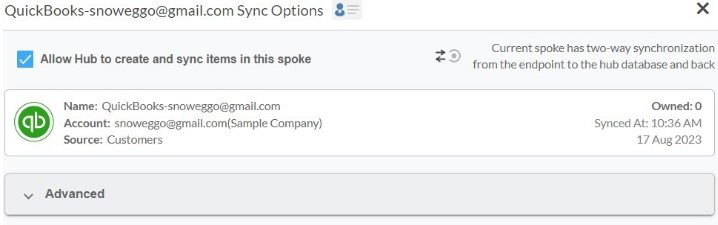
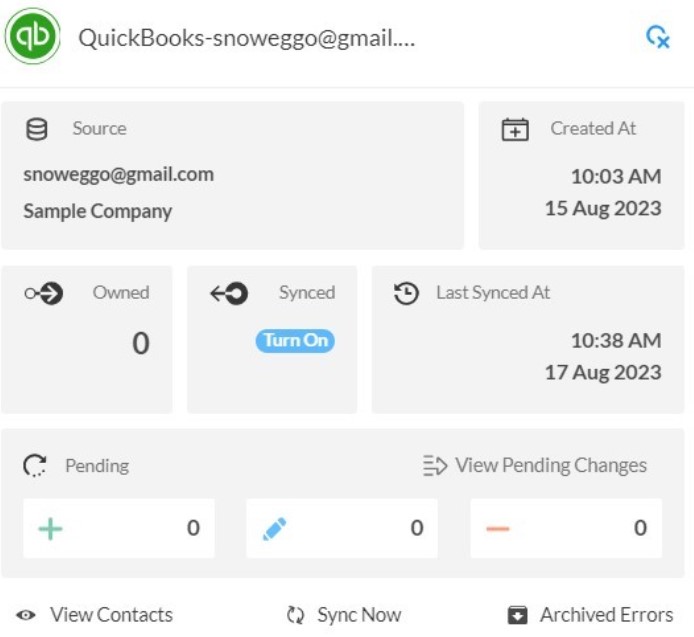
18. Click on “Sync Now” to enable 2-way synchronization for the current spoke. You can also edit any synchronization options for each of your spokes below.
Why Should You Two-Way Sync Your Zoho and SharePoint Contacts
You can create invoices and handle payments automatically in a QuickBooks account by syncing QuickBooks with SharePoint. Users can also use QuickBooks to automate lead generation, track prospects, and close more deals. Then, with the touch of a button, sync your new clients to QuickBooks.
You must have an active QuickBooks and SharePoint account in order to start the migration two-way sync process from QuickBooks to SharePoint. Click here to learn more about how you can start a CiraHub trial today!
Sync More Tools Together!
1. How to Two-Way Sync Contacts Between Quickbooks and Google?
2. How to Two-Way Sync Multiple QuickBooks
3. How to Two-Way Sync Contacts Between QuickBooks and HubSpot?
