Are you in need of a synchronization service that can sync your Global Address List contacts with other platforms, such as QuickBooks? If so, you’ve come to the right place! CiraHub allows users to two-way sync their contacts across QuickBooks and a Global Address List (GAL).
For example, a two-way solution allows organizations to sync contacts between multiple Global Address Lists, then changes made to one GAL are reflected to any connected GAL. But in this article, we will show you how to two-way sync contacts between a Global Address List and QuickBooks.
Thanks to this Two-way sync feature, you can
- Sync Global Address List contacts directly into QuickBooks.
- Have access to a clean and intuitive dashboard.
- Sync from QuickBooks, Salesforce, HubSpot, ActiveCampaign, and more.
This article will show you how to enable a two-way sync for QuickBooks and a Global Address List.
Set Up Two-Way Contact Sync Between QuickBooks and a Global Address List
Create a Spoke for QuickBooks
1. Log into CiraHub. You will be taken to the onboarding wizard.
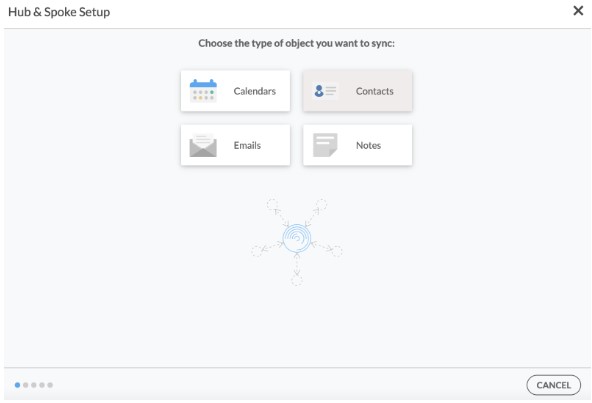
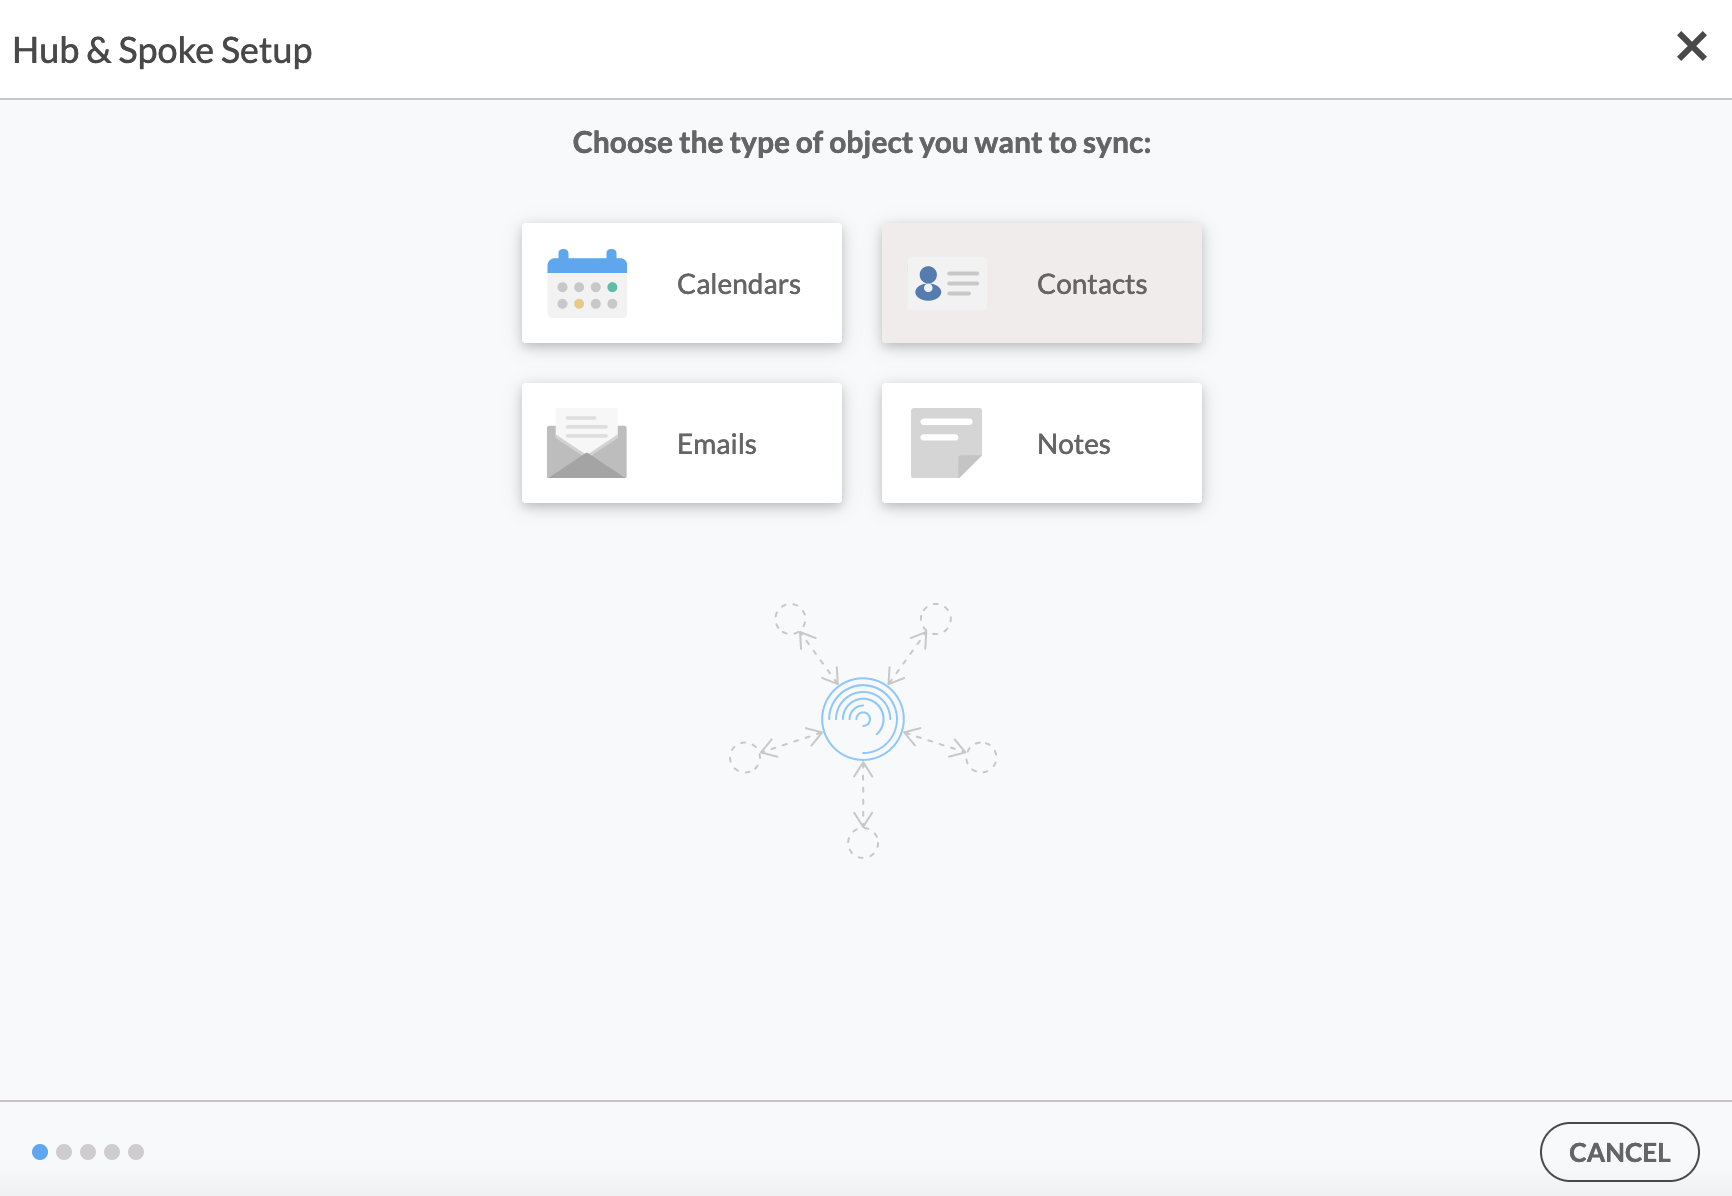
2. Next, you’ll need to choose the type of object you want to sync. Select “Contacts.”
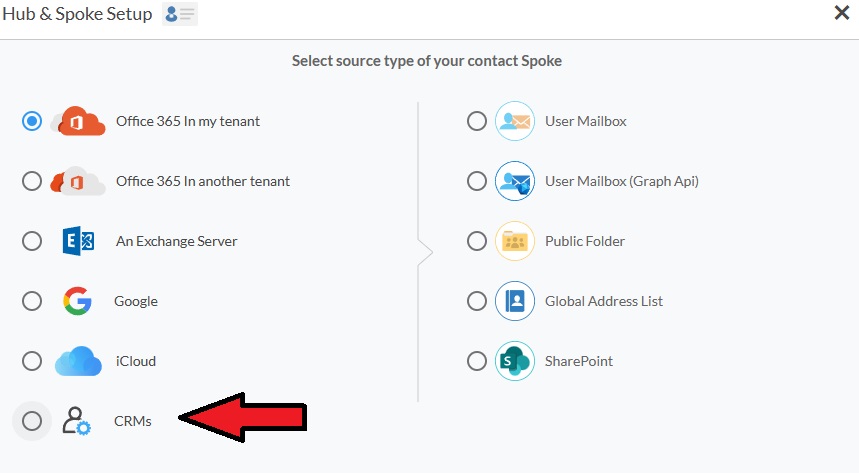
3. To start your Hub and Spoke setup, click “CRM” as the source type of your contact spoke, then select “Quickbooks” from the list of CRMs and click NEXT.
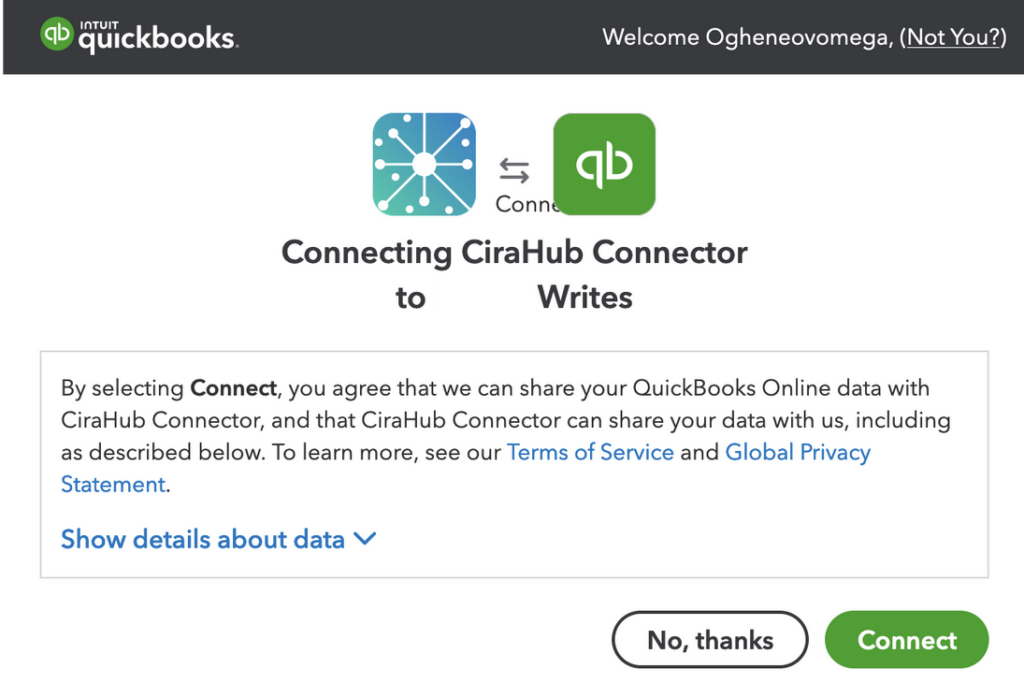
4. Click “Sign in with QuickBooks” and enter your company’s name, then click “Create Company” to connect with the CiraHub Connector.
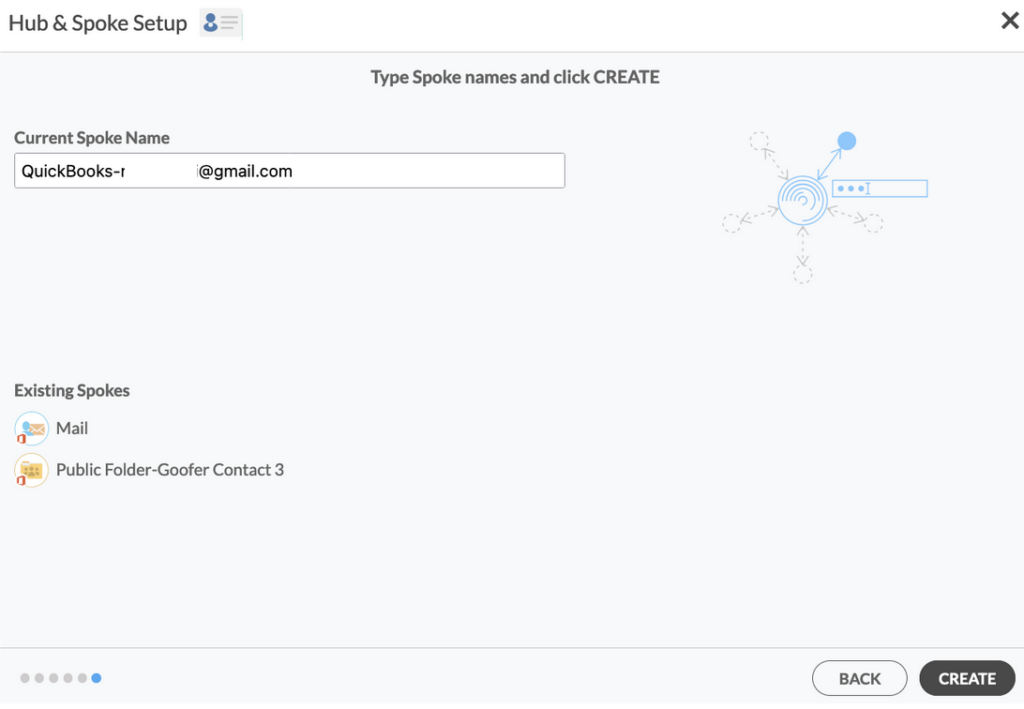
5. Enter a name for your current spoke and click “CREATE.”
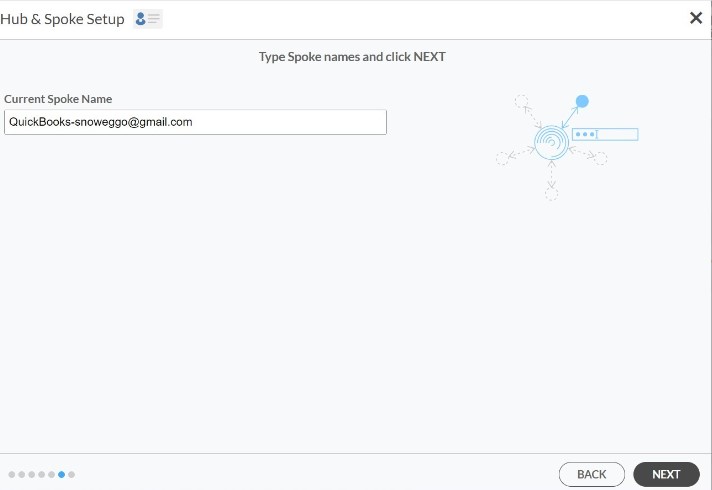
7. Type in a Spoke name and click NEXT.
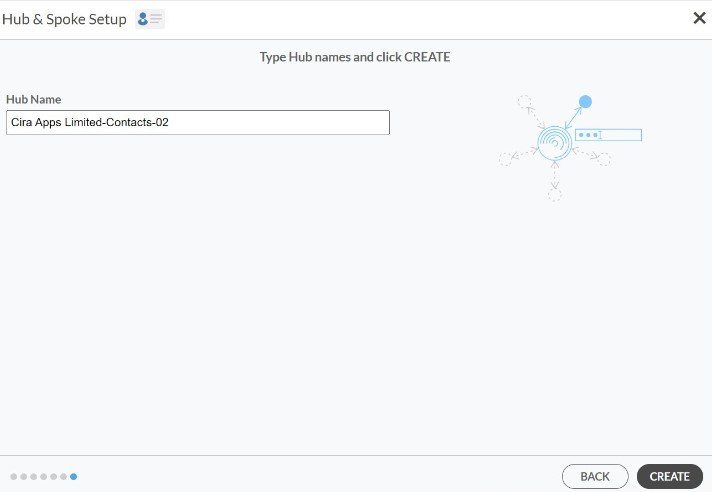
8. Type in a Hub name and Click CREATE.
Create Global Address List Spoke
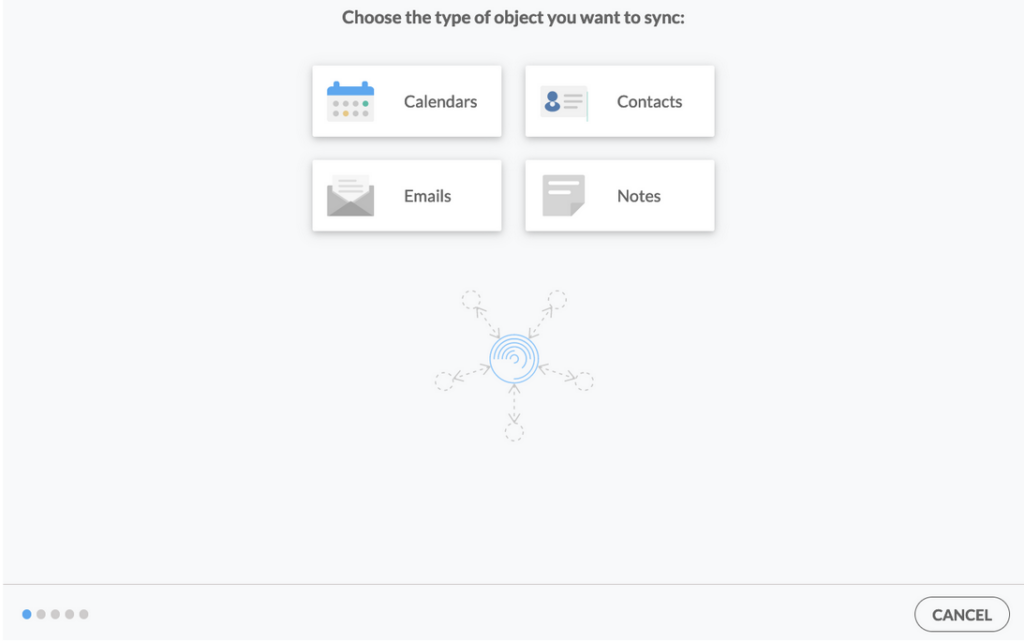
9. First, Log in to CiraHub. You will be taken to the onboarding wizard. (See figure below.) Next, select the object you want to sync. In this example, the contacts object has been selected.
Prior to setting up the Hub and Spokes in CiraHub, you will need to set up a Microsoft 365 account with the Global Admin role. You will need this to set up and grant access permissions, as requested by Microsoft.
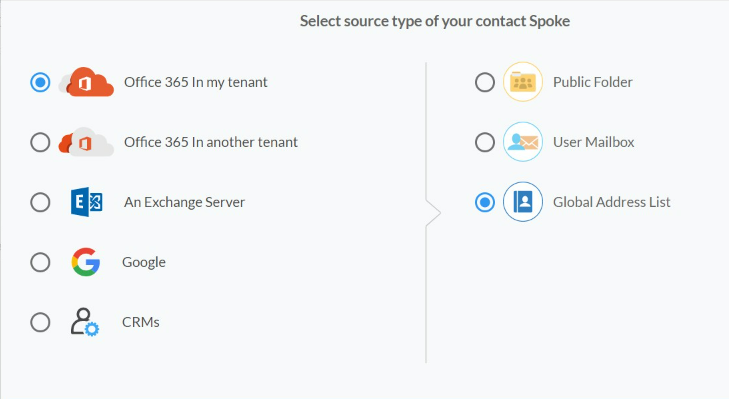
10. Next, start the Hub and Spoke setup. Click on “Microsoft 365 in my tenant”, then Select Global Address List as the source type for your contact spoke. Users will need to have an Office 365 account with the following Exchange Online roles granted via PowerShell: Address Lists, Mail Recipient Creation, and Mail Recipients permissions which will act as a Service Account to run the GAL sync.
This account does not need to have a Microsoft 365 license. However, an Microsoft 365 license will be required for each tenant added to the Hub.
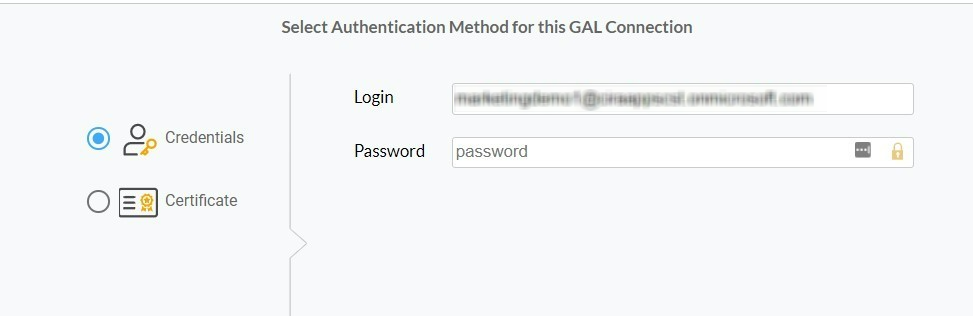
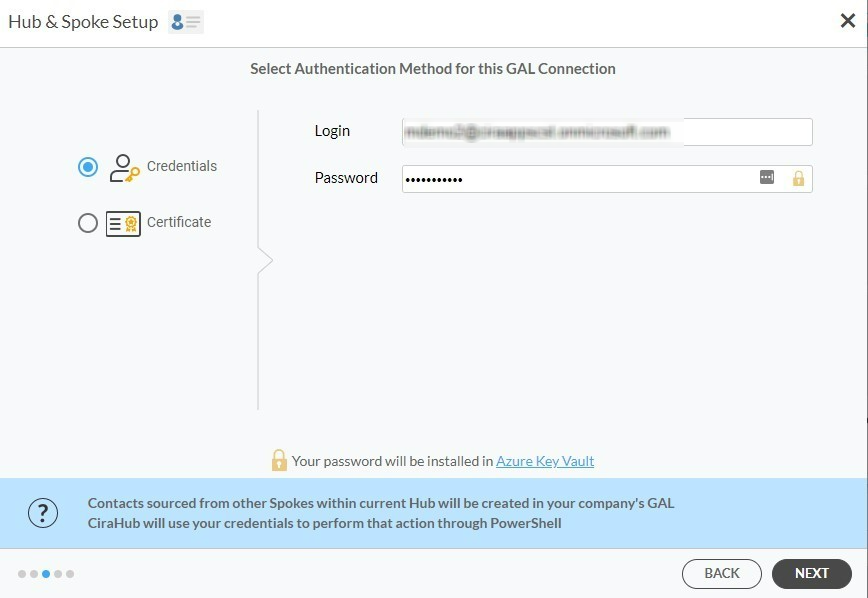
11. There are two authentication methods – Credentials and Certificate based. Select Credentials and sign in with your Microsoft Admin Account’s Login and Password Information for the GAL Connection.
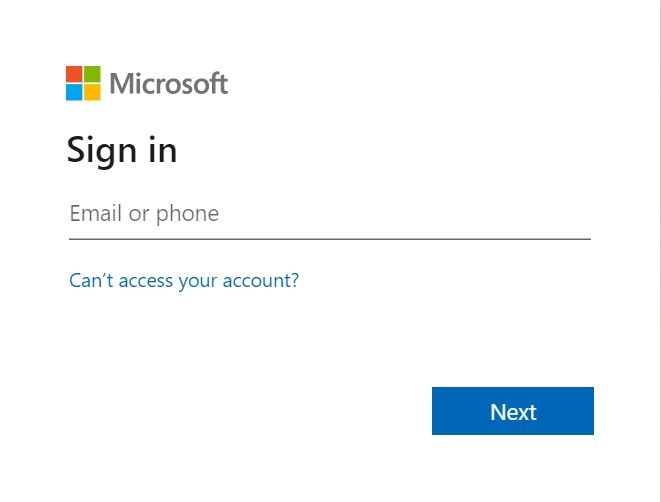
12. Next, the Microsoft Sign-in page will appear. Provide the Email and Password to your account.
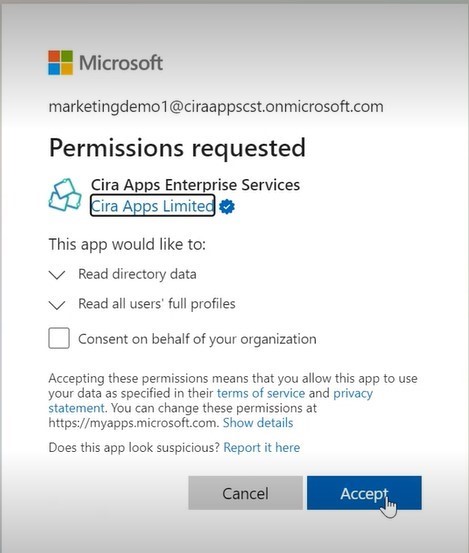
13. Click Accept to give CiraHub access to your Microsoft Account. You should always leave the “Consent on behalf of your organization” box unchecked when you sign in for the first time. This option lets other users under the same domain access this Hub if they log in using their company email address.
A user would not have access to this Hub, but they would be able to log in and create their own hub.
14. Select Credentials and re-enter your Microsoft Account Login and Password Information for the GAL Connection.
15. Wait for CiraHub to validate the connection to the Global Address List after entering the Login and Password.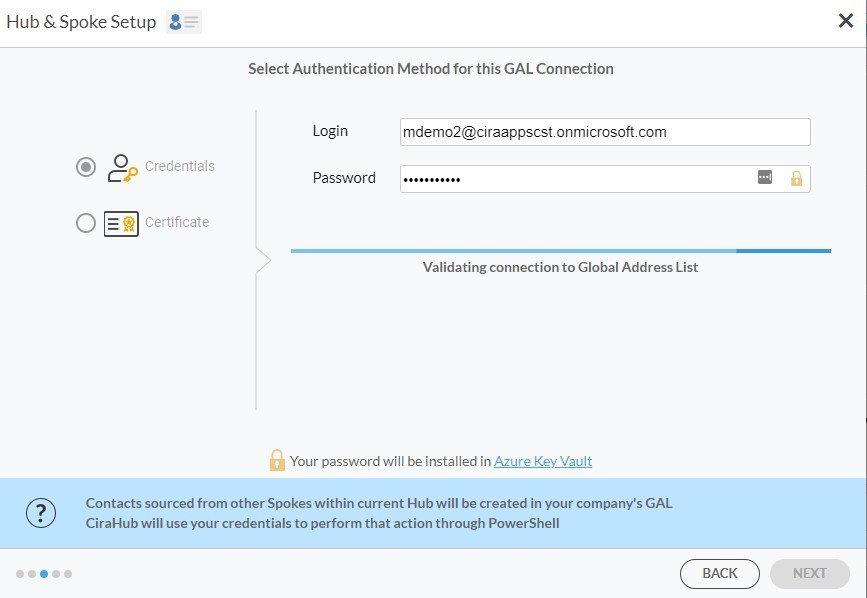
[/tab]
16. With the Certificate Authentication method, you will be prompted to either “Automatically Generate a Certificate,” or you can choose to Import a PFX Certificate File and enter your password.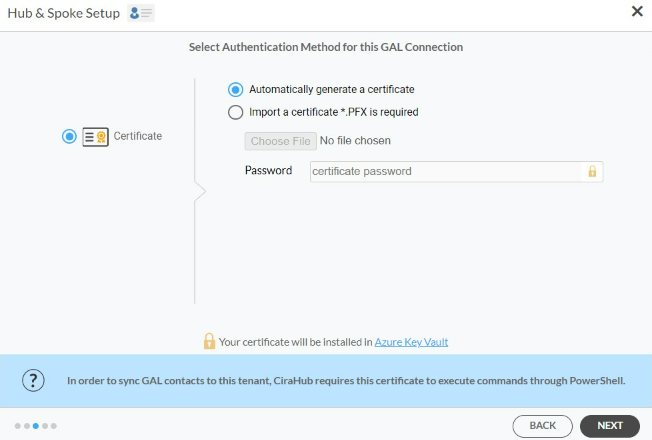
17. Enter your Microsoft Global Admin email address. CiraHub will then store your account information in the Microsoft Azure Vault when it is synced from Powershell.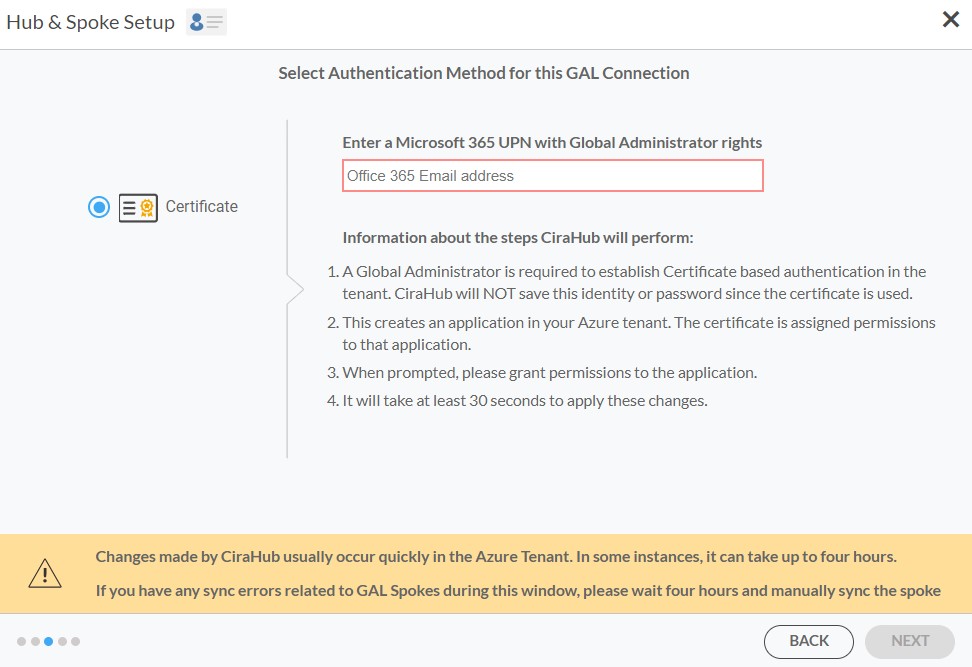
18. Lastly, you will need to wait for CiraHub to Install Certificate-Based Authentication for the GAL connection and then click Next to two-way sync GAL contacts. 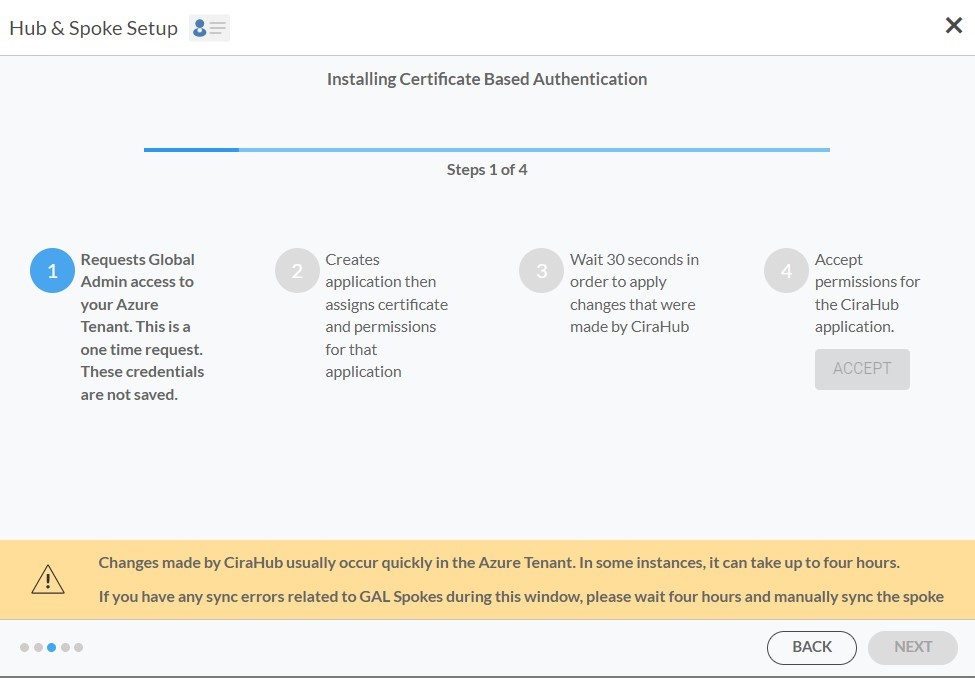
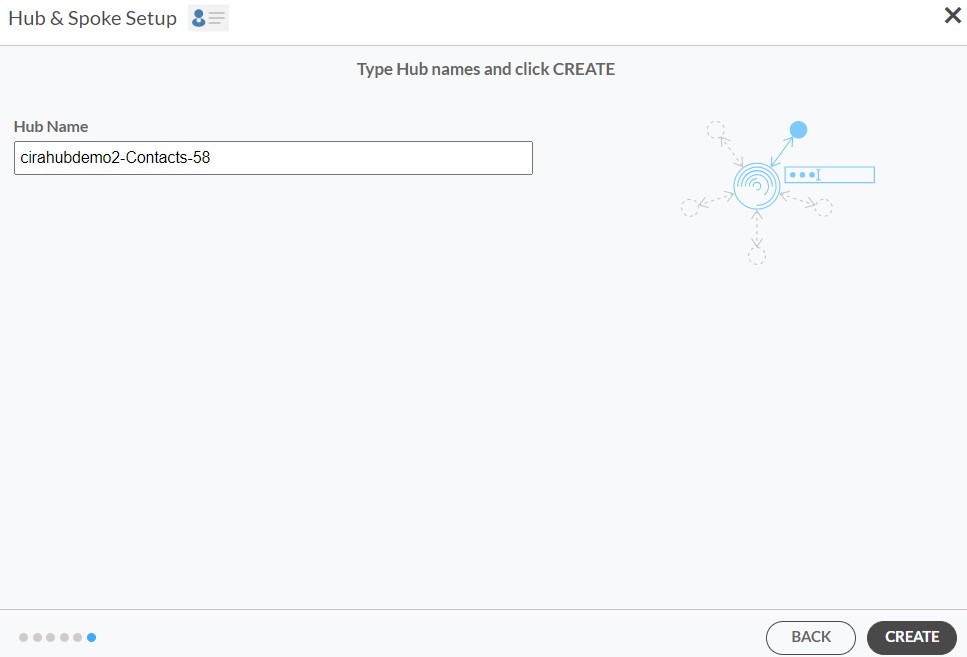
19. Type in a Spoke Name and click Next.

20. Type in a Hub Name and click CREATE.
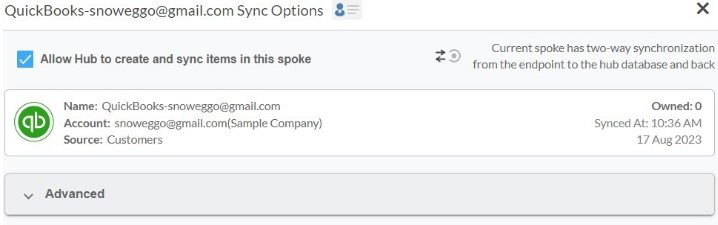
21. Next, right click your spoke, and select “Sync Options”. From there click the box “Allow Hub to create and sync items in this spoke.” This will enable 2-way synchronization between the Hub and your spoke.

22. Click on “Allow Hub” to create and sync items in this spoke. This will enable two-way synchronization from the endpoint to the Hub database and back.
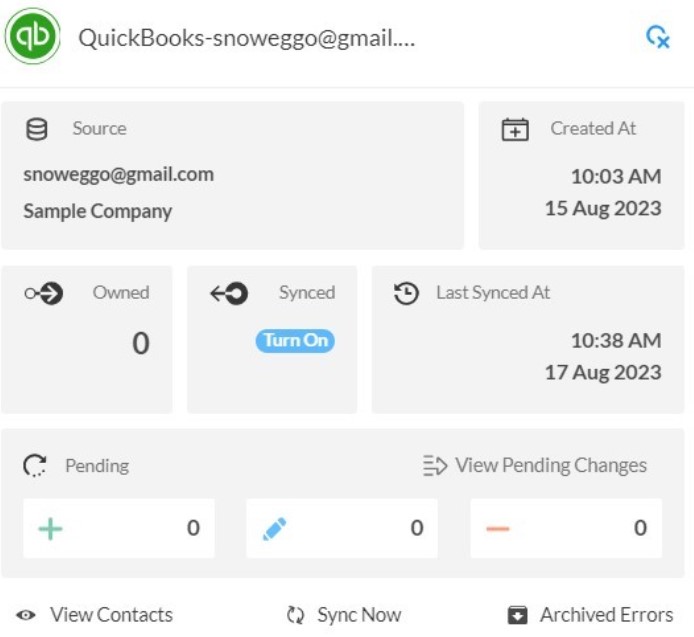
23. Click on “Sync now” in order to enable a 2-way sync for the current spoke to two-way sync between an Exchange Server Mailbox and a Microsoft 365 Public Folder. You can also edit any synchronization options for each of your spokes down below.
Why Two-Way Sync QuickBooks with Your Global Address List
With CiraHub users can sync contacts between QuickBooks and the Global Address List (Gal). Companies can sync data from the GAL to QuickBooks from the GAL to the QuickBooks , or back-and-forth with CiraHub’s sync configurations. CiraHub keeps contacts in perfect sync between the Global Address List (GAL) and QuickBooks, so users wont have to manage contacts in two different locations.
