This comprehensive article will outline how to two-way sync contacts between QuickBooks and your Exchange Server Public Folder.
For small businesses in 2023, QuickBooks is among the most widely used accounting programs. With QuickBooks you can expand your B2B commerce platform, create new sales channels, and through its online interface.
Two-way syncing QuickBooks with your Exchange Server Public Folder allows users to sync their public folder contacts directly into QuickBooks which can help companies easily manage their client’s information between the two platforms.
Thanks to this Two-way sync feature, you
- Combine Exchange Server Contacts and all QuickBooks Customers together.
- Add custom field mapping, filters, and conditions to the sync.
- Manage all of your emails with customers in one place
- Have access to a clean and intuitive dashboard.
- Can sync from QuickBooks, Salesforce, HubSpot, ActiveCampaign, and more.
This article will show you how to enable a two-way sync for QuickBooks and Exchange Server Public Folder.
Set Up Two-Way Contact Sync Between QuickBooks and an Exchange Server Public Folder
Create a Spoke for QuickBooks
1. Log into CiraHub. You will be taken to the onboarding wizard.
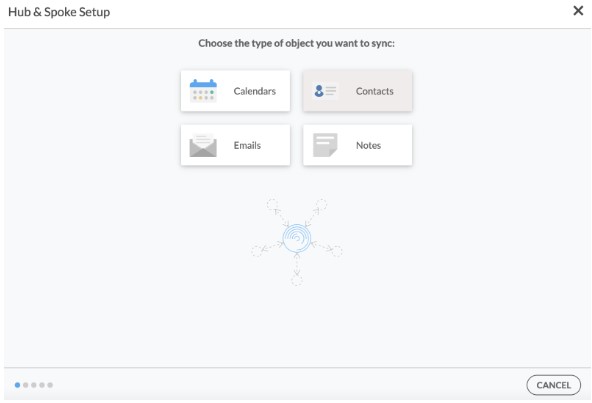
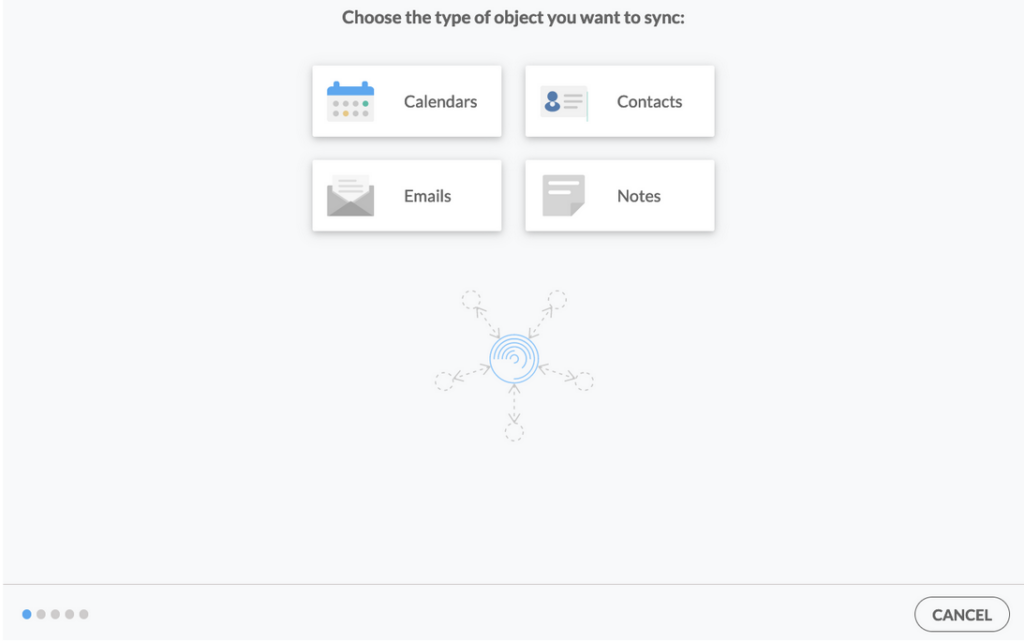
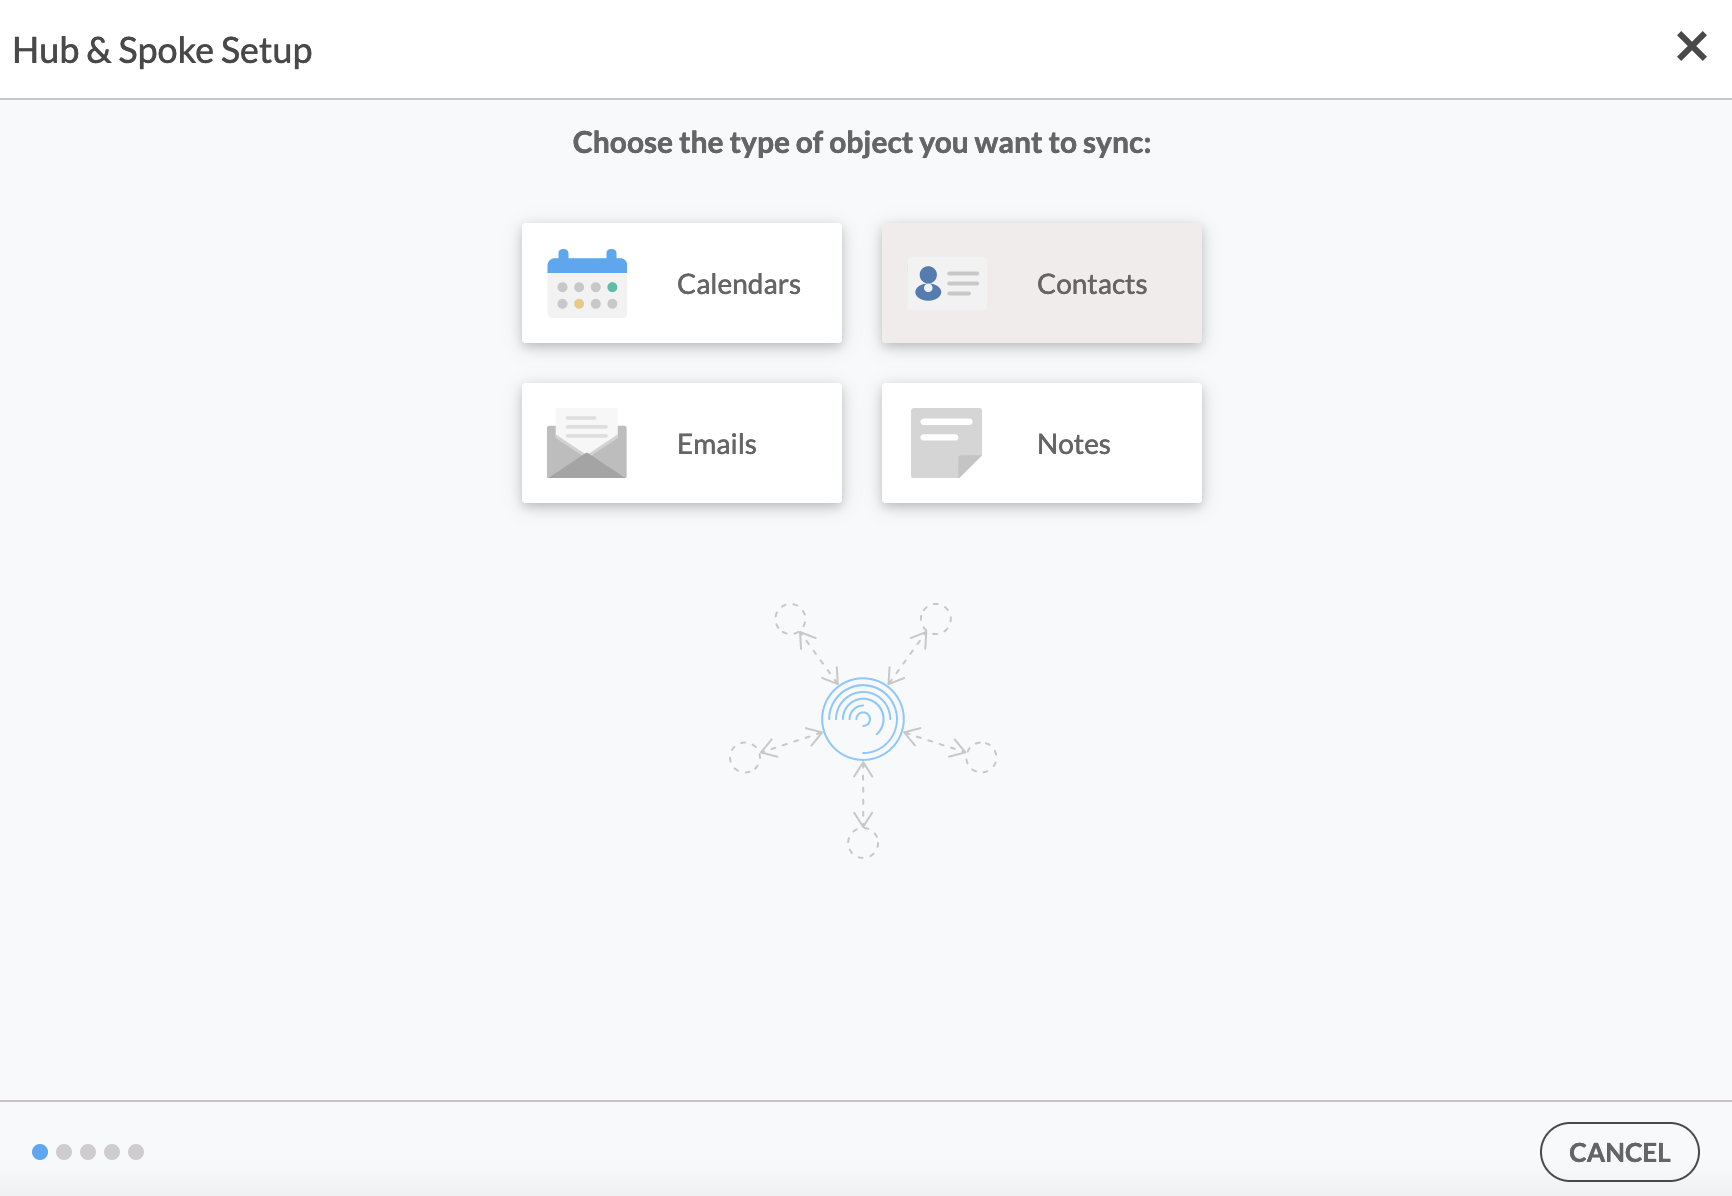
2. Next, you’ll need to choose the type of object you want to sync. Select “Contacts.”
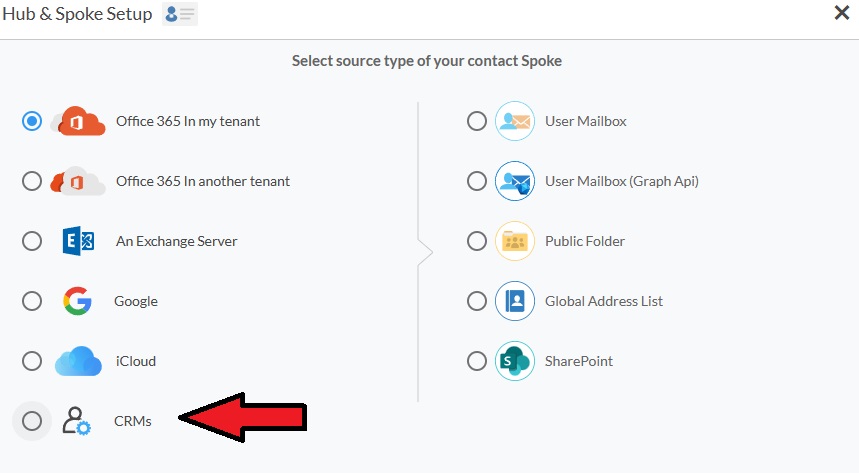
3. To start your Hub and Spoke setup, click “CRM” as the source type of your contact spoke, then select “Quickbooks” from the list of CRMs and click NEXT.
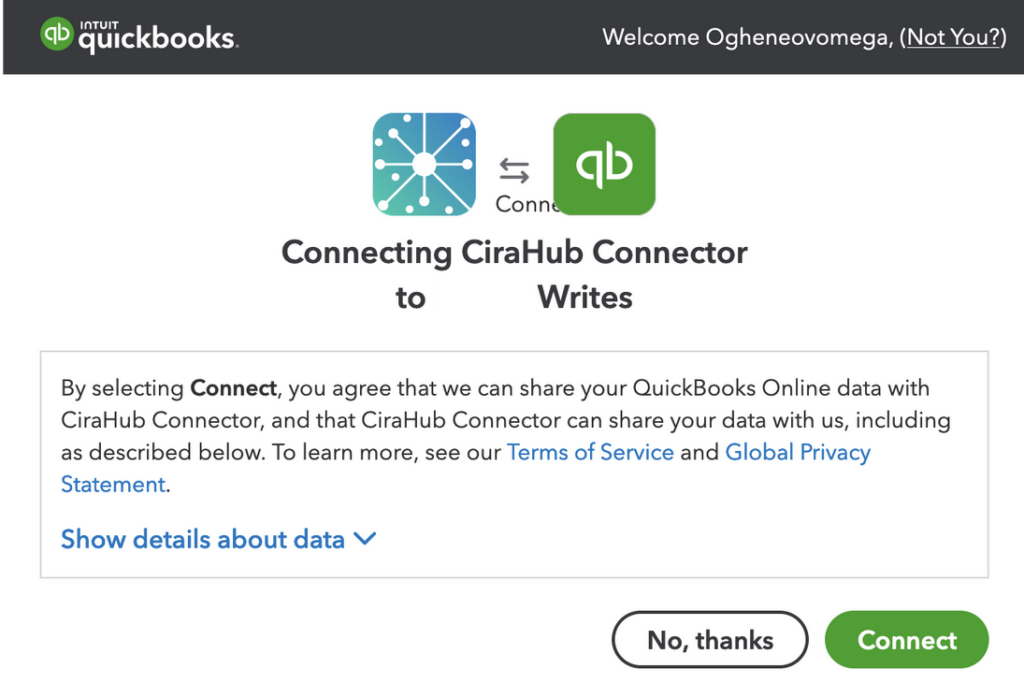
4. Click “Sign in with QuickBooks” and enter your company’s name, then click “Create Company” to connect with the CiraHub Connector.
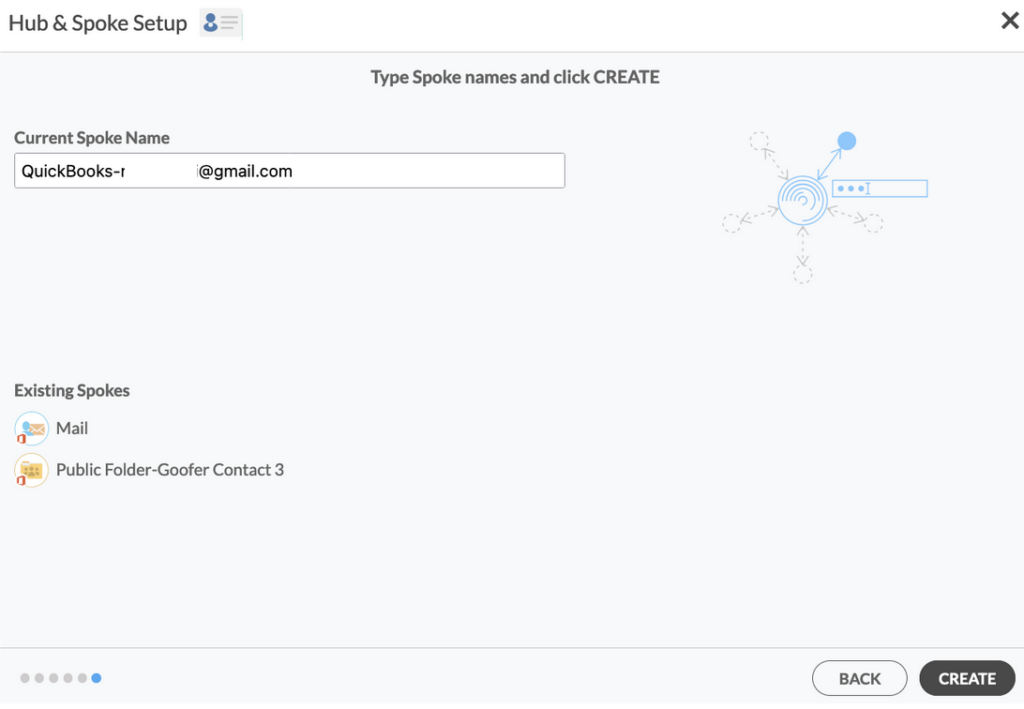
5. Enter a name for your current spoke and click “CREATE.”
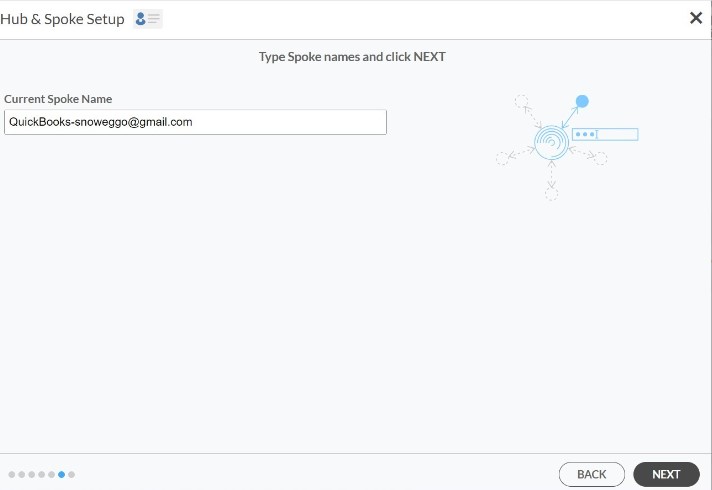
7. Type in a Spoke name and click NEXT.
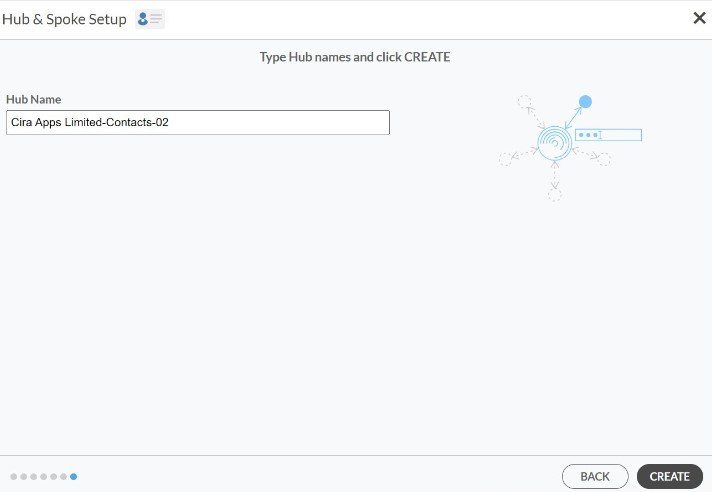
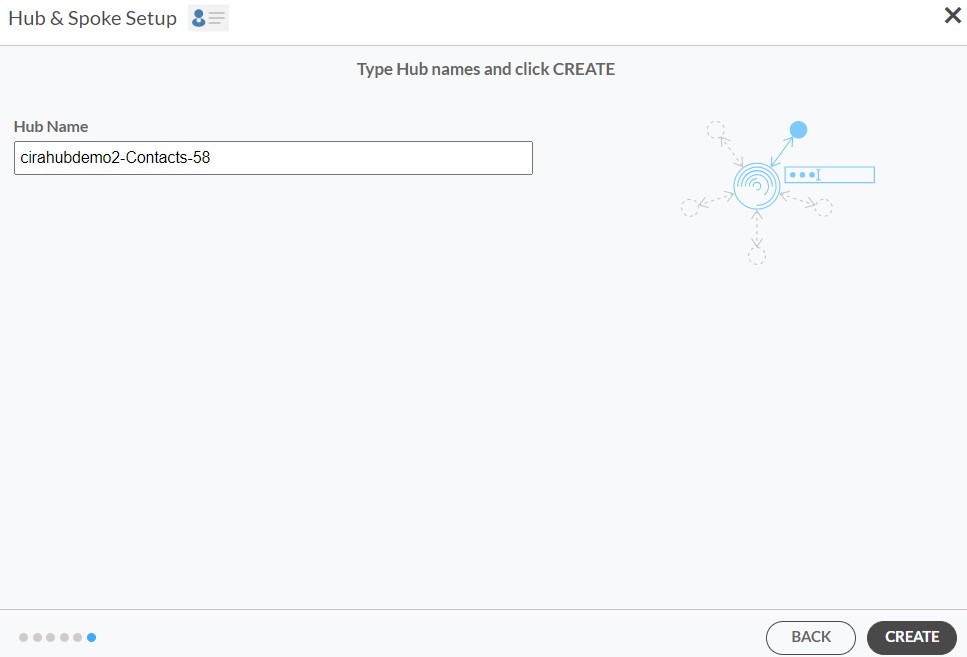
8. Type in a Hub name and Click CREATE.
Create Exchange Server Public Folder Spoke
9. First, Log in to CiraHub. You will be taken to the onboarding wizard. (See figure below.) Next, select the object you want to sync. In this example the contacts object has been selected.
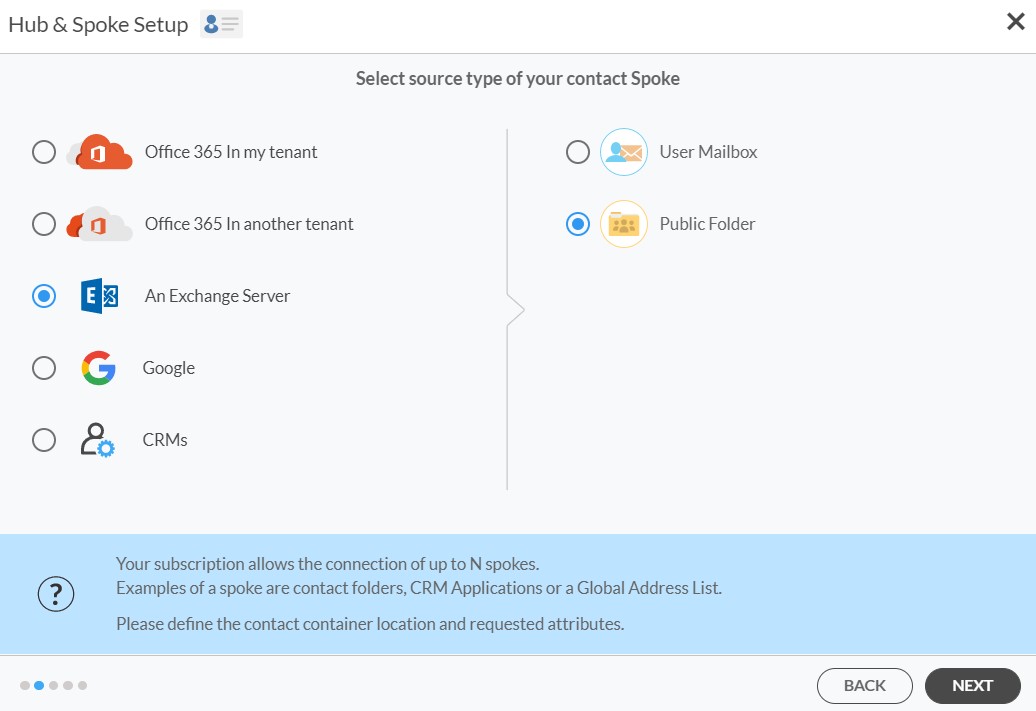
10. Start the Hub and Spoke setup. Click on “Exchange Server” as your contact spoke and select Public Folder.
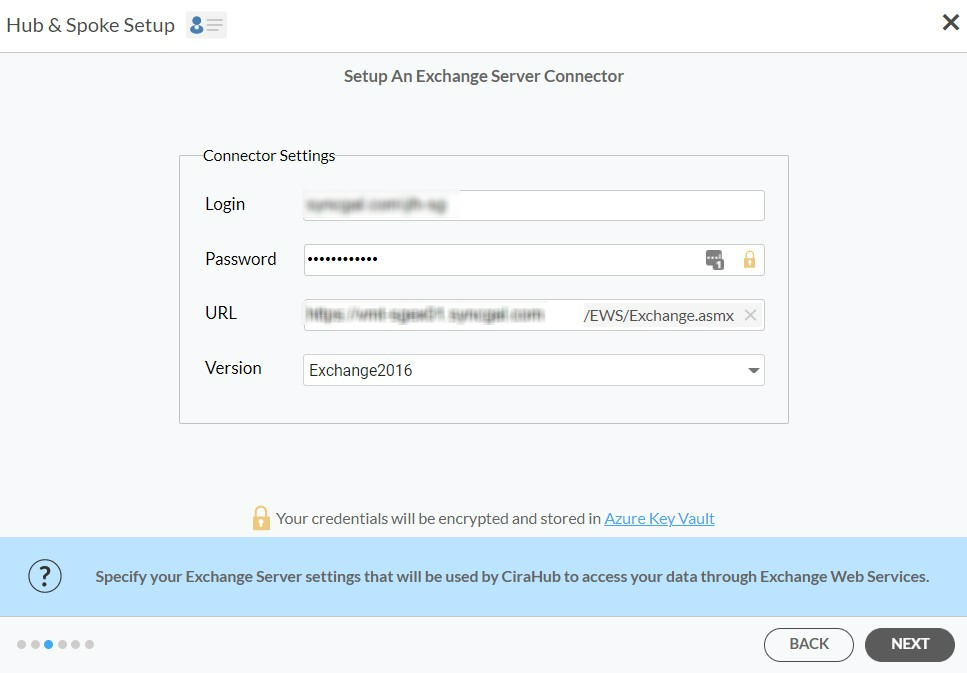
11. In order to Two-way sync Exchange Server contacts, you’ll need to Enter your Exchange Sever Connector Login, Password, URL, and Exchange Version. Find this info in your Exchange Server settings. If you are running an Exchange Version dated 2016 or later, select Exchange 2016 in your Connector Settings.
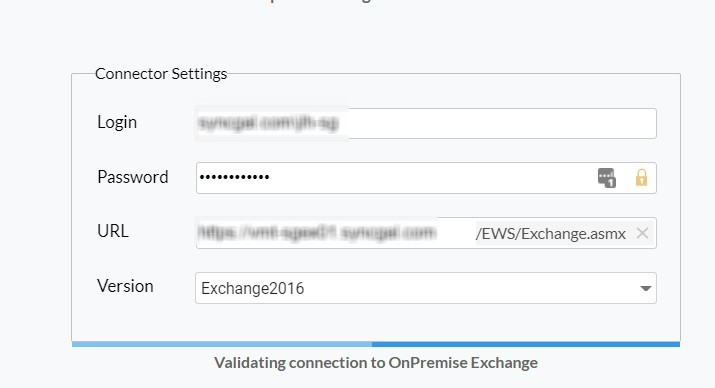
12. Wait for CiraHub to Validate your Exchange Server Settings in order to access your data.
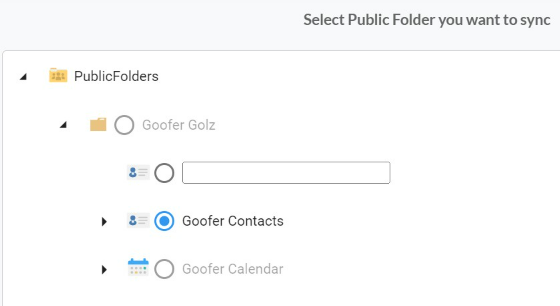
13. Select the Public Folder you wish to sync.
14. Type in a Spoke Name and click Next.

15. Type in a Hub Name and click Create.
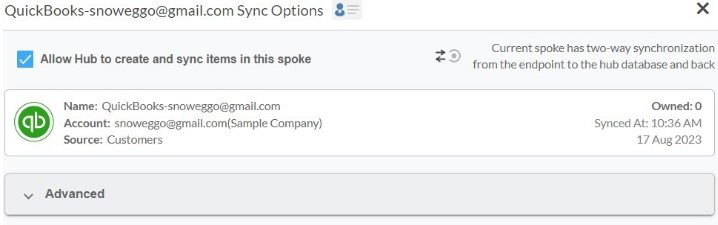
16. Next, right click your spoke, and select “Sync Options”. From there click the box “Allow Hub to create and sync items in this spoke.” This will enable 2-way synchronization between the Hub and your spoke.

17. Click on “Allow Hub” to create and sync items in this spoke. This will enable two-way synchronization from the endpoint to the Hub database and back.
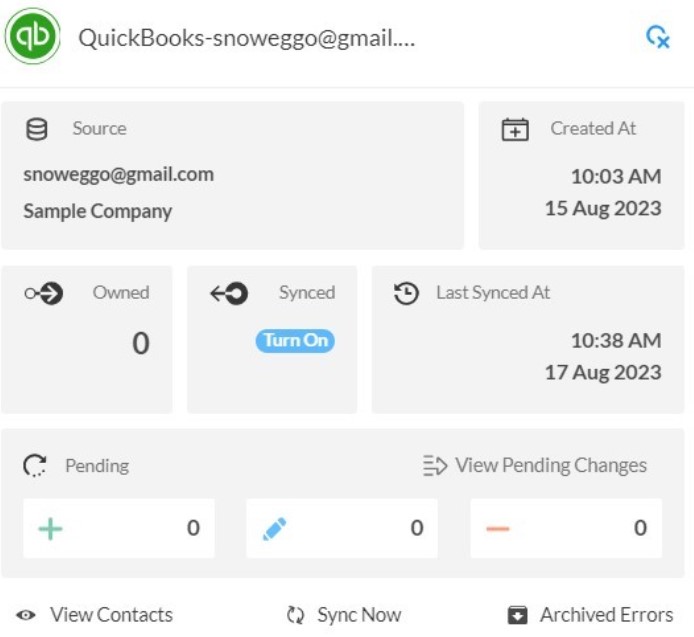
18. Click on “Sync now” in order to enable a 2-way sync for the current spoke to two-way sync between an Exchange Server Mailbox and a Microsoft 365 Public Folder. You can also edit any synchronization options for each of your spokes down below.
Why Two-Way Sync QuickBooks with Your Exchange Server Public Folder
Exchange Server Public folders offer a simple and efficient way to gather, organize, and share material with other members of your workgroup or company. CiraHub allows you to sync all of your information you have stored in your Exchange Server Public folder directly into QuickBooks. This can help you manage all of your essential information and better manage your clients.
You must have an active QuickBooks and Exchange Server account in order to start the migration two-way sync process from QuickBooks to Exchange Server. Click here to learn more about how you can start a CiraHub trial today!
