This comprehensive article will outline how to two-way sync contacts between QuickBooks and Office 365 User Mailboxes. QuickBooks is a cloud-based accounting solution that helps small business owners manage their invoices, pay their bills, and organize their cash flows. Organizations that manage financial information through QuickBooks and communicate with their customers through Microsoft Outlook can find great value in two-way contact syncing between QuickBooks and Office 365 User Mailboxes.
Thanks to this Two-way sync feature, you
- Can access your User Mailbox contacts in QuickBooks.
- Can access your QuickBooks contacts in Office 365 User Mailboxes.
- Share financial information with customers through emails.
- Users can easily send invoices to contacts saved in QuickBooks.
- Have access to a clean and intuitive dashboard.
- Can sync from QuickBooks, Salesforce, HubSpot, ActiveCampaign, and more.
This article will show you how to enable a two-way sync for QuickBooks and Office 365 User Mailbox contacts.
Set Up Two-Way Contact Sync Between QuickBooks and Office 365 User Mailboxes
Create a QuickBooks Spoke
1. Log into CiraHub. You will be taken to the onboarding wizard.
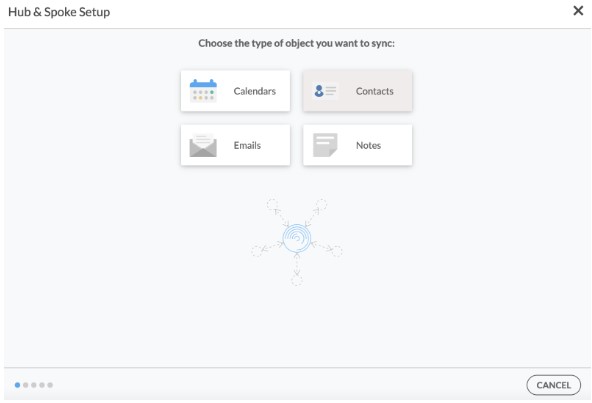
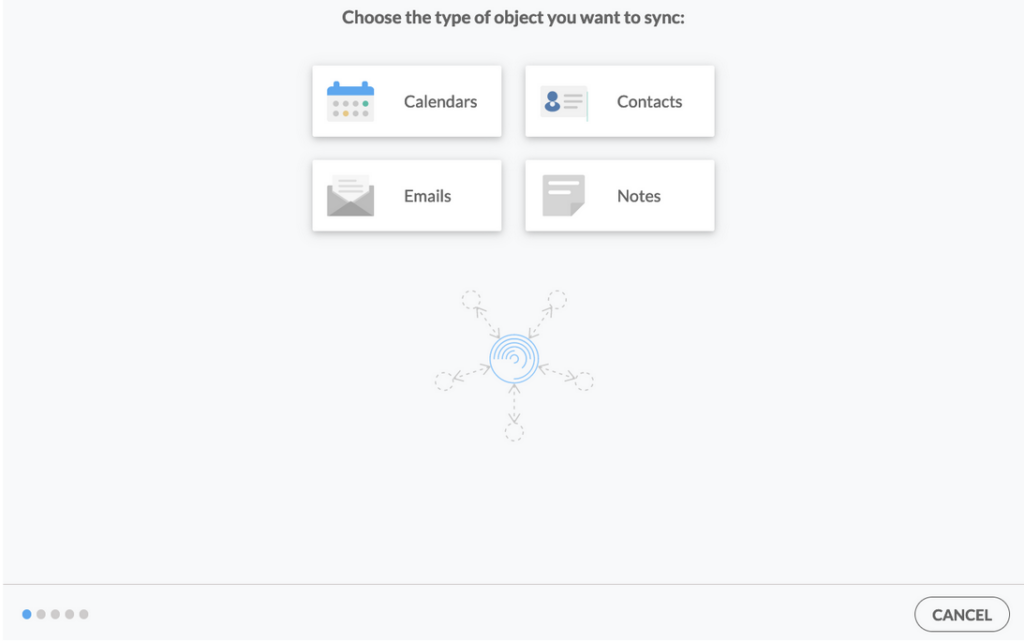
2. Next, you’ll need to choose the type of object you want to sync. Select “Contacts.”
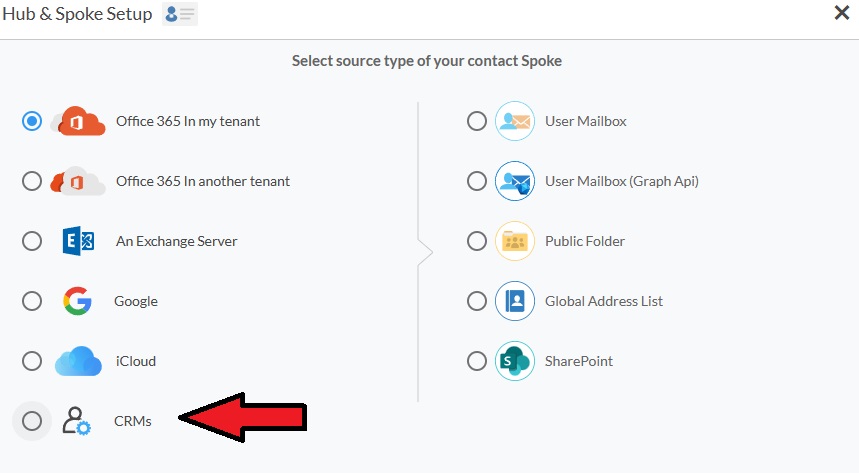
3. To start your Hub and Spoke setup, click “CRM” as the source type of your contact spoke, then select “Quickbooks” from the list of CRMs and click NEXT.
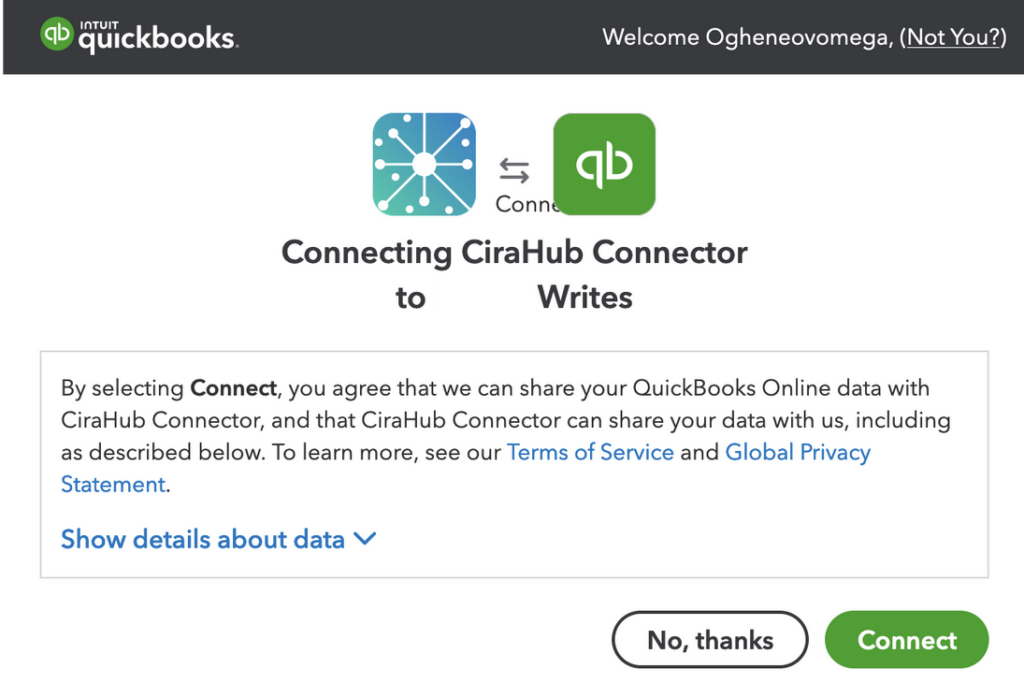
4. Click “Sign in with QuickBooks” and enter your company’s name, then click “Create Company” to connect with the CiraHub Connector.
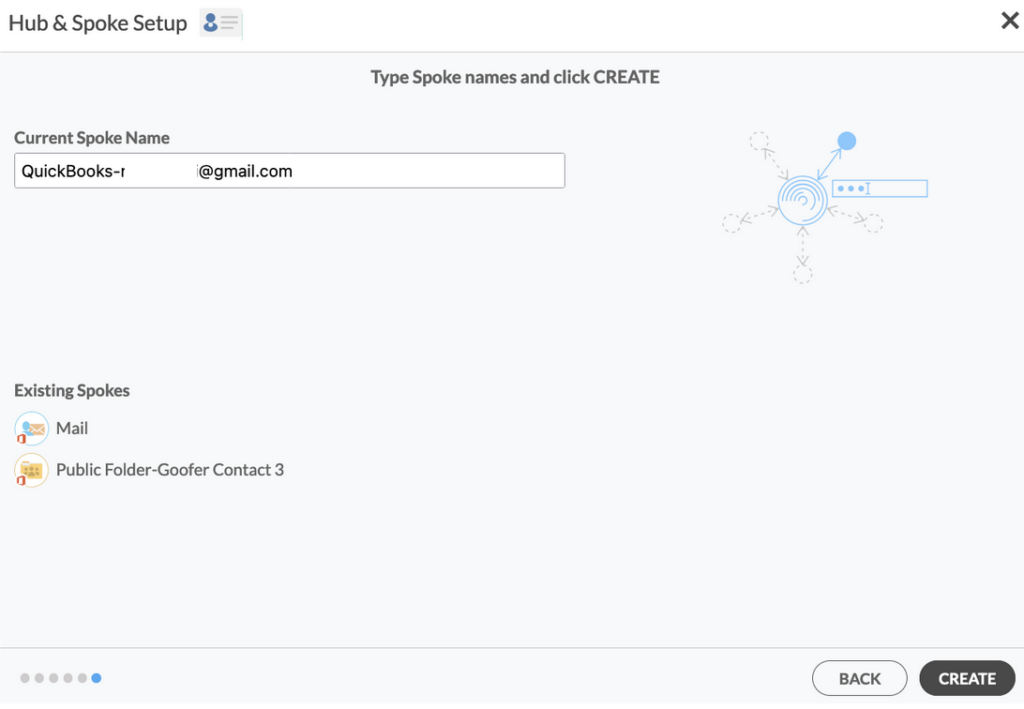
5. Enter a name for your current spoke and click “CREATE.”
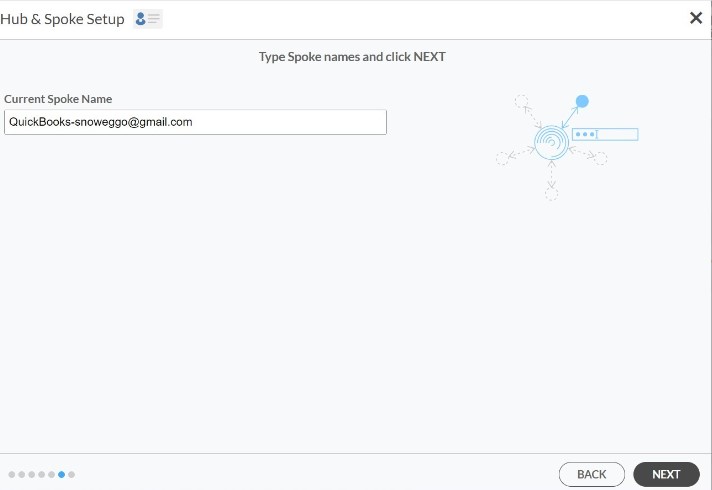
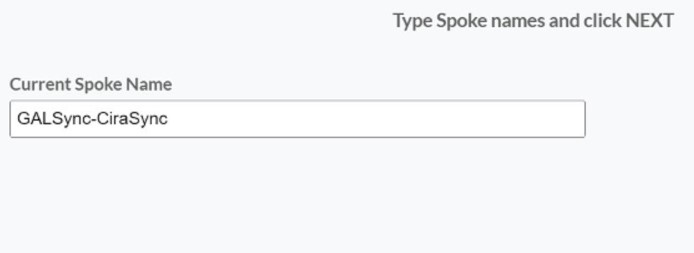
7. Type in a Spoke name and click NEXT.
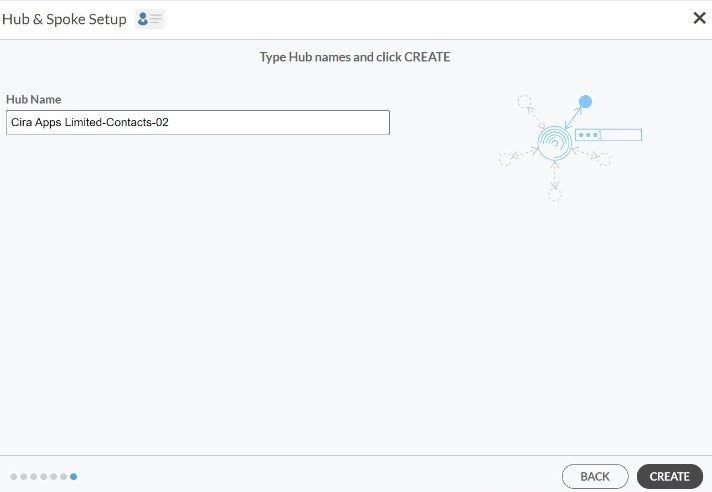
8. Type in a Hub name and Click CREATE.

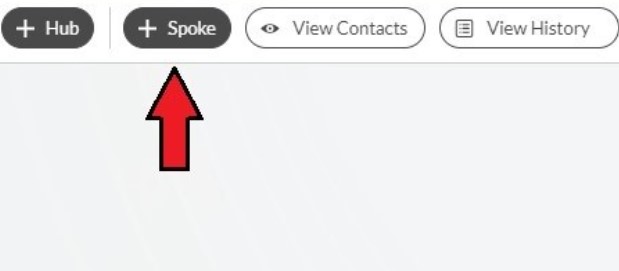
9. Select the option to add an Additional Spoke.
Create User Mailbox Spoke
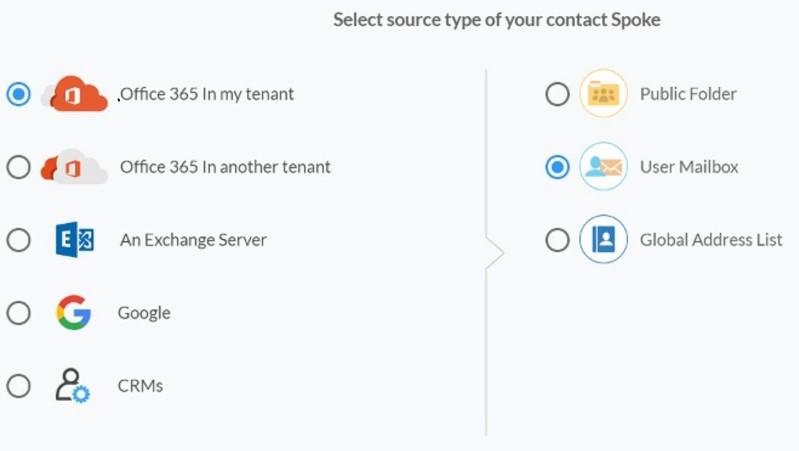
10. To add a Contact List within a Microsoft Office 365 User Mailbox to the Hub, Click on “Microsoft 365 In my tenant” and select User Mailbox.
11. Select which “User Mailbox” you want to Sync.
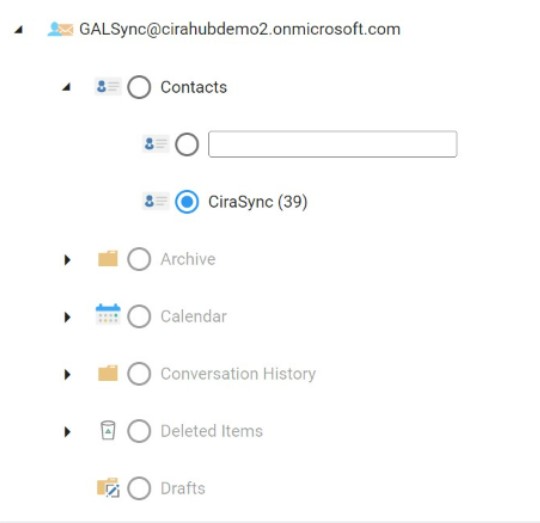
12. Type in a Spoke name and click NEXT.
13. Next type in a “Hub Name” and click CREATE in order to two-way sync User Mailbox contacts.
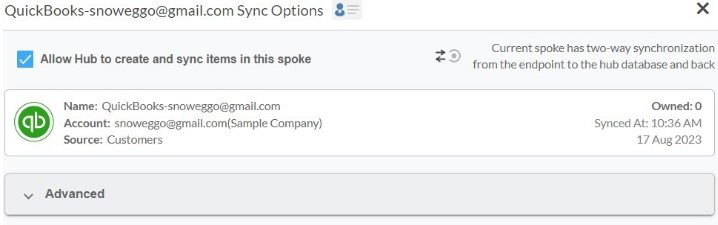
14. Next, right click your spoke, and select “Sync Options”. From there you will be taken to a new window, click the box which says, “Allow Hub to create and sync items in this spoke.

15. Click on “Allow Hub to create and sync items in this spoke”. This will enable you to two-way sync contacts from the endpoint to the hub database and back. Select Categorize Data in Spoke if you would like to filter out which items you would like to sync.
16. Click on “Sync now” to enable two-way contact sync for the current spoke. You can also edit any synchronization options for each of your spokes below.
Why Should You Two-Way Sync Your QuickBooks and Office 365 User Mailbox Contacts
To complete tasks like invoicing, payments, and submitting reports, the majority of businesses utilize QuickBooks as their accounting software. Additionally, they often will need to regular email exchanges with clients to discuss their finances.
Therefore, by synchronizing your QuickBooks with User Mailboxes this can help you share any important information, contacts and financial data with your customers. With CiraHub two-way sync all of your contacts between QuickBooks and a User Mailbox on a regular basis. CiraHub is registered with Microsoft Azure. It utilizes the Azure Consent Framework and will not store passwords.
