Maintaining up-to-date contact information across various platforms is not just a convenience; it’s a necessity for efficient business operations. Whether you’re a sales professional, a project manager, or just someone who juggles multiple contacts across platforms, you understand the importance of having synchronized contact information. In this article, we’ll outline step-by-step instructions to sync contacts between Deal Cloud and Exchange Public Folder contacts on CiraHub.
Set Up a Two-Way Sync Deal Cloud and Exchange Public Folder Contacts
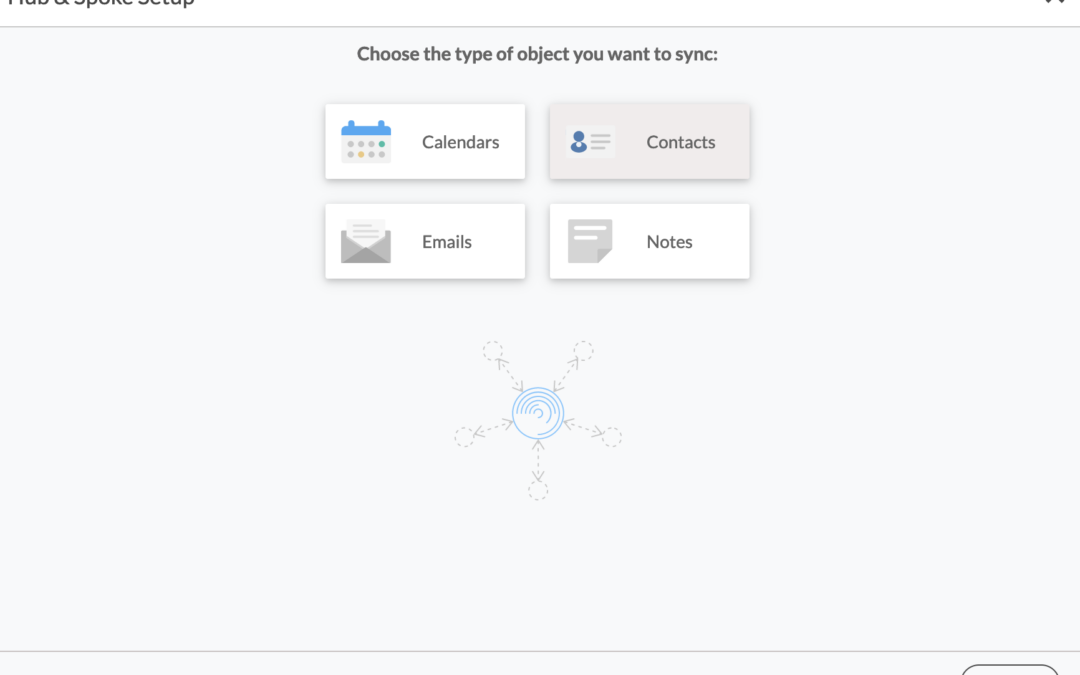
1. Log in to CiraHub. It will take you to the onboarding wizard. (See figure below.) Next, select the object you want to sync. In this example, the “Contacts” object has been selected. 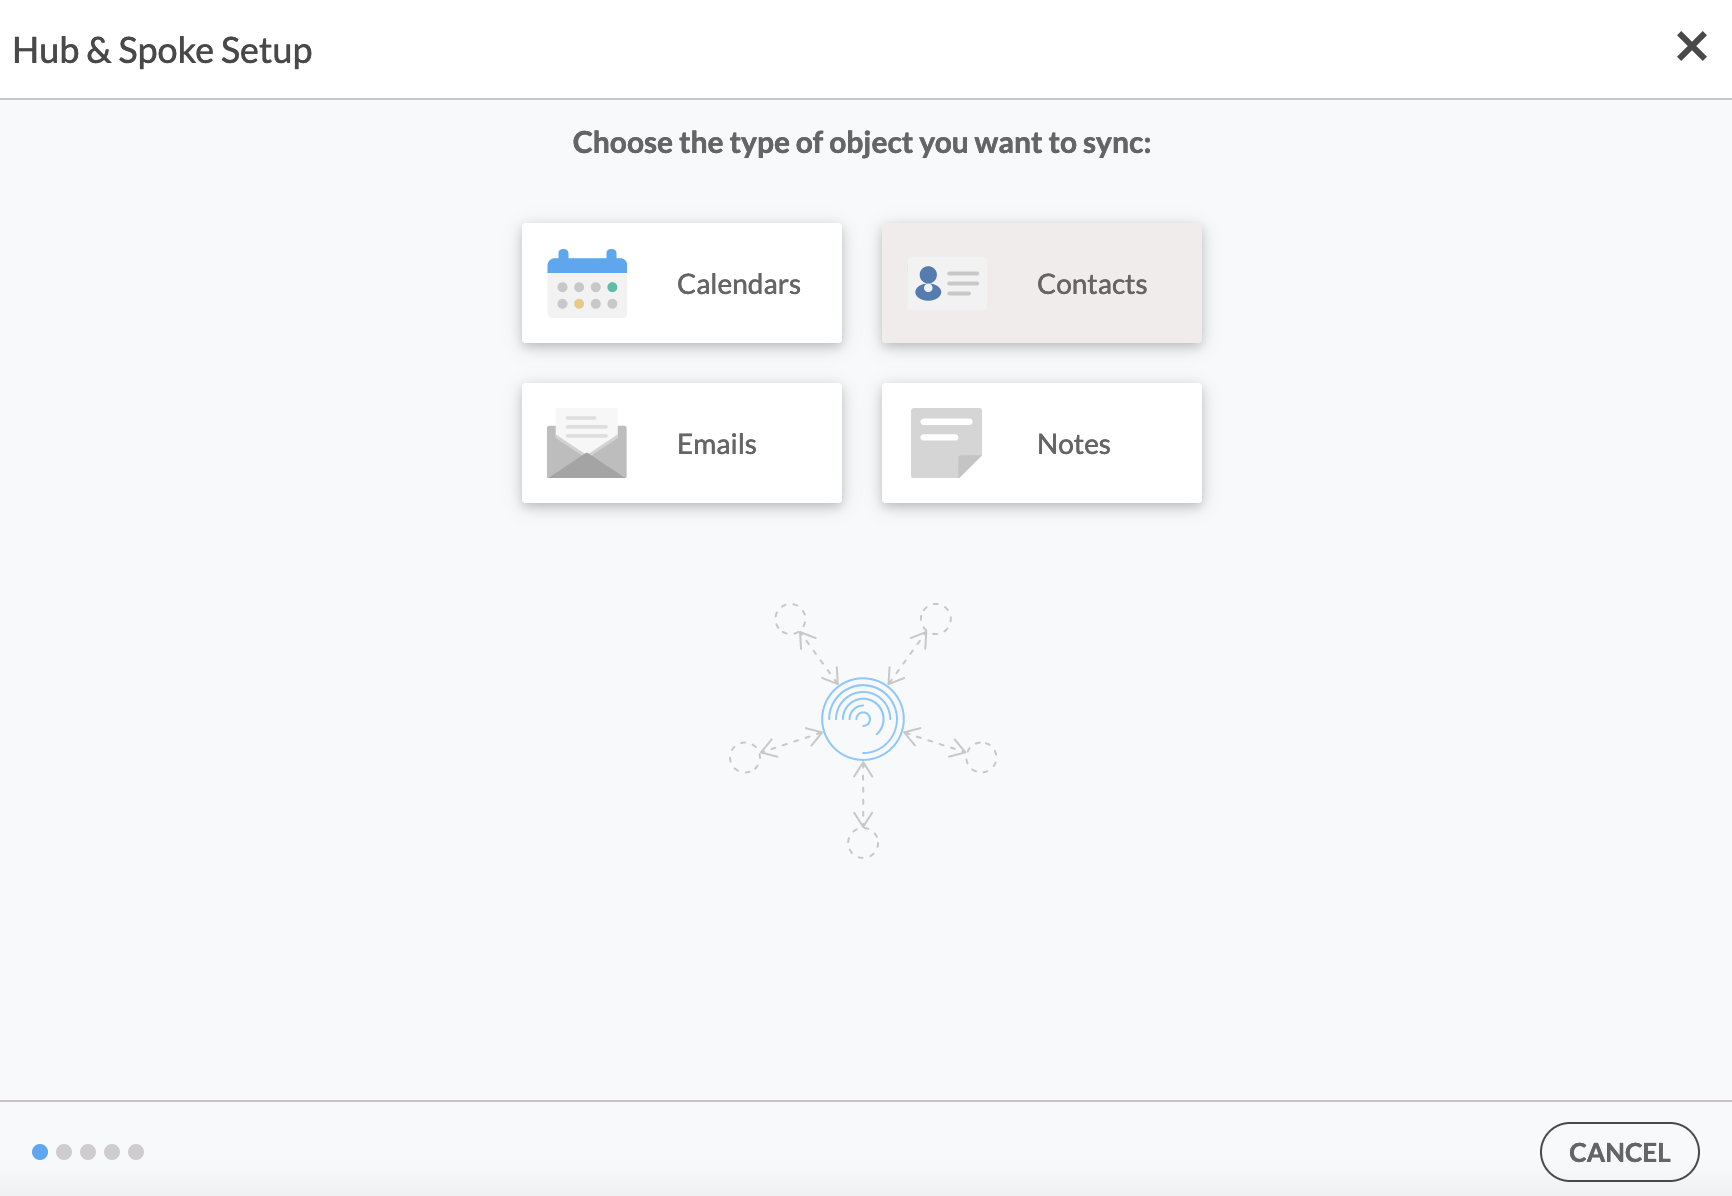
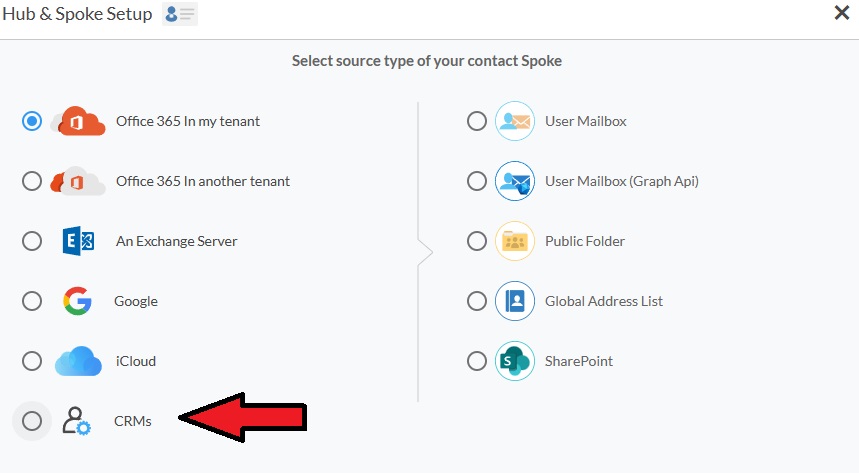
2. Next, start the Hub and Spoke setup. Click on “CRMs” as your source type for your contact spoke. (The Hub contains all synced Contacts from each spoke; a spoke can be a Public Folder, a user mailbox, the GAL or a CRM.)
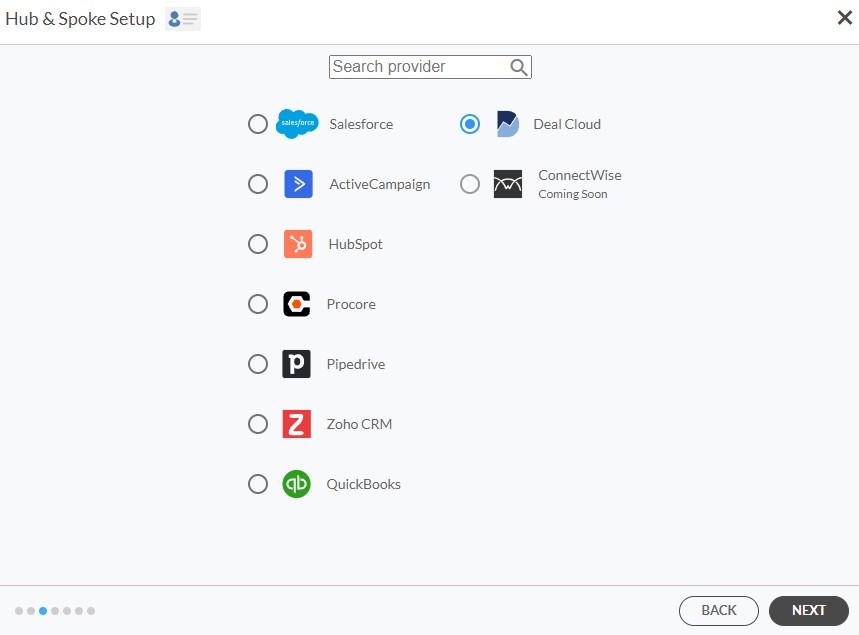
3. Select Deal Cloud as the contact spoke type.
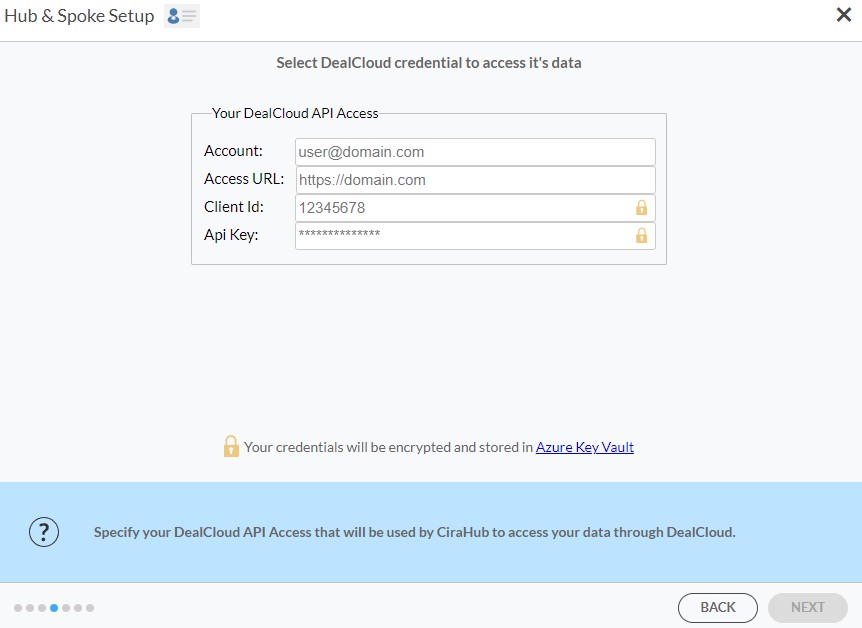
4. Type in Deal Cloud API Access information to sync its account data to CiraHub.
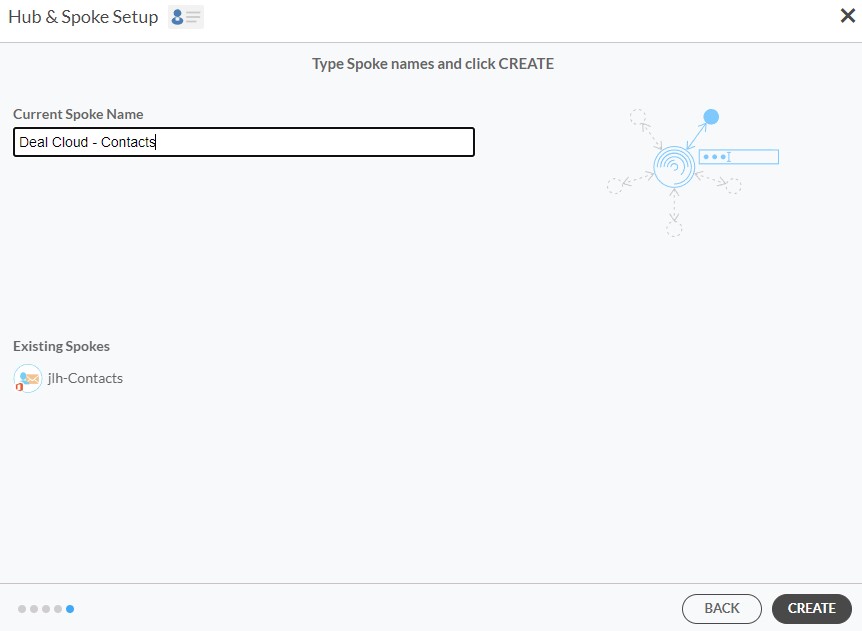
5. Type in a Spoke name and click Create.
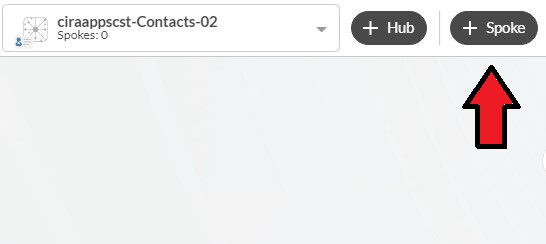
6. Select the option to add an Additional Spoke.
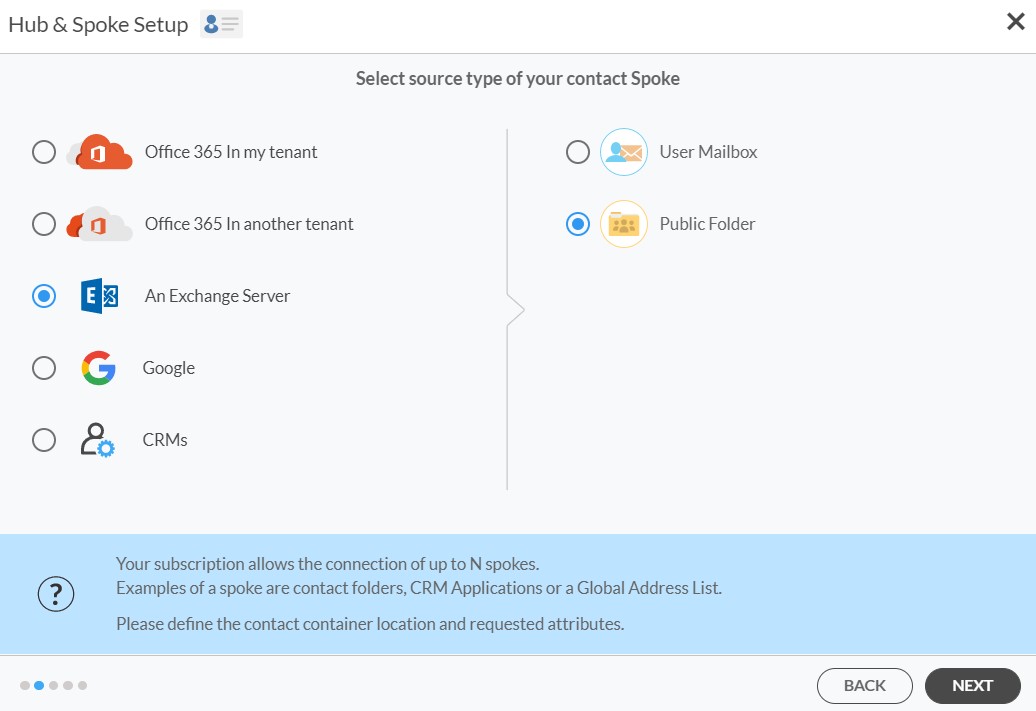
7. Select the source type of your contact spoke. To two-way sync Exchange Server Public Folder Calendar, click An Exchange Server and select Public Folder and NEXT (See figure below).
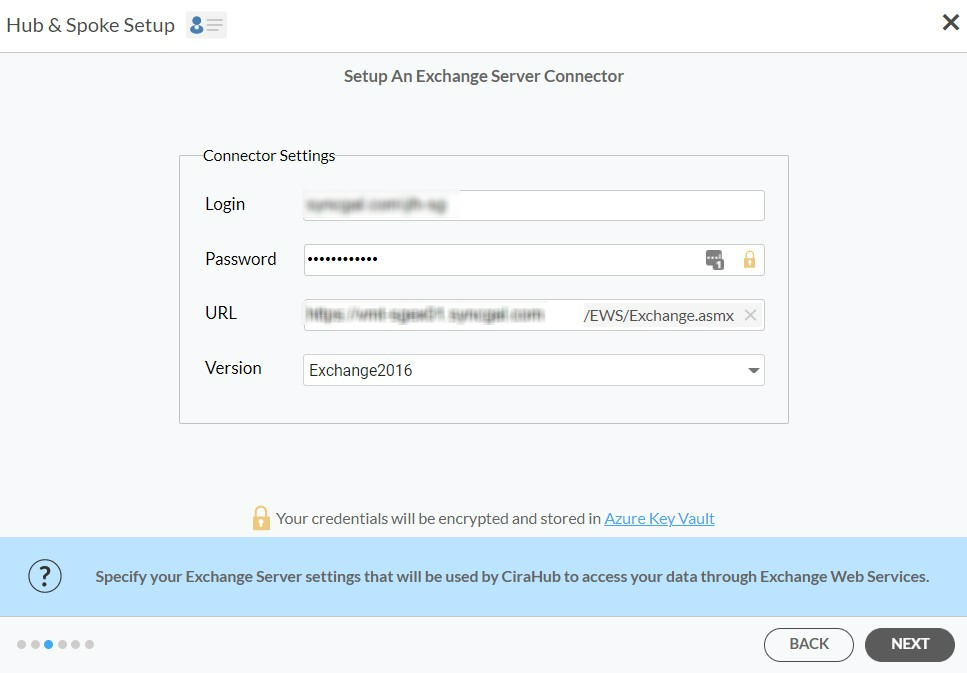
8. Enter your Exchange Server Connector Login, Password, URL, and Exchange Version. If you are running an Exchange Server version dated 2016 or later, always select Exchange 2016 in your connector Settings. You can find this information in your Exchange Server settings. (See figure below).
9. Wait for CiraHub to validate your Exchange Server Settings in order to access your data.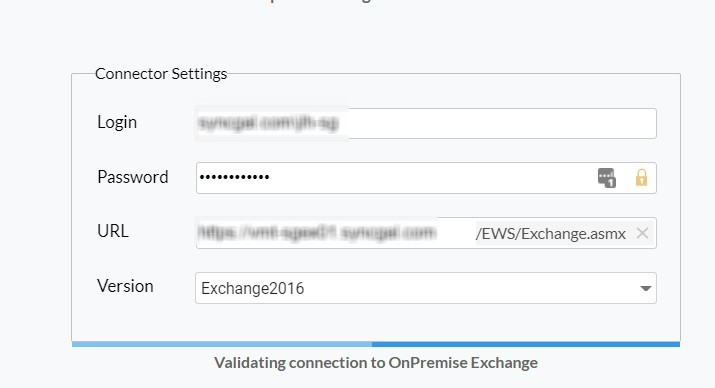
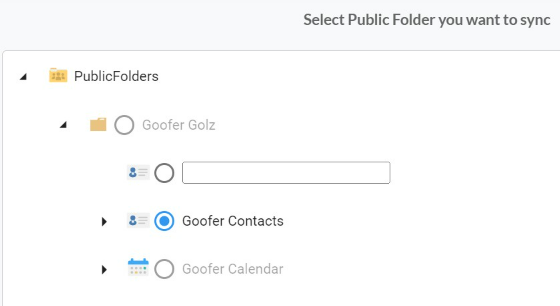
10. Select the Public Folder Contact source you want to sync from the list. (See figure below.)
11. Create a name for your spoke and click Next. (See figure below.)

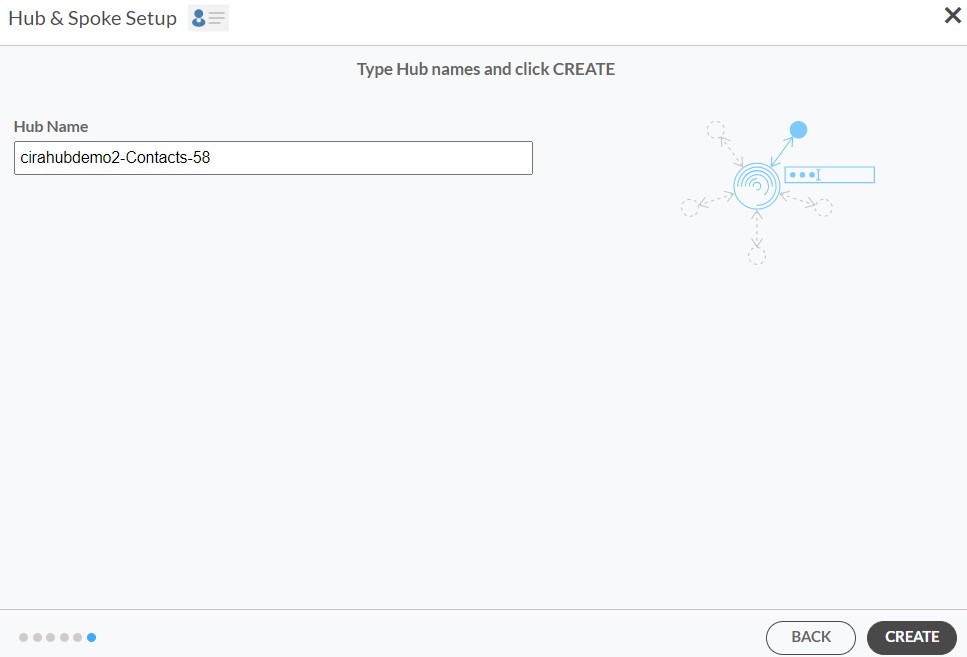
12. Name your Hub, then click CREATE. (See figure below.)
13. Next, right click each spoke, and select “Sync Options”.
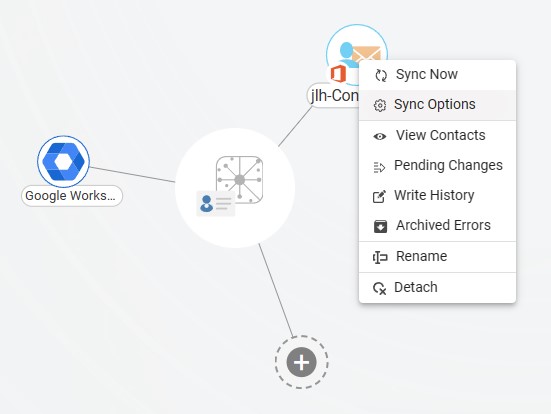
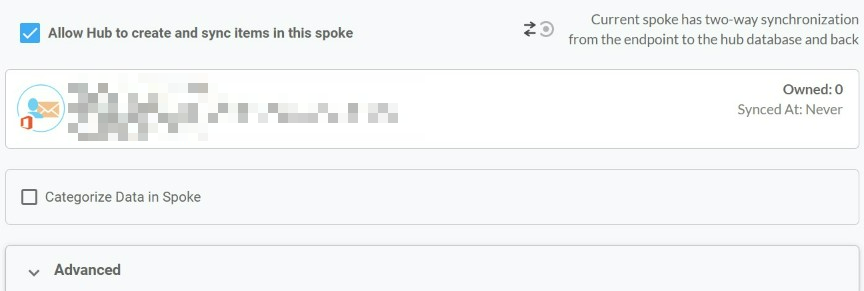
14. Click on “Allow Hub” to create and sync items in this spoke. This will enable two-way synchronization from the endpoint to the hub database and back.
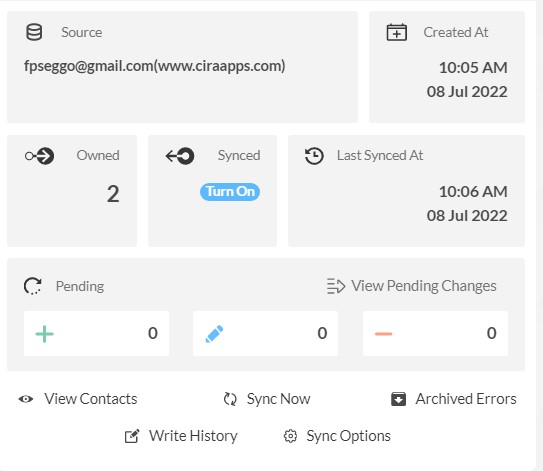
15. Click on “Sync now” to two-way sync Deal Cloud and Procore Contacts. You can also edit your synchronization options for each of your spokes below.
And there you have it! We’ve successfully set up a two-way contact sync between Deal Cloud and Exchange Public Folders, and now you’re equipped with the knowledge to make it happen.
Remember, the goal of this synchronization is not just to reduce the manual effort of updating contacts across platforms, but also to ensure that you have access to accurate and updated information, no matter where you are working from. By implementing these steps, you’re not just optimizing your workflow, but also paving the way for more efficient and effective communication within your business environment. Happy syncing!
