How to share a file in SharePoint with specific people or externally?
When you upload a file to SharePoint, it’s shared with everyone who has access to the site or document library. But what if you want to share a file externally, with people or groups who don’t have access? How to do it? In this post, we will see two ways to share a SharePoint file externally or with specific people.
Method 1: Share a SharePoint File With Specific People Using the “Share” Button
Remember that to share a file in SharePoint, you just need to upload it to a SharePoint library, and everyone who has access to the library will access the file. But this method here will show you how to share a file with people who don’t have access to the library or site.
The first method to externally share a file in SharePoint is by using the “Share” button. This method is perfect if you want to share files with specific people, like team members or collaborators.
Here are the steps to Share a SharePoint File With Specific People Using the “Share” Button:
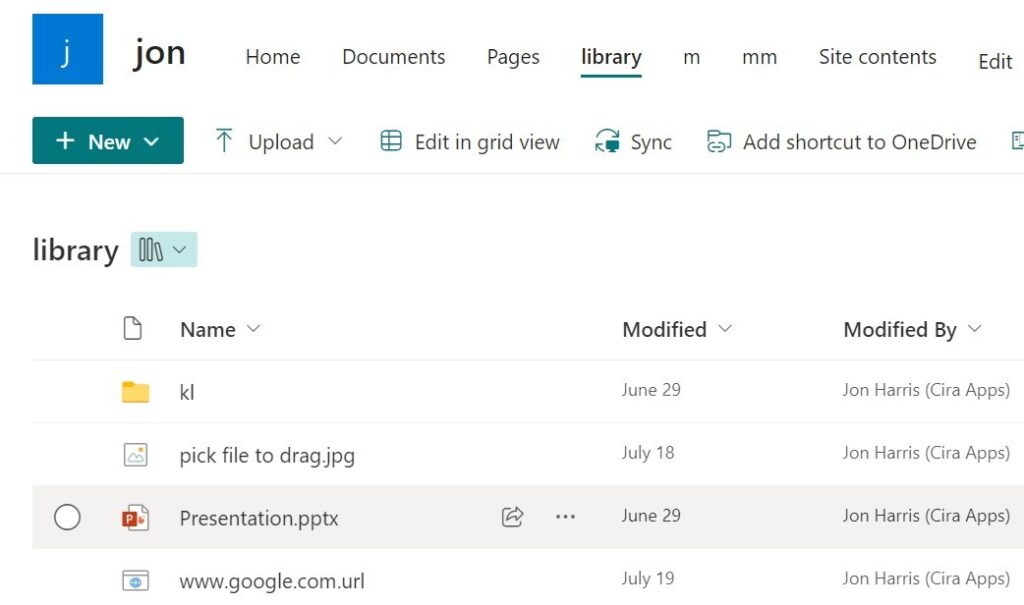
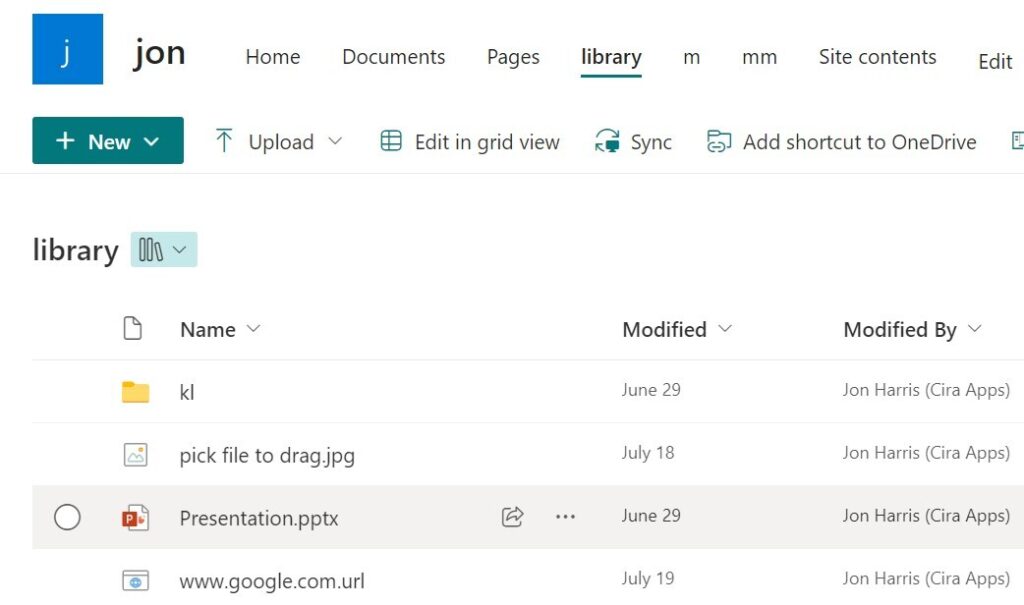
1. Locate the file: Open SharePoint and navigate to the site where the file is located. You will find your file stored in either a document library or a folder within a library
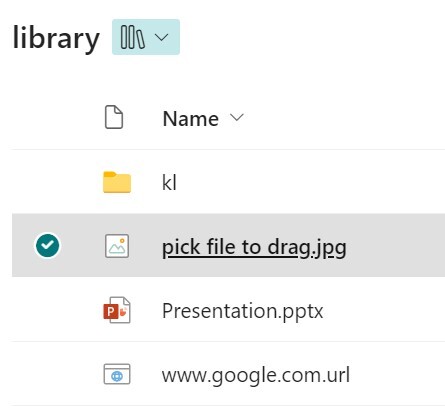
2. Choose the file: Once you’ve located your file, click to select it. A toolbar will appear at the top of the screen.
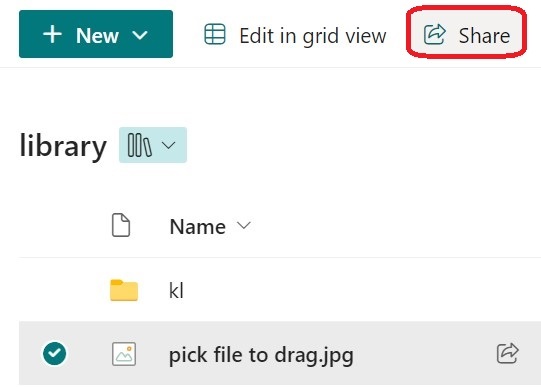
3. Click “Share”: In this toolbar, click the “Share” button. This will open a new window.
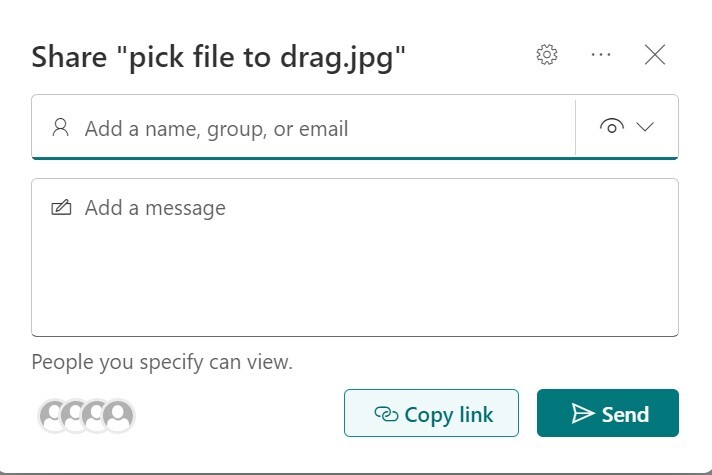
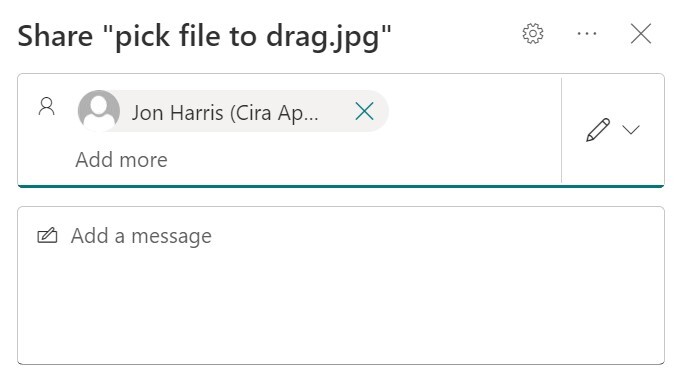
4. Enter the recipients’ details: In the new window, you can enter the email addresses of the people with whom you want to share the file. As you start typing, SharePoint will suggest contacts from your organization. You can select the suggested contacts or continue typing to add external email addresses.
5. Set permissions: Once you’ve added your recipients, it’s time to decide what level of access they should have. You can choose between “Can edit” or “Can view.” If you want the recipients to be able to make changes to a file, select “Can edit.” If you only want them to view the file without making changes, select “Can view.”
6. Add a message (Optional): If you wish, add a personal message that the recipients will see when they receive the file.
7. Click “Send”: Once you’re happy with your sharing settings, click “Send.” An email with a link to the file will be sent to the recipients.
Method 2: Share a File in SharePoint Using “Copy Link”
The second method to share a file in SharePoint is by creating a shareable link. This method is suitable if you want to share the document with a large group of people, as you can simply share the link rather than entering each individual’s email.
Below are the steps to share a File in SharePoint Using “Copy Link”:
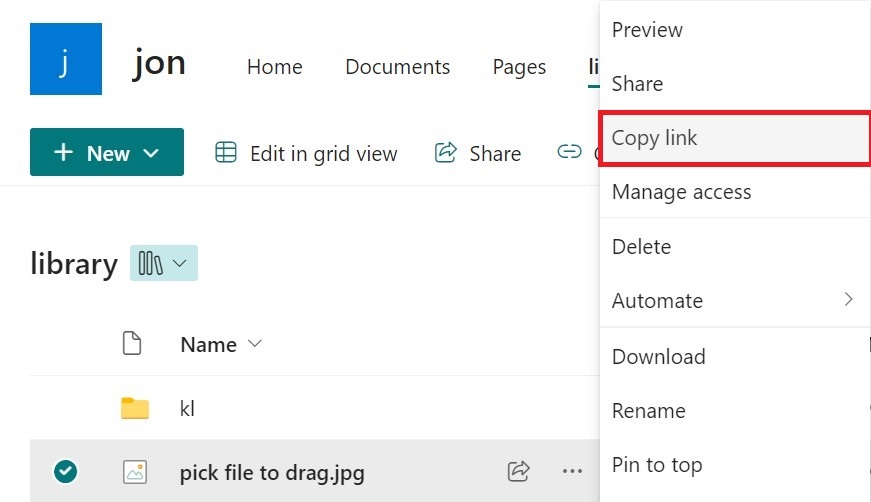
1. Find and select the file: Like the first method, you’ll need to navigate to your SharePoint site and locate the file you want to share. Once you’ve found it, click on the file to select it.
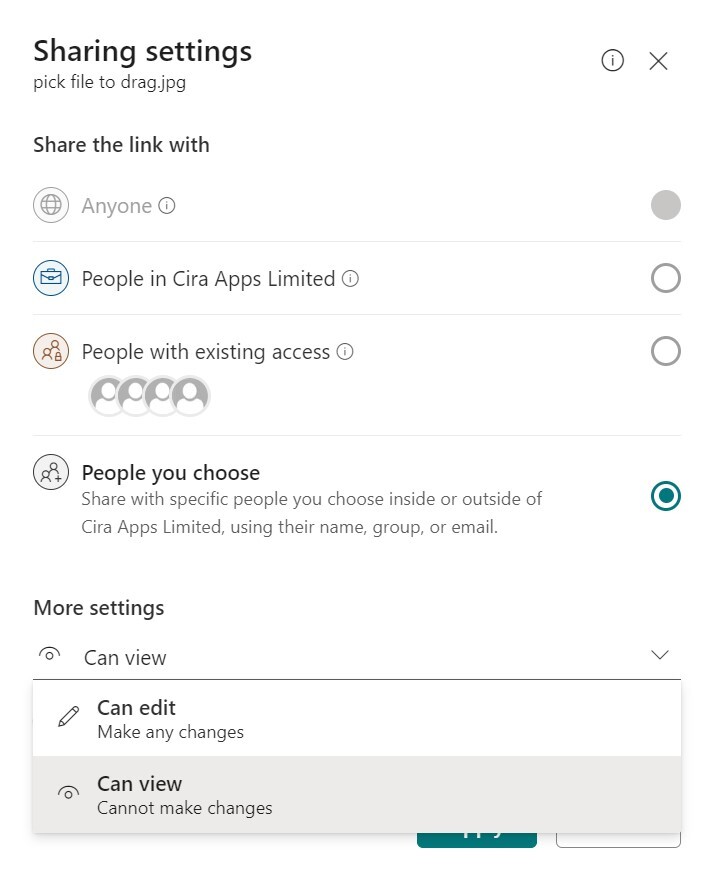
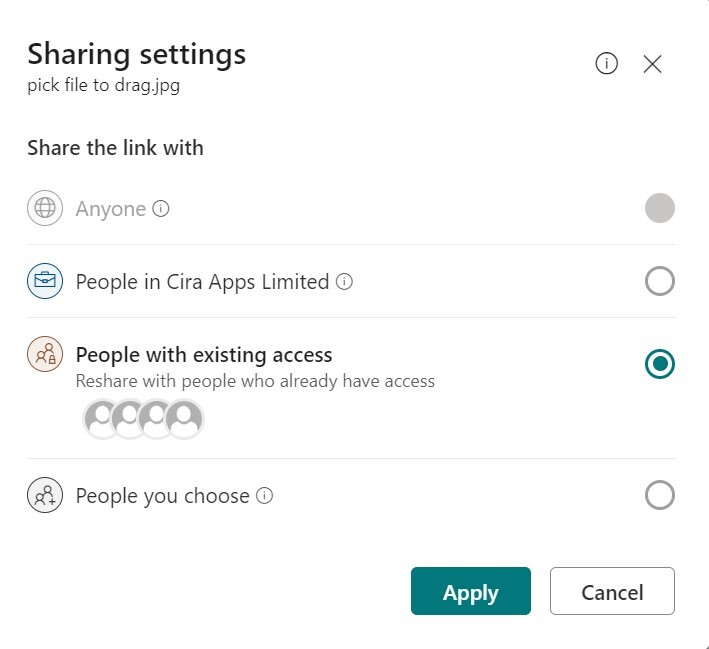
2. Click “Copy Link”: Instead of clicking “Share” in the toolbar at the top of the screen, this time, click on “Copy link.” This will open a new window:
3. Choose your link settings: In the new window, decide who should access the link. You can choose between “Anyone,” “People in (your organization) with the link,” “People with existing access,” and “Specific people.” Depending on your selection, you can also choose whether people can edit or only view the file.
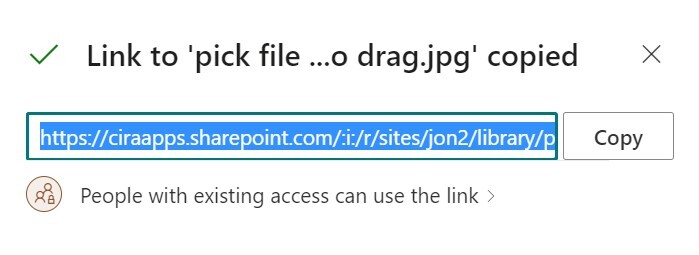
4. “Click “Apply” and then “Copy”: Once you’ve set your link settings, click “Apply,” then click “Copy” to copy the link to your clipboard.
What’s Next?
Now that you know how to share SharePoint files with specific people or externally, it’s important to remember to use best practices when managing your documents.
This can include version control, organizing files into relevant folders, and regularly reviewing who can access specific files. Following these practices will help you maintain an orderly and secure digital workspace.
SharePoint gives you tools to promote efficient collaboration and document management. So, make the most out of these features to improve your team’s productivity!
