CiraHub is a two-way sync solution that can sync contacts from CRM software like Salesforce, ActiveCampaign, and HubSpot. This guide shows how to sync Salesforce contacts with CiraHub by creating a Salesforce Hub & Spoke.
Instructions
- Log in to the CiraHub dashboard. NOTE: If this is the first time you have logged in to CiraHub or have deleted all Hubs from CiraHub, you will see the CiraHub Onboarding Wizard instead.
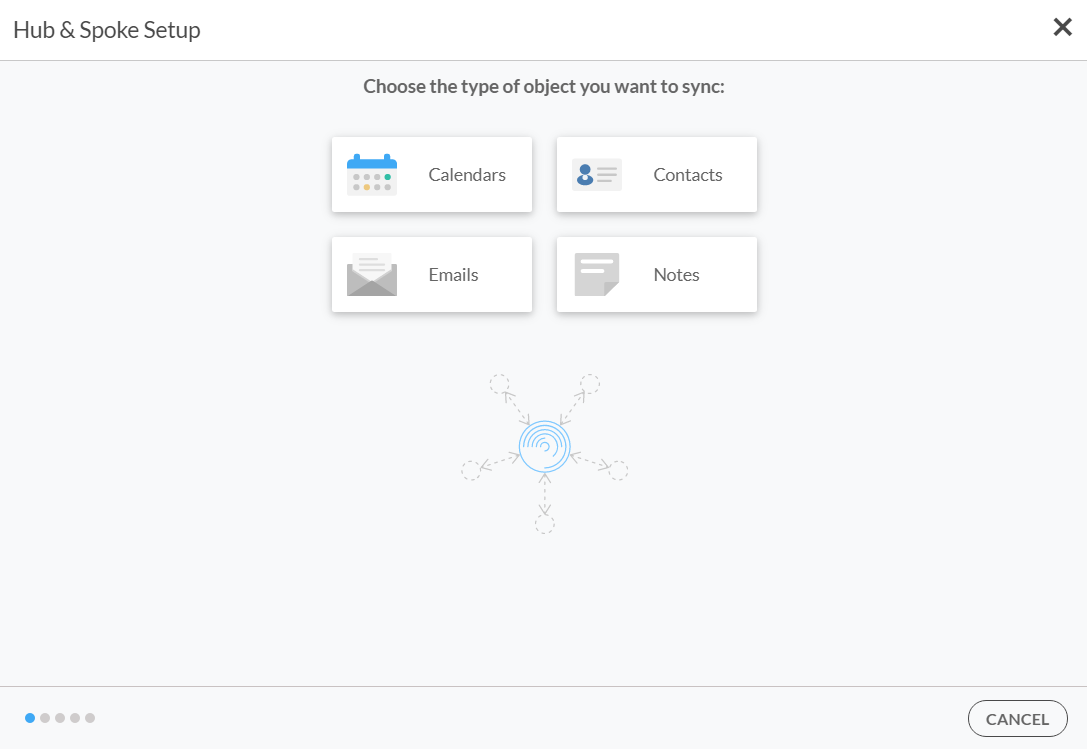
- Click +Add Hub at the top of the dashboard. The Choose the type of object you want to sync portion of the wizard will appear. (See figure below.)NOTE: CiraHub can also sync object types with different data sources. For example, syncing Salesforce contacts with a Public Folder. If you want to sync your Salesforce contacts to another data source, click +Add Spoke in the appropriate Hub.
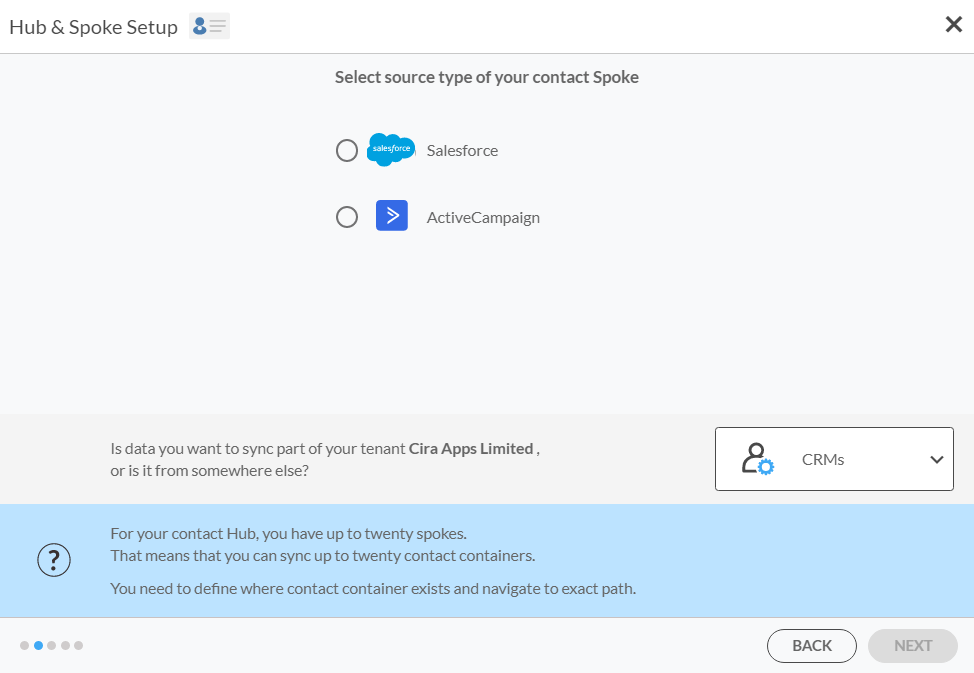
- Select Select source type of your contact Spoke portion of the wizard will appear.
- Click the drop-down menu next to Is data you want to sync part of your tenant or is it from somewhere else? section of the window.
- Select CRM. The Select source type of your calendar Spoke will now show you the available CRMs that CiraHub can interact with. (See figure below.)

- Select Salesforce.
- Click NEXT. The Select Salesforce account to access its data portion of the wizard will appear.
- Provide the Salesforce account email.
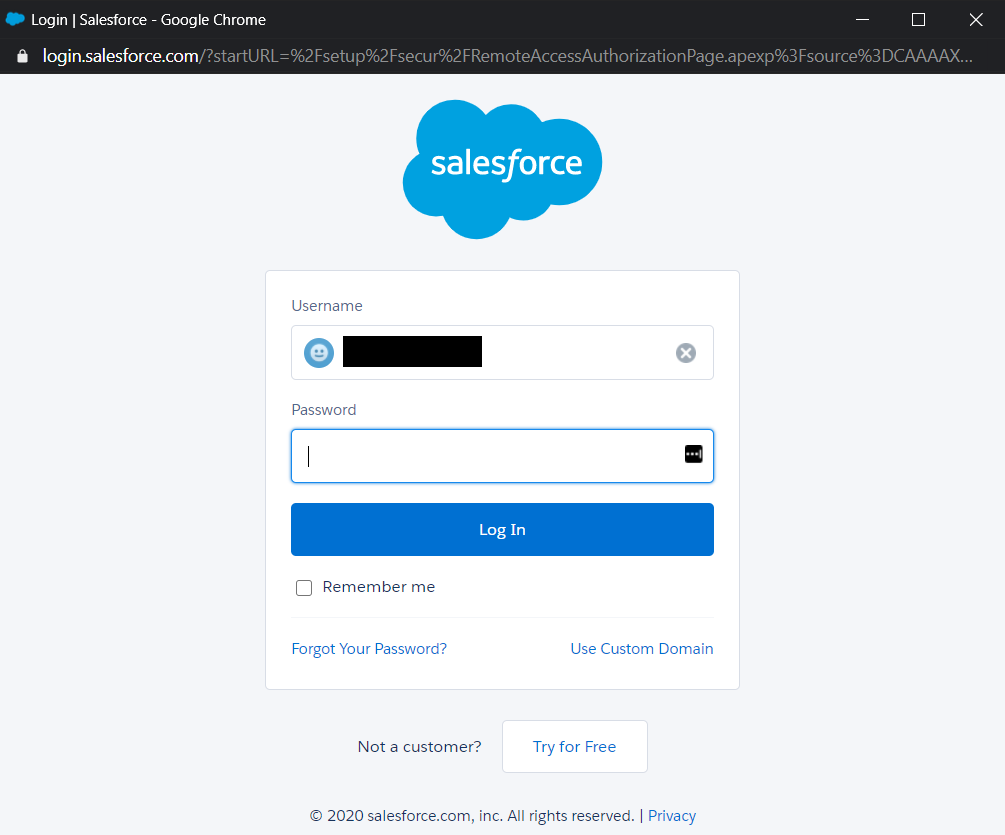
- Click GRANT ACCESS. The Salesforce Login will appear. (See figure below.)

- Provide the account password.
- Click Log In. Salesforce will ask to verify your identity through 2FA.
- Verify your Salesforce identity. Cira Apps Ltd. will ask for permission to access your Salesforce account information.
- After reading the permissions, allow Cira Apps Ltd. access to the Salesforce account information. The Type Spoke names and click NEXT portion of the wizard will appear.
- Name the Spoke.
- Click Type Hub names and click CREATE of the wizard will open.
- Name the Hub.
- Click The dashboard will appear.
- Click the Spoke that was just created in the diagram.
- Click Turn On in the Synced tile. NOTE: You can also click Turn On in the list at the bottom of the dashboard.
- Click the Allow Hub to create and sync items in this spoke checkbox to enable two-way sync.
- Click SAVE. NOTE: You can also expand Advanced to add filters to the Spoke