HubSpot, more than just a CRM, is a valuable tool for businesses seeking to streamline their operations. It offers a centralized platform where every interaction with customers – from emails to sales calls – is meticulously tracked and updated. The benefit here is profound; a single, unified view of each customer journey enables personalized engagement and efficient follow-ups, thereby enhancing customer satisfaction and loyalty. Now, imagine coupling this powerhouse with the Global Address List (GAL) – a master directory integral to organizations using Microsoft Exchange or Office 365. The GAL ensures that contact information is accessible and up-to-date across the entire organization. When these two platforms – HubSpot and the GAL – are in sync, updates made in one reflect instantly in the other, and vice versa, ensuring that both customer-facing teams and internal staff are always in the loop. This eliminates the tedious and error-prone task of manual updates, freeing up valuable time for teams to focus on what truly matters – growing the business and nurturing relationships.
Set Up a Two-Way Contact Sync Between HubSpot and a Global Address List
Create a Spoke for HubSpot
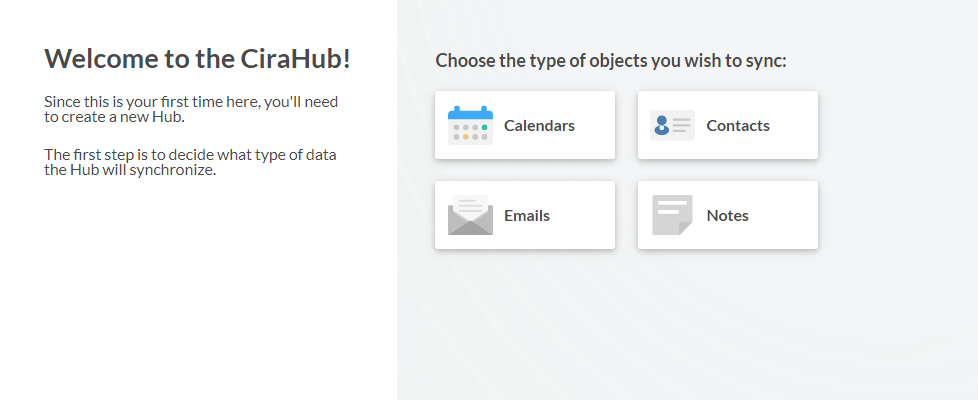
1. First, Log in to CiraHub. You will be taken to the onboarding wizard. (See figure below.) Next, select the object you want to Two-way CRM contact sync. In this example, the contacts object has been selected.
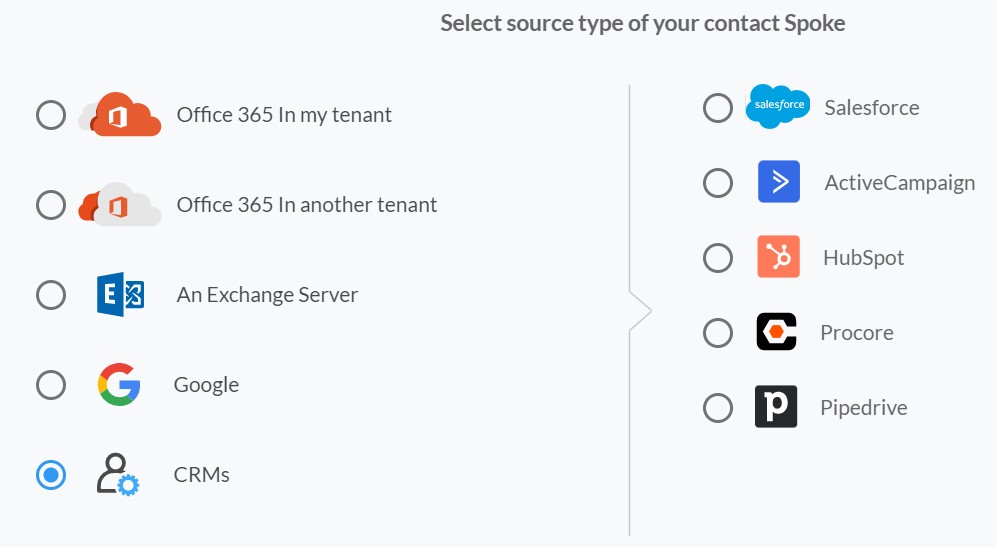
2. Next, start the Hub and Spoke setup. Click on “CRMs” as your source type for your contact spoke to sync Hubspot with Google. (The Hub contains all synced Contacts from each spoke; a spoke can be a Public Folder, a user mailbox, the GAL, or a CRM.)
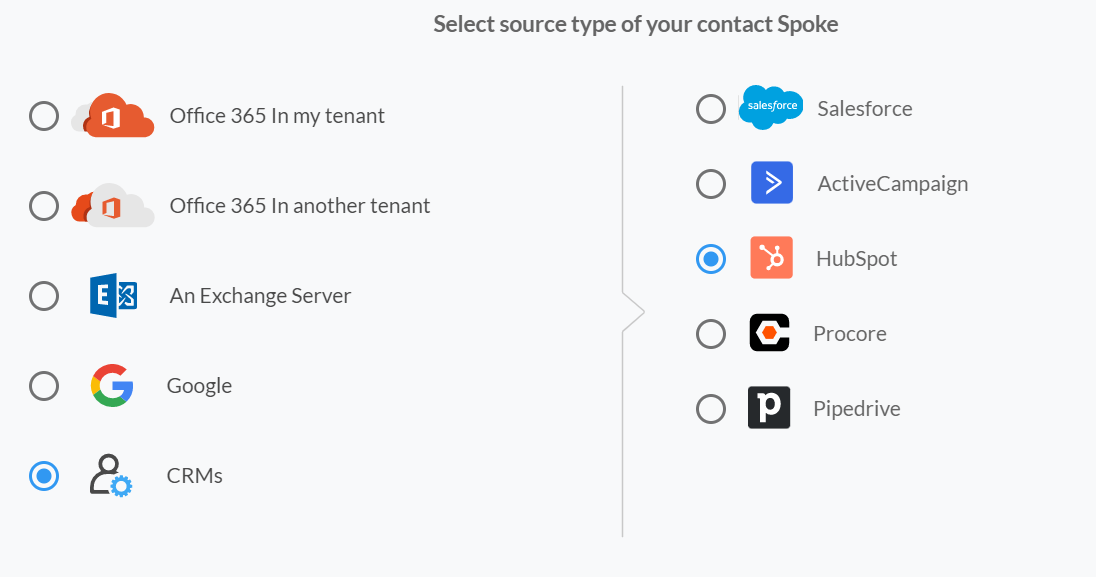
3. Select “HubSpot” as the contact spoke type.‘
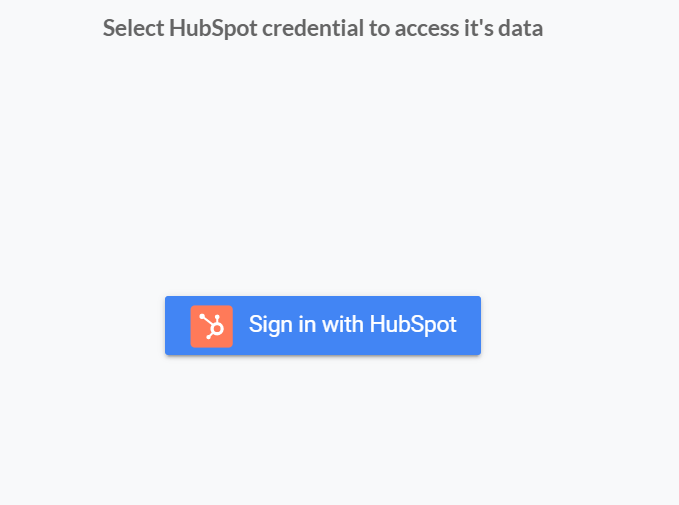
4. Click “Sign in” with HubSpot.
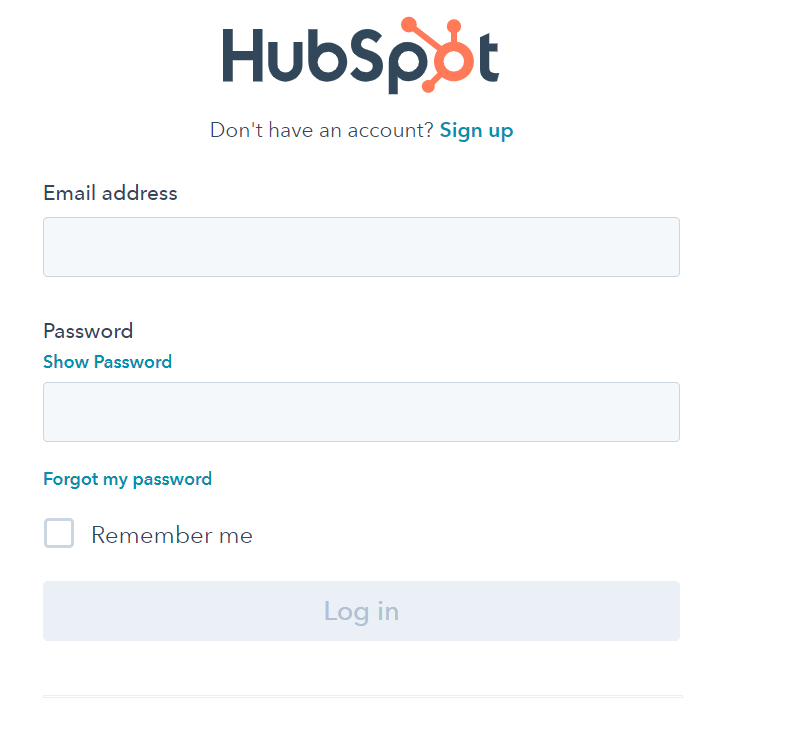
5. Sign in with your HubSpot Email and Password.
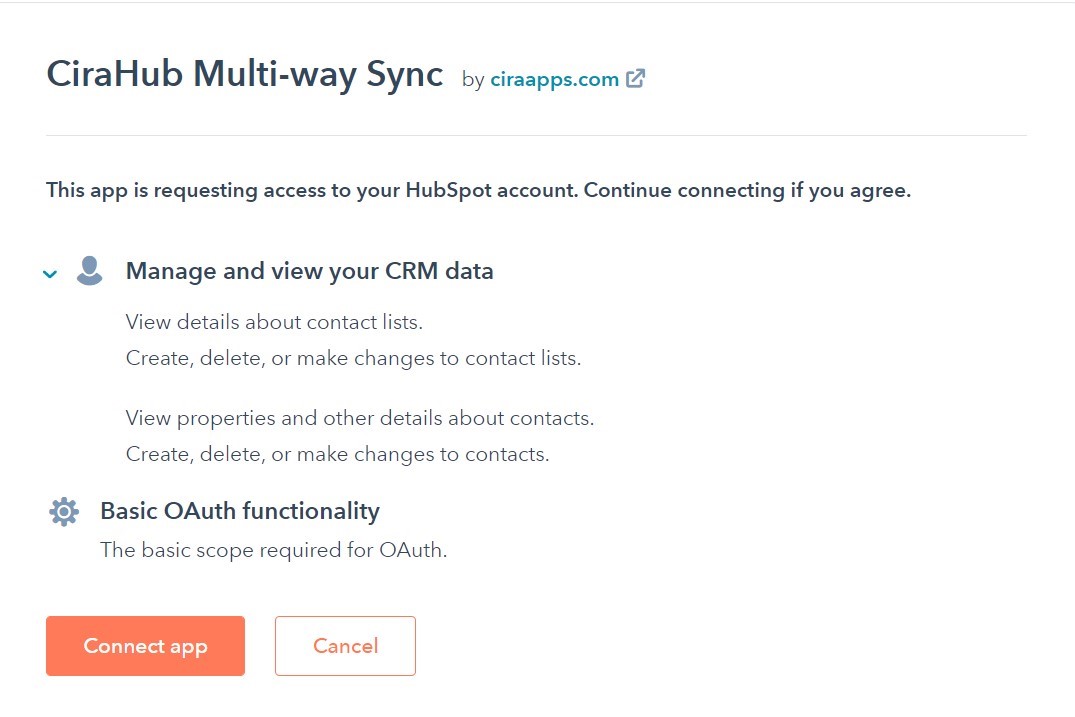
6. Click on the “Connect App” option to link CiraHub to your Hubspot account to two-way sync Hubspot contacts. This will give CiraHub access to your contacts lists and CRM data in Hubspot.
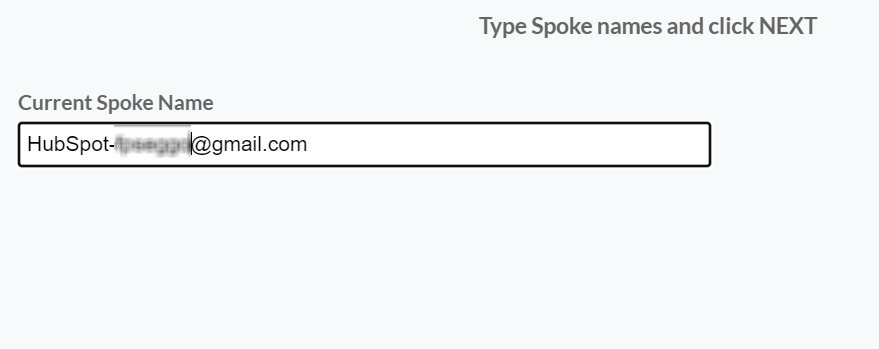
7. Type in a Spoke name and click next.
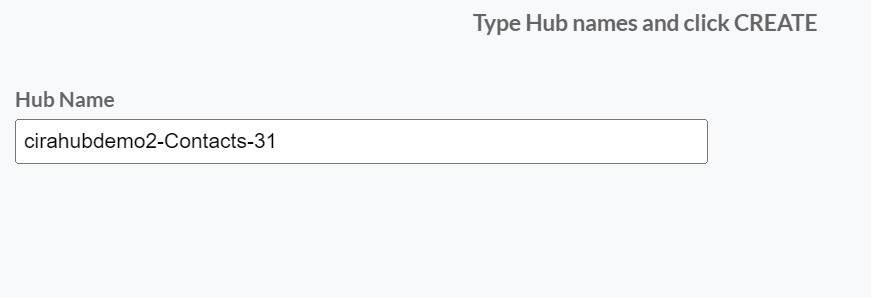
8. Type in a Hub name and click next.
Create a new Spoke to Add the GAL
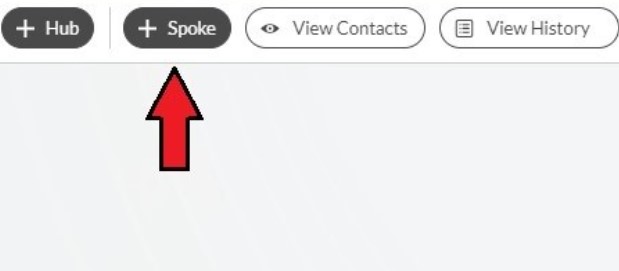
9. Select the option to add an Additional Spoke.
10. Click on “Microsoft 365 in my tenant”, then Select Global Address List as the source type for your contact spoke. Users will need to have an Microsoft 365 account with the following Exchange Online roles granted via PowerShell: Address Lists, Mail Recipient Creation, and Mail Recipients permissions which will act as a Service Account to run the GAL sync. This account does not need to have an Microsoft 365 license. However, an Microsoft 365 license will be required for each tenant added to the Hub.
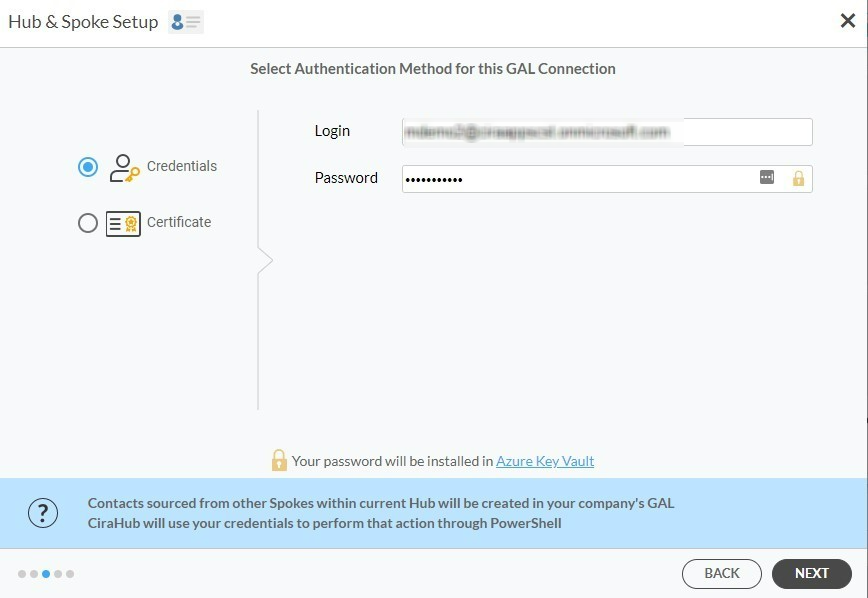
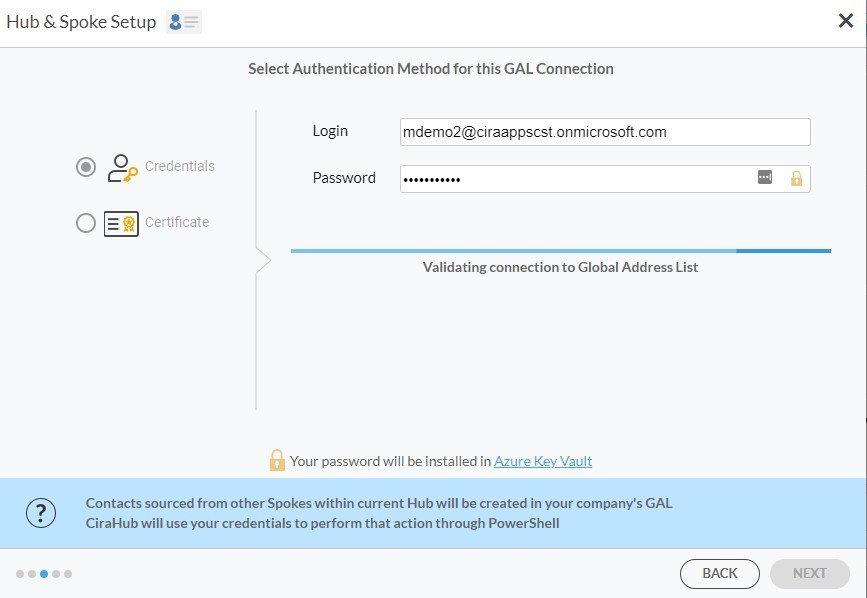
11. There are two authentication methods – Credentials and Certificate based. Select Credentials and sign in with your Microsoft Admin Account’s Login and Password Information for the GAL Connection.
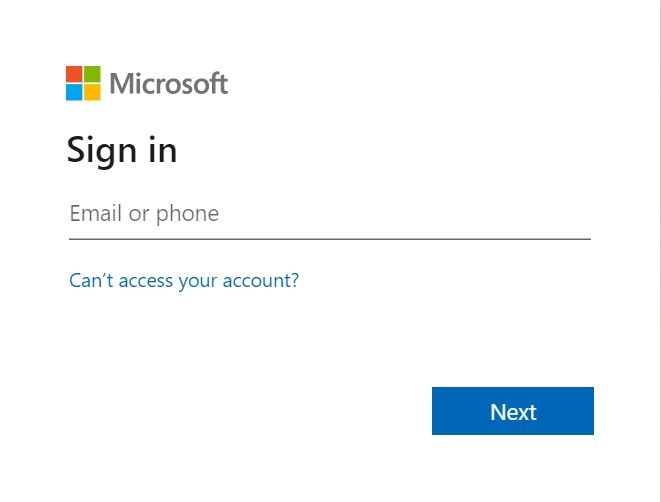
12. Next, the Microsoft Sign-in page will appear. Provide the Email and Password to your account.
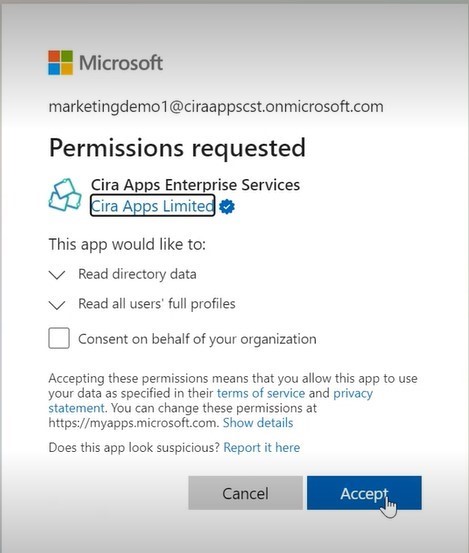
13. Click Accept to give CiraHub access to your Microsoft Account. You should always leave the “Consent on behalf of your organization” box unchecked when you sign in for the first time. This option lets other users under the same domain access this Hub if they log in using their company email address. A user would not have access to this Hub, but they would be able to log in and create their own hub.
14. Select Credentials and re-enter your Microsoft Account Login and Password Information for the GAL Connection.
15. Wait for CiraHub to validate the connection to the GAL after entering the Microsoft Login and Password.
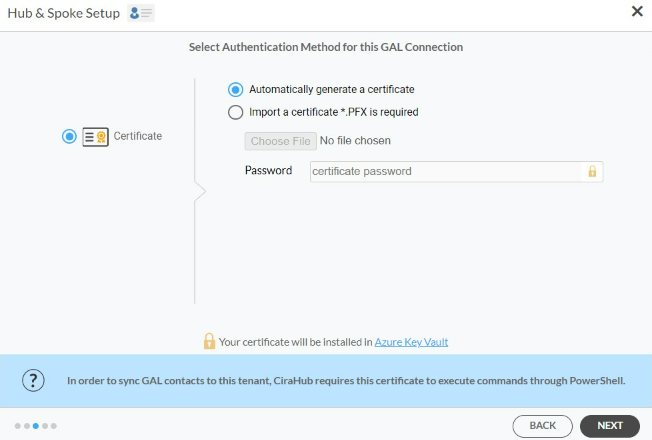
16. With the Certificate Authentication method, you will be prompted to either “Automatically Generate a Certificate” or you can choose to Import a PFX Certificate File and enter your password.
17. Enter your Microsoft Global Admin email address. CiraHub will then store your account information in the Microsoft Azure Vault when it is synced from Powershell.
20. Lastly, you will need to wait for CiraHub to Install Certificate-Based Authentication for the GAL connection and then click Next.
21. Type in a Spoke Name and click Next. These steps will allow you to two-way sync Global Address List contacts.
22. On the CiraHub Dashboard, click on each of the Spokes, select Sync Options, then Allow the Hub to create and sync items in this spoke, and click NEXT. This will enable 2-way synchronization between the Hub and your spoke.
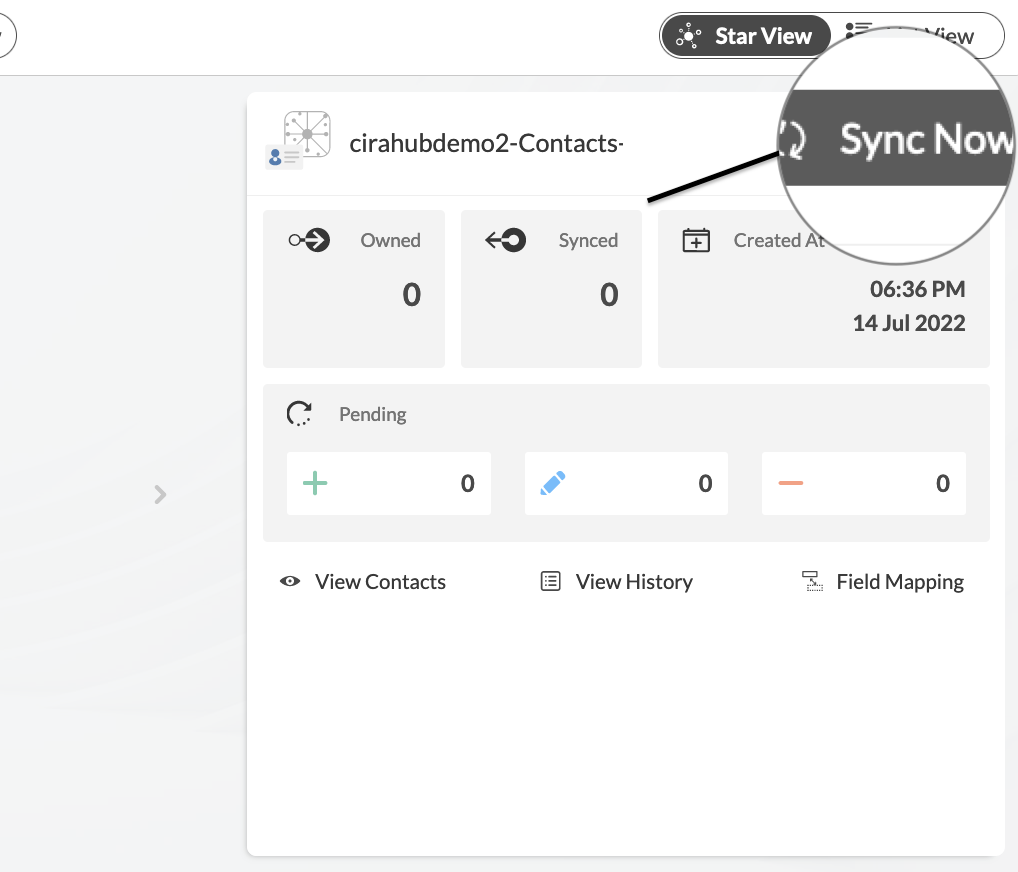
23. Click “Sync now” to enable 2-way synchronization between the Spokes and the Hub you have created. You can also modify the sync options for each of your Spokes.
Now, you have successfully set up a two-way contact sync between HubSpot and your GAL. From now, every time you update your contacts in HubSpot, they will be automatically updated in the GAL and vice versa.
Why Use CiraHub?
With CiraHub users can sync contacts between HubSpot and the Global Address List (Gal) fairly easily. Organizations can sync data from the GAL to HubSpot from HubSpot to the GAL, or back-and-forth with CiraHub’s sync configurations. CiraHub keeps contacts in perfect sync between the Global Address List (GAL) and HubSpot, so users wont have to manage contacts in two different locations. Click here to learn more about how you can start a CiraHub trial today!
