Are you looking for a synchronization tool that allows you to two-way sync your QuickBooks contacts to Salesforce? If so, then this article should be helpful to you.
By two-way syncing contacts between QuickBooks and Salesforce organizations can access their most valuable resource—customer information and create a central database that supports both platforms.
Keep Reading to learn more about how CiraHub users to two-way sync contacts and manage multiple workflows between QuickBooks and Salesforce.
This article will outline how to two-way sync contacts between QuickBooks and Salesforce.
Thanks to this two-way sync feature, you
- Can access your Salesforce contacts in QuickBooks.
- Can access your QuickBooks contacts in Salesforce.
- Import Customer leads , Contacts , Accounts , and Opportunities
- Set Up Two-Way Contact Sync Between QuickBooks and Salesforce
This article will show you how to enable a two-way sync for QuickBooks and Salesforce.
Create a Spoke for QuickBooks
1. Log into CiraHub. You will be taken to the onboarding wizard.
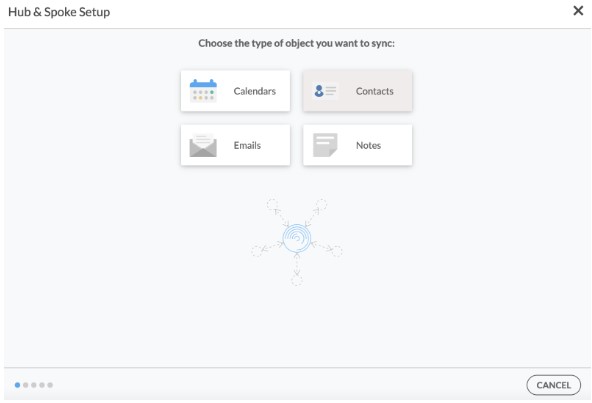
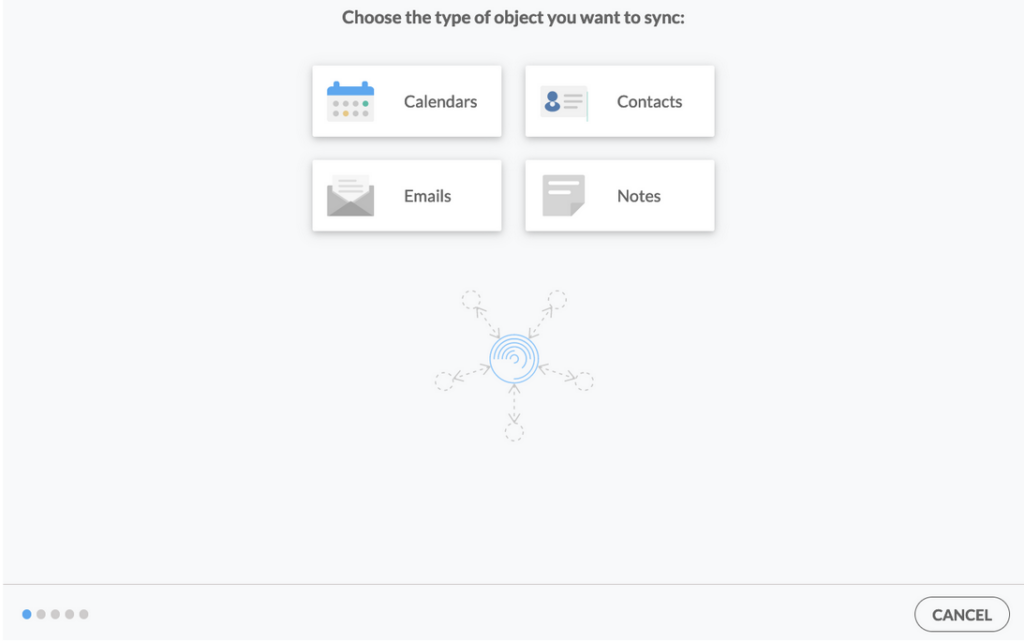
2. Next, you’ll need to choose the type of object you want to sync. Select “Contacts.”
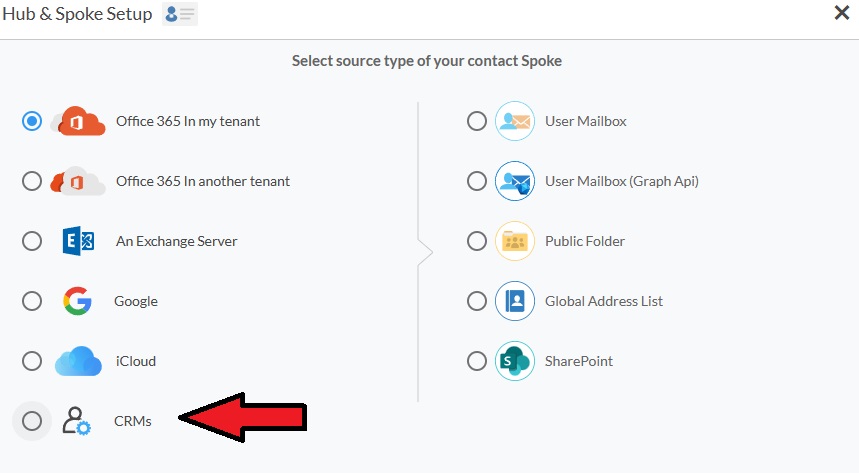
3. To start your Hub and Spoke setup, click “CRM” as the source type of your contact spoke, then select “Quickbooks” from the list of CRMs and click NEXT.
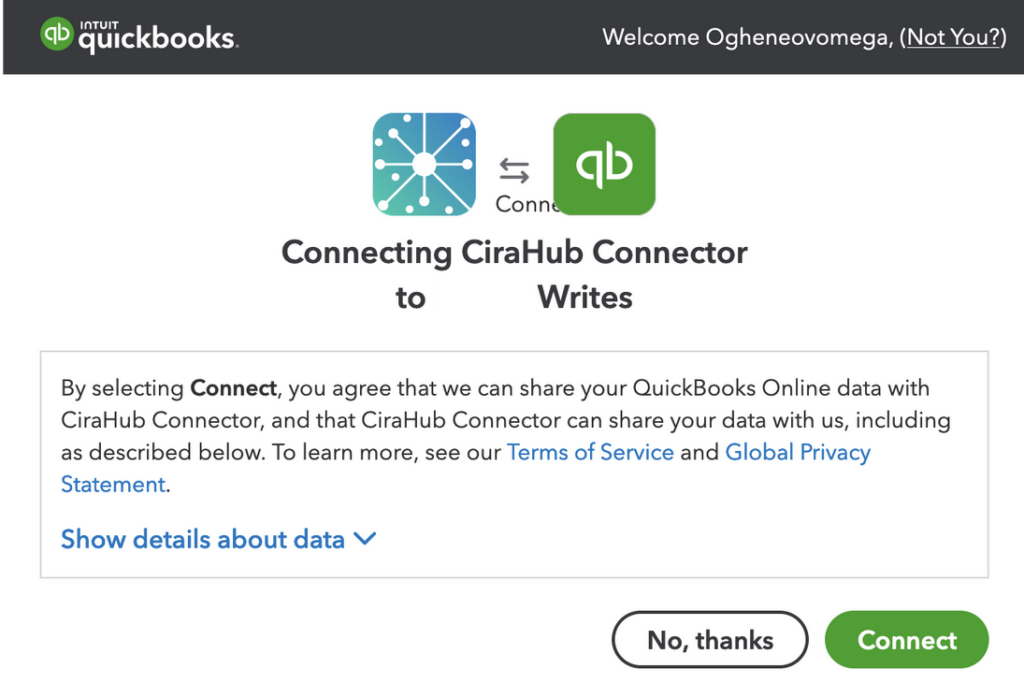
4. Click “Sign in with QuickBooks” and enter your company’s name, then click “Create Company” to connect with the CiraHub Connector.
5. Enter a name for your current spoke and click “CREATE.”
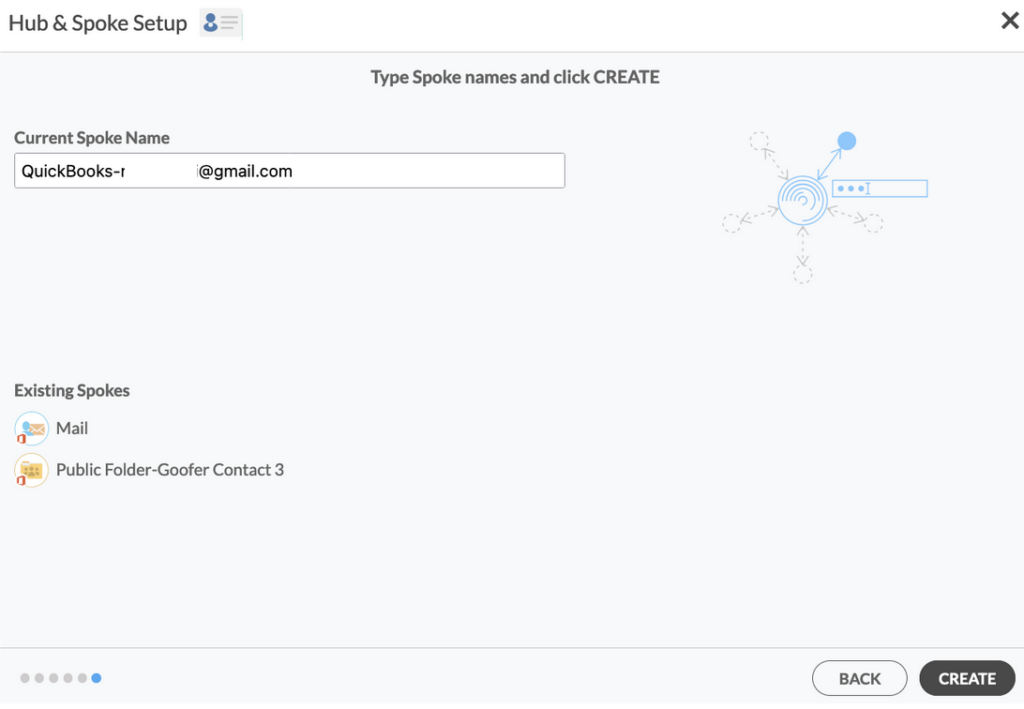
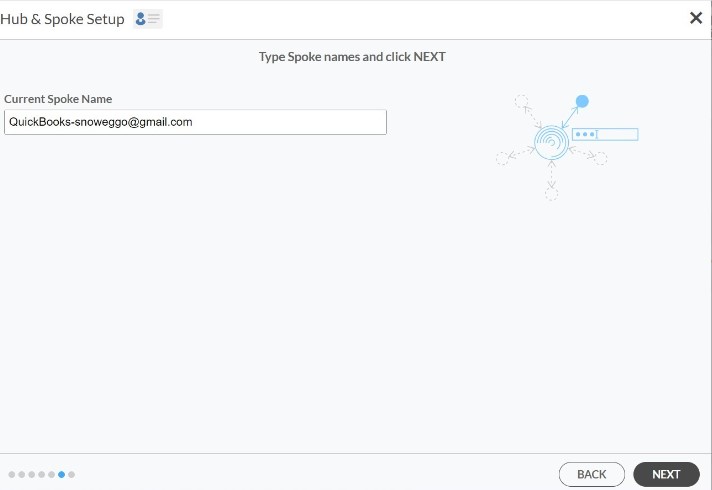
7. Type in a Spoke name and click NEXT.
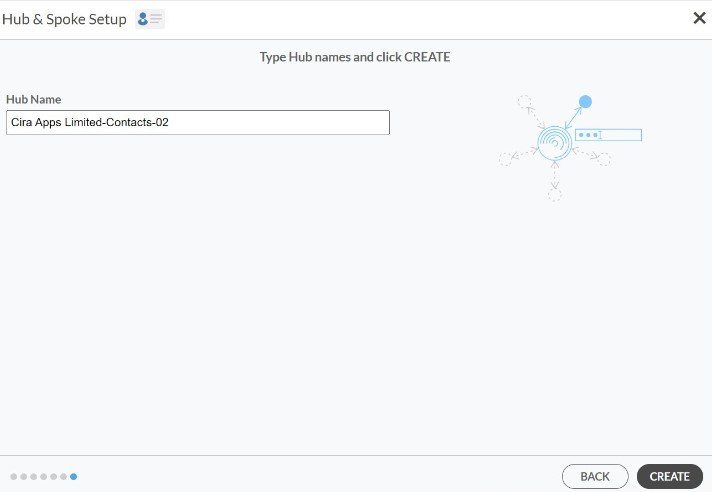
8. Type in a Hub name and Click CREATE.
Create Salesforce Spoke
9. Select the option to add an Additional Spoke.
10. Click on “CRMs” as your source type for your contact spoke. (The Hub contains all synced Contacts from each spoke; a spoke can be a Public Folder, a user mailbox, the GAL or a CRM.)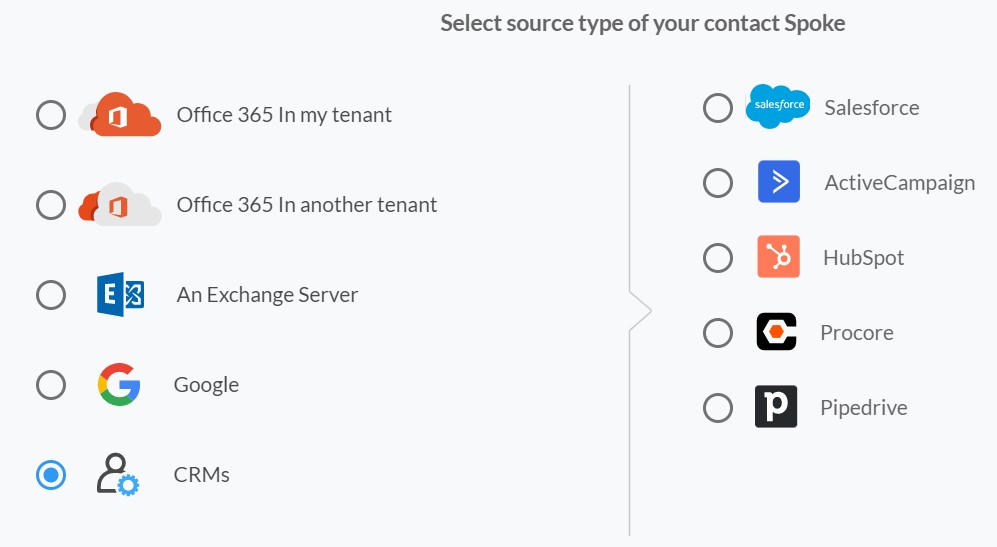
11. Select Salesforce as the contact spoke type.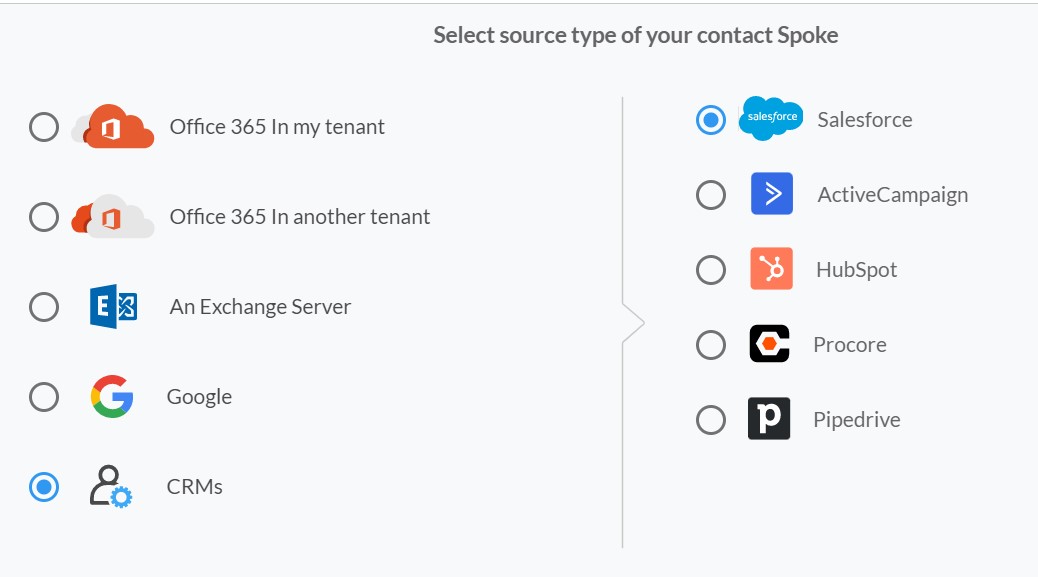
12. Sign in with Salesforce to add your account to the Hub, or select an existing Salesforce account. 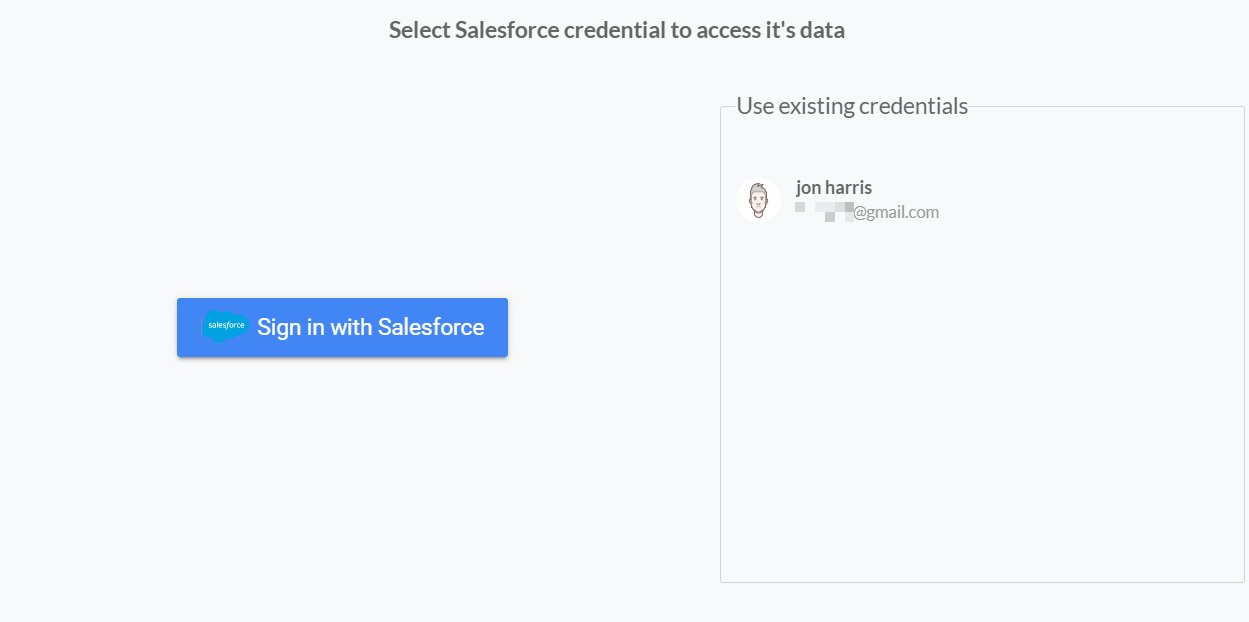
13. Select “Allow” to two-way sync Salesforce contacts and link your account to the Salesforce Connector. 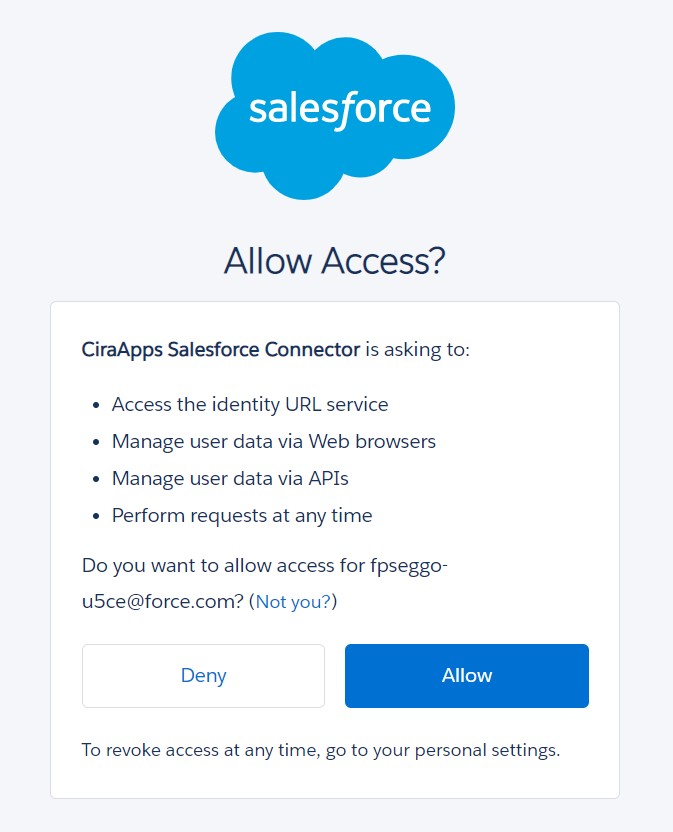
14. Type in a “Spoke Name” and click Next. 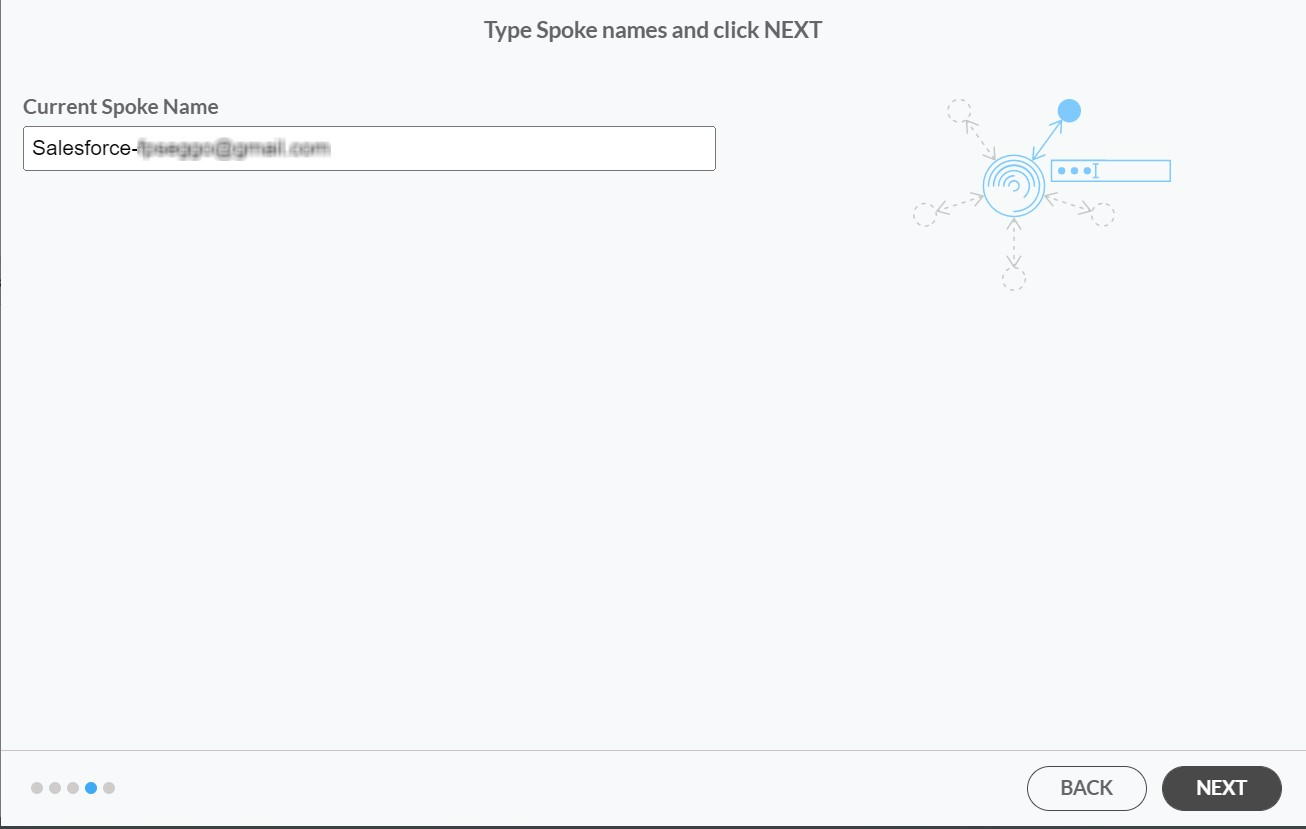
15. Next type in the “Hub Name” and click Create.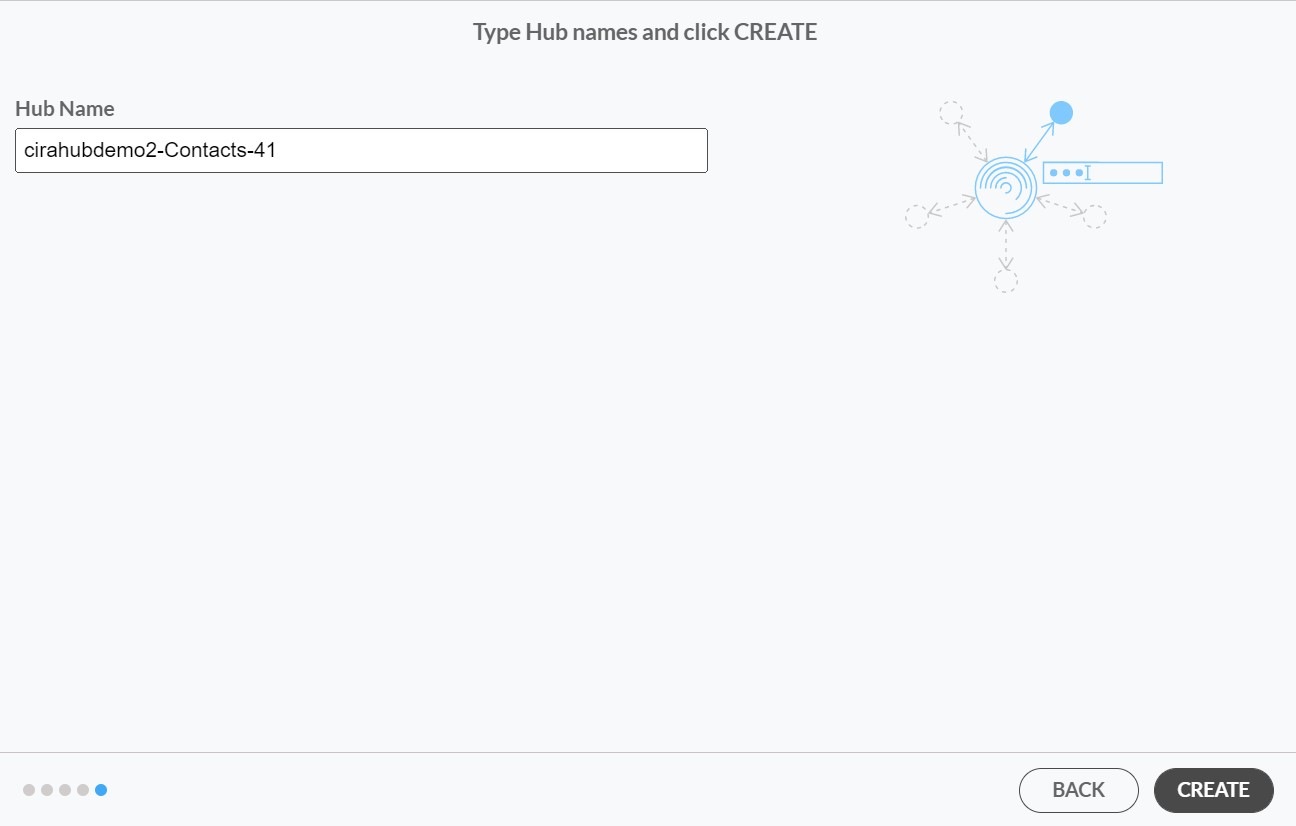
16. Next, right click your spoke, and select “Sync Options”. From there click the box “Allow Hub to create and sync items in this spoke.” This will enable 2-way synchronization between the Hub and your spoke.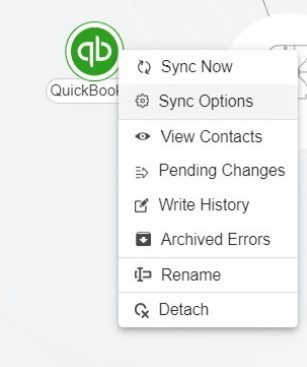
17. Click on “Allow Hub” to create and sync items in this spoke. This will enable two-way synchronization from the endpoint to the Hub database and back.
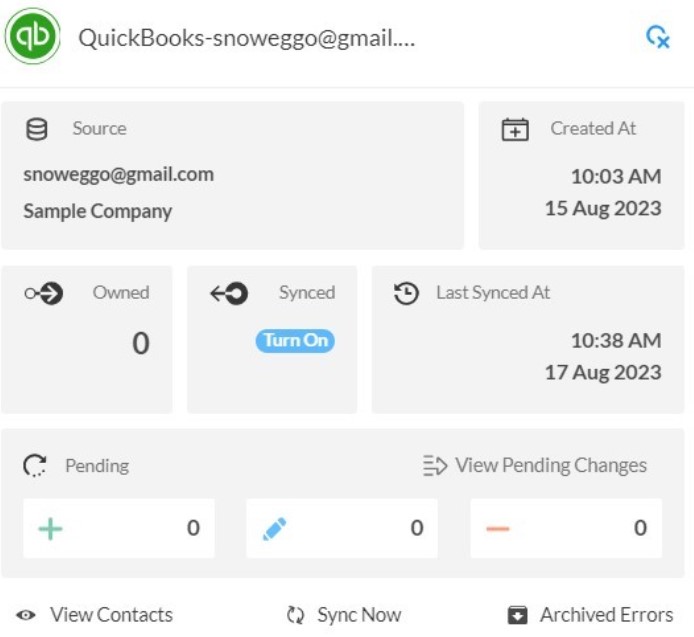
18. Click on “Sync now” in order to enable a 2-way sync for the current spoke to two-way sync between an Exchange Server Mailbox and a Microsoft 365 Public Folder. You can also edit any synchronization options for each of your spokes down below.
Why Two-Way Sync QuickBooks with Salesforce
By synchronizing QuickBooks with Salesforce, users can save time and execute tasks more quickly and effectively. CiraHub helps users automate their everyday sales operations with the help of our two-way synchronization solution. Users can easily and conveniently two-way sync data between Salesforce and V using CiraHub. Instantly synchronize data between Salesforce and QuickBooks and a variety of other platforms in both directions. Click here to learn more about how you can start a CiraHub trial today!
