Having a two-way contact sync between multiple QuickBooks accounts brings a new level of integration and efficiency to businesses managing multiple entities or departments. With this capability, when a contact is added or removed from one account, it is reflected in all linked accounts. This not only minimizes the risk of discrepancies and data entry errors but also enhances efficiency by displaying a unified view of contacts across the organization’s different financial segments. Read on to learn how to perform this sync.
Steps to Two-Way Sync Multiple Quickbooks
1. Log into CiraHub. You will be taken to the onboarding wizard.
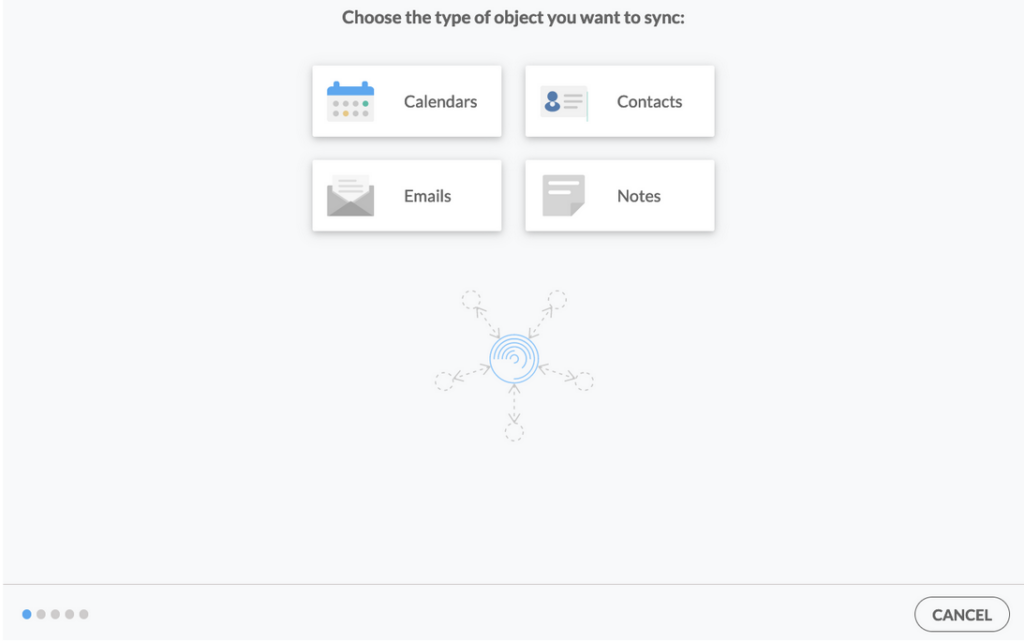
2. Next, you’ll need to choose the type of object you want to sync. Select “Contacts.”
3. To start your Hub and Spoke setup, click “CRM” as the source type of your contact spoke, then select “Quickbooks” from the list of CRMs and click NEXT.
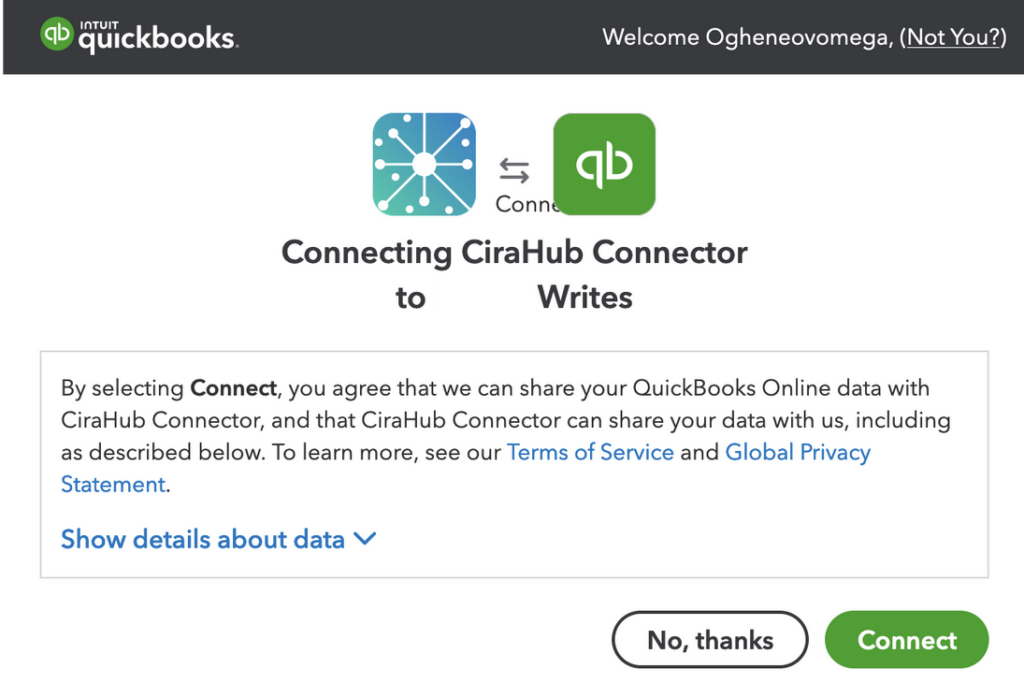
4. Click “Sign in with QuickBooks” and enter your company’s name, then click “Create Company” to connect with the CiraHub Connector.
5. Enter a name for your current spoke and click “CREATE.”
6. On the CiraHub dashboard, click “+ Spoke” to add a new QuickBooks account to sync.
7. Repeat the steps above to add your second QuickBooks account and finalize the setup process. Note that you can sync as many accounts as required.
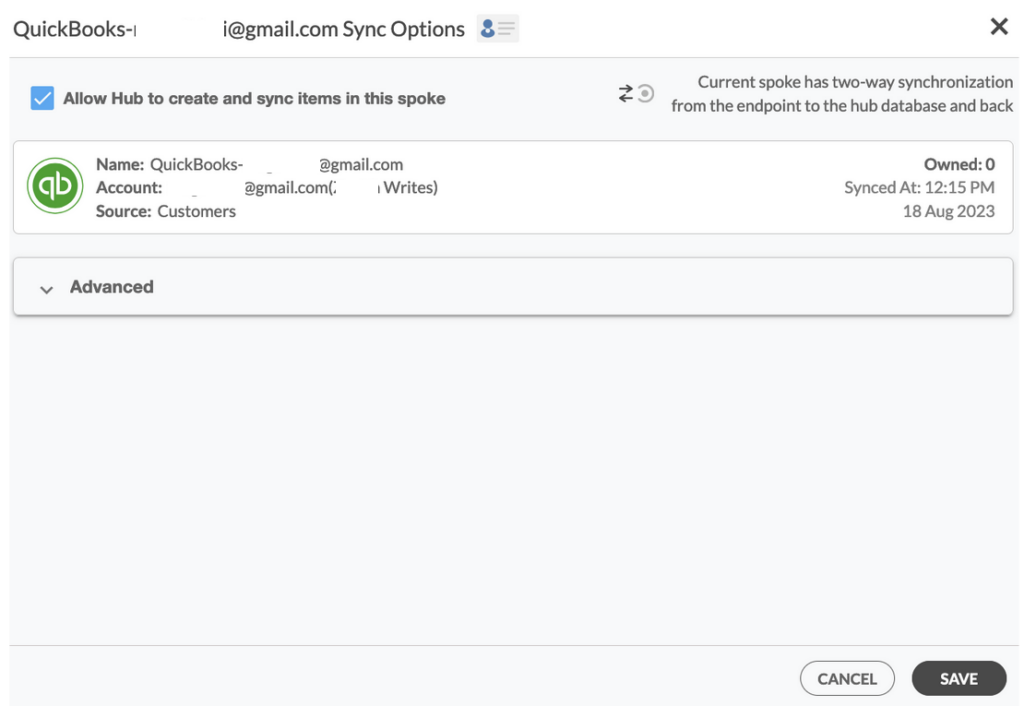
8. On the CiraHub dashboard, right-click on each spoke and click “Sync Options,” then tick the box “Allow Hub to create and sync items in this spoke,” then click SAVE.
Note: This will enable you to two-way sync contacts from the endpoint to the hub database and back. Select Categorize Data in Spoke if you would like to filter out which items you would like to sync.
10. Click “Sync now” to enable two-way contact sync between Quickbooks accounts.
Voila! Get started syncing multiple QuickBooks contacts on CiraHub today. It’s quick and easy!
Two-way contact sync enhances data integrity, operational efficiency, and collaboration in organizations, leading to better decision-making and improved overall performance.


