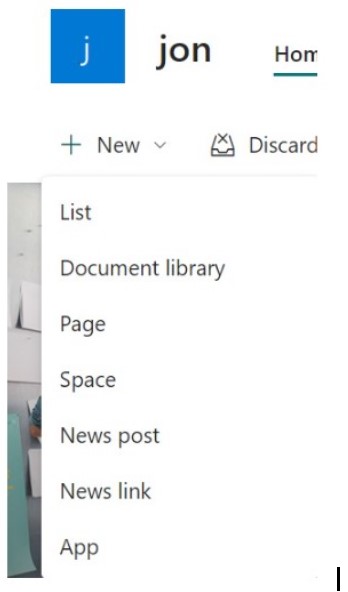
You can create a new file in a SharePoint document library, upload your own file, and share it with other users.
The template or templates connected with the library (by your site’s owner or administrator) determines the specific type of file you can create.
This article will teach you how to quickly and easily create a new file in a SharePoint Document Library.
How to Create a New File In SharePoint Document Library
You use a SharePoint document library to store files securely so that you and your coworkers can easily access them, work together on them, and see them from any device.
It’s important to note that users need to have Contributor permissions in order to create and upload files and folders in a SharePoint library. If you’re unsure about your permissions, contact your SharePoint administrator.
But here are the steps to create a new file in your SharePoint document library.
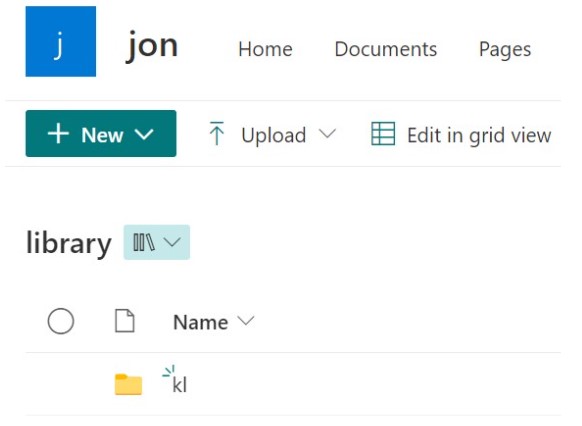
1. Navigate to the document library location to create a new file.
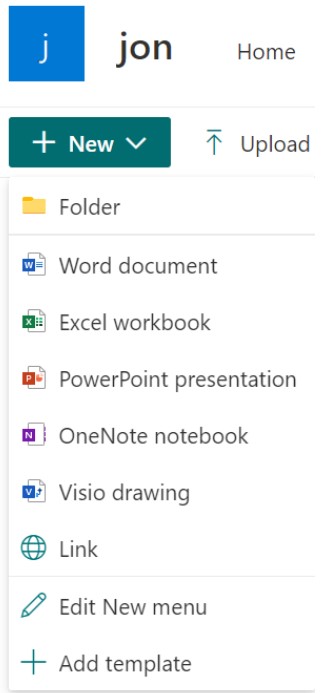
2. On the main document library menu, select New, then select the type of file you want to create. It could be a Word document, an Excel workbook, a PowerPoint presentation, a OneNote notebook, or a Visio drawing.
3. Your new document will then immediately be saved to the document library and made visible in the list of files.
4. Return to the document library. If you don’t see your files in the library, try refreshing the browser.
What’s Next?
Microsoft created SharePoint to assist organizations in securely managing and distributing information between teams and departments.
By following some of the best practices for SharePoint document management, you can make sure that all of your documents stay organized. Hopefully, this article has helped teach you how to create a new file in SharePoint.


