How to two-way sync calendars between Google Workspace and an Exchange Server Public Folder?
Microsoft Exchange is an email and calendar server that comes with a number of tools for collaborative work and online communication. You may two-way sync data using CiraHub between Google Workspace and the Microsoft Exchange server/Exchange Online and see that data directly from the CRM.
Utilizing Google Workspace is really simple. It is simple to use, adaptable, compatible with a variety of commonly used Microsoft 365 products, and easy to customize.
Follow the simple steps below to two-way calendar sync between Exchange Public Folders and Google Workspace on CiraHub’s easy-to-use platform.
Two-Way Sync Google Workspace and an Exchange Server Public Folder
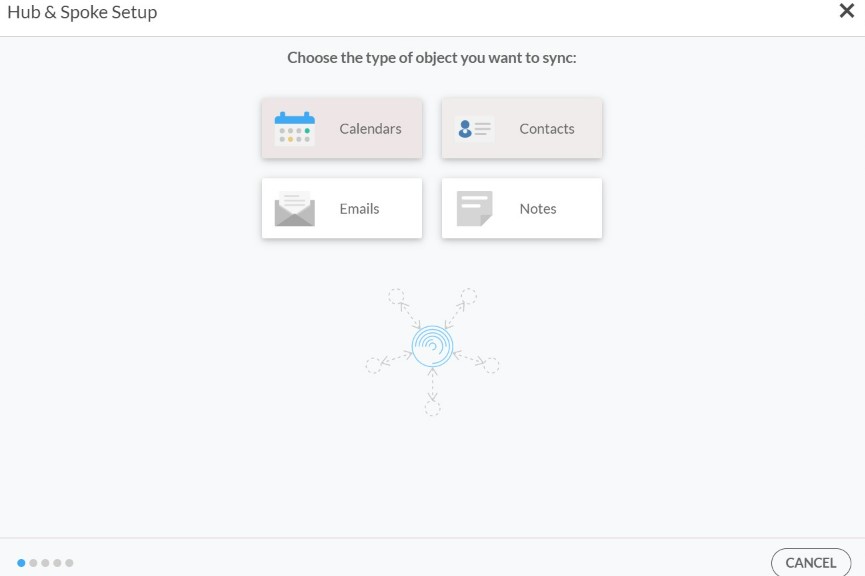
1. First, Log in to CiraHub. You will be taken to the onboarding wizard. (See figure below.) Next, select the object you want to sync. In this example, the calendars object has been selected.
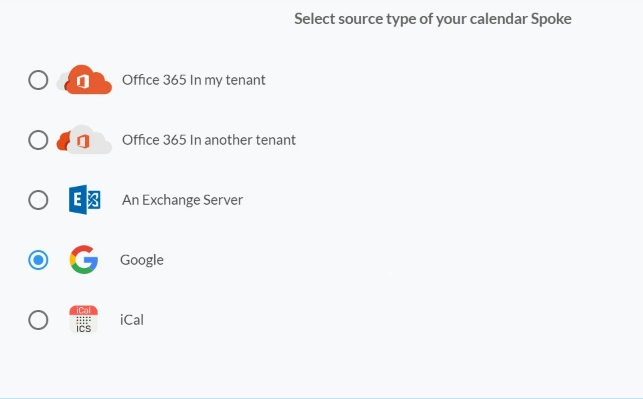
2. Select Google as the source type for your calendar spoke. (See figure below.)
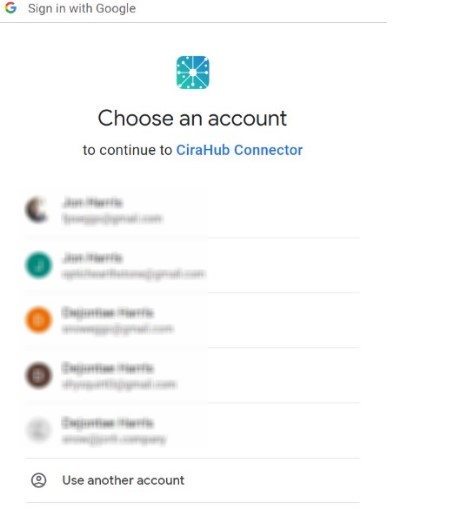
3. Choose a Google Workplace Account to sign in with.
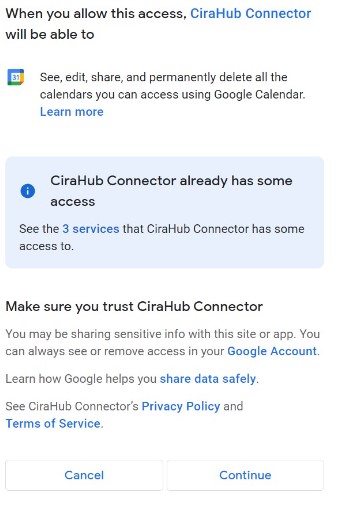
4. Click Continue to connect your account with the CiraHub Connector.
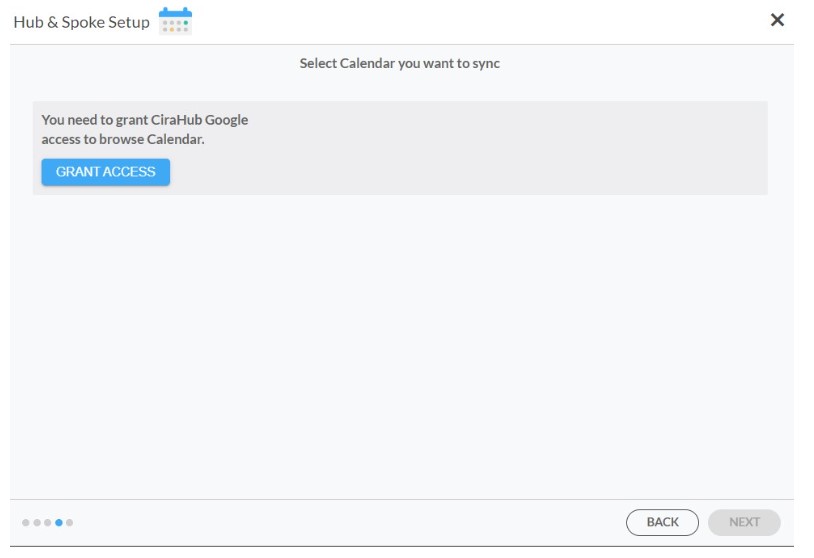
5. Click Grant Access to give CiraHub Permission to browse your calendar data.
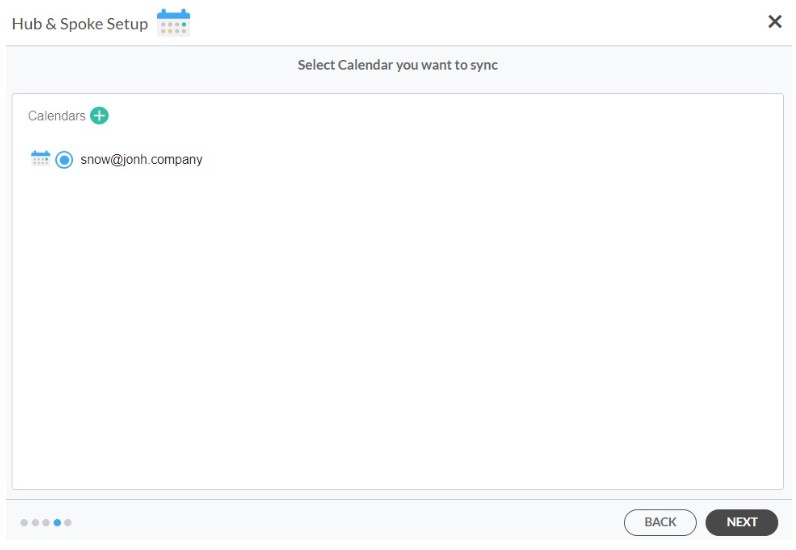
6. Select which calendar you want to sync.
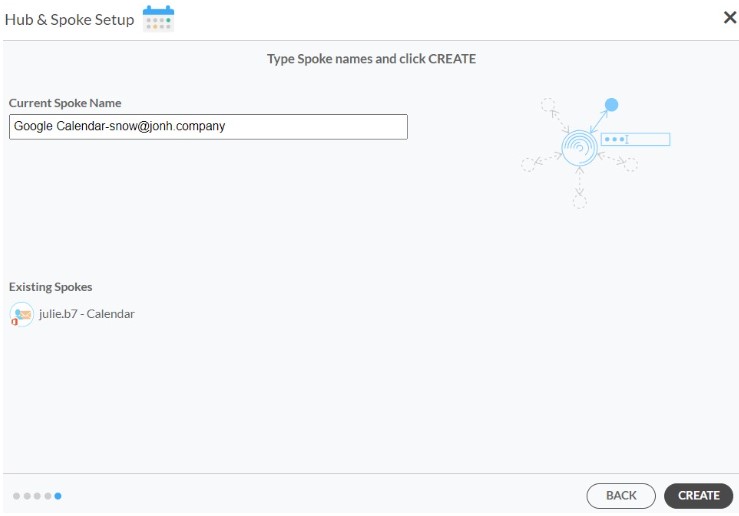
7. Type in a spoke name and click CREATE.
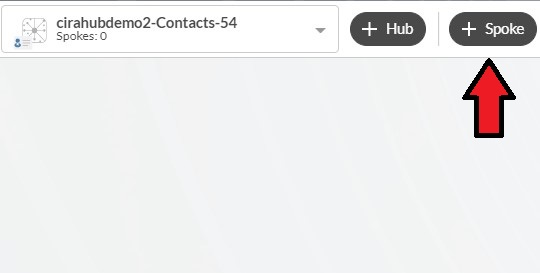
8. Select the option to add an Additional Spoke.
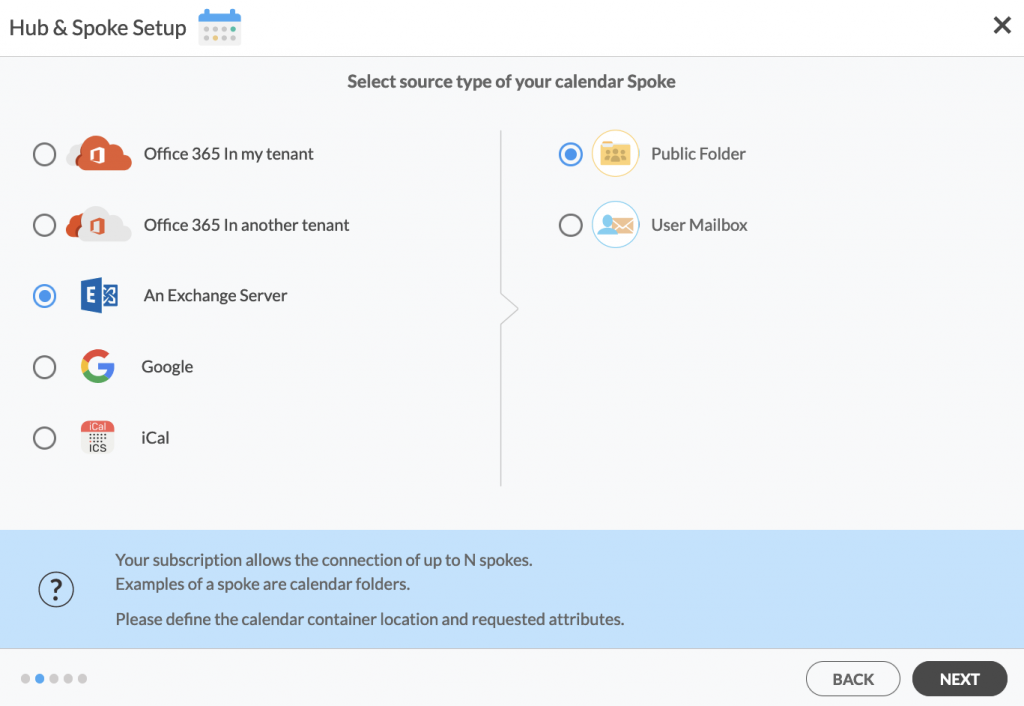
9. Select the source type of your contact spoke. To sync an Exchange Server Public Folder, click An Exchange Server and select Public Folder and NEXT (See figure below).
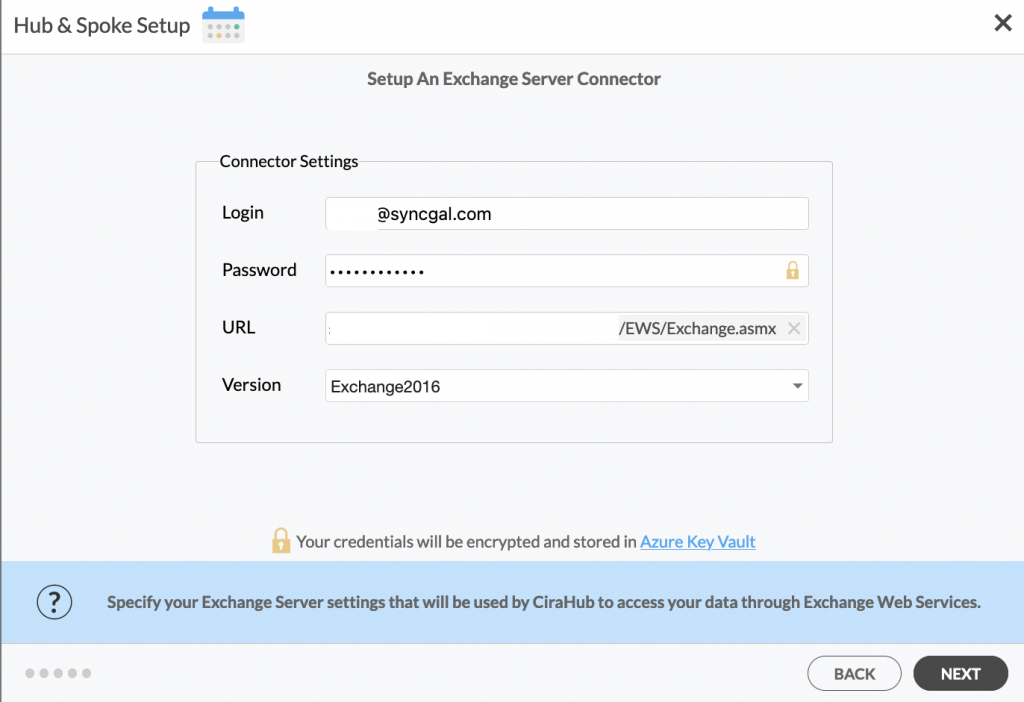
10. Enter your Exchange Server Connector Login, Password, URL, and Exchange Version. If you are running an Exchange Server version dated 2016 or later, always select Exchange 2016 in your connector Settings. You can find this information in your Exchange Server settings.
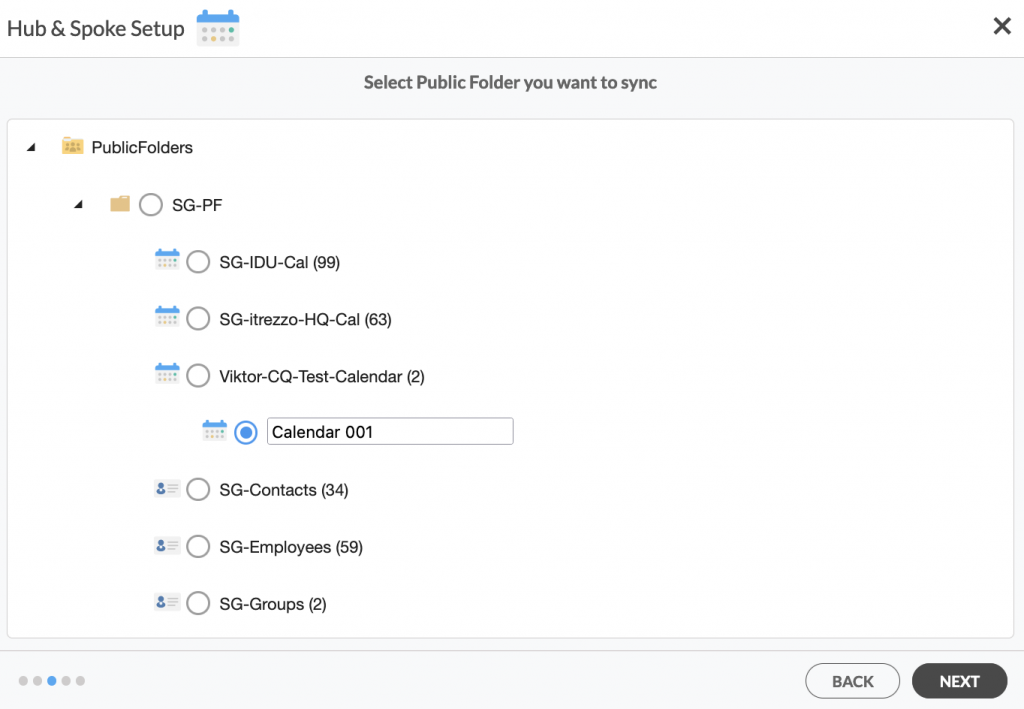
11. Select the Public Folder Calendar you want to sync from the list. This step will allow you to two-way sync an Exchange Server Public Folder calendar. Click on the small arrow in front of a subfolder on the right and choose the item or click the green + button to add a new calendar and click NEXT. (See figure below.)
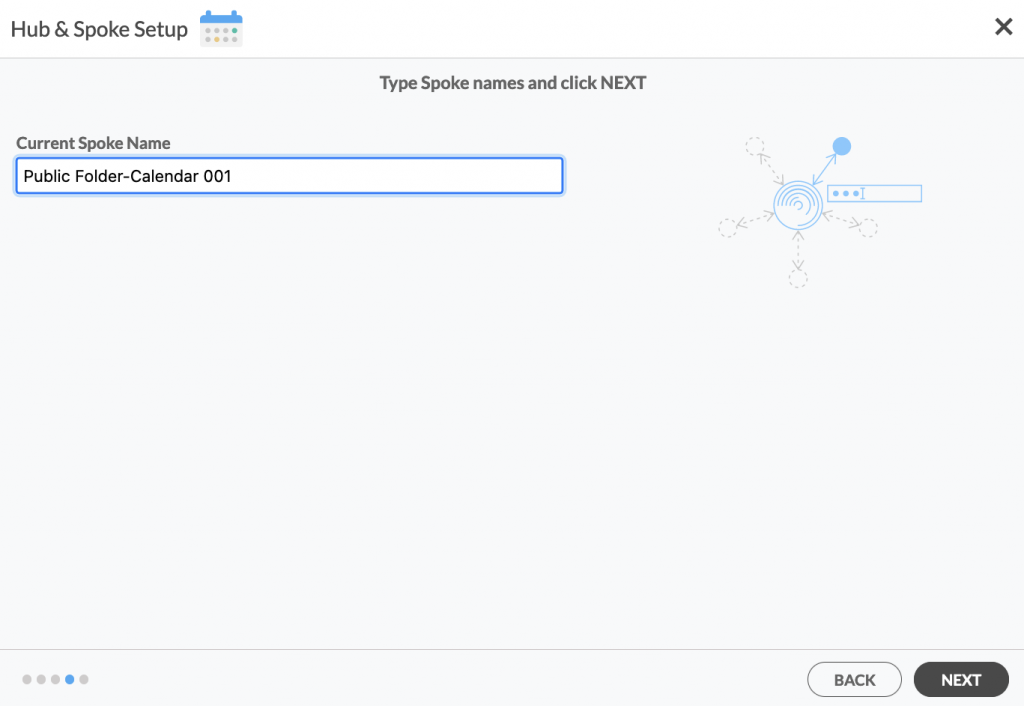
12. Create a name for your first Spoke and click Next. (See figure below.)
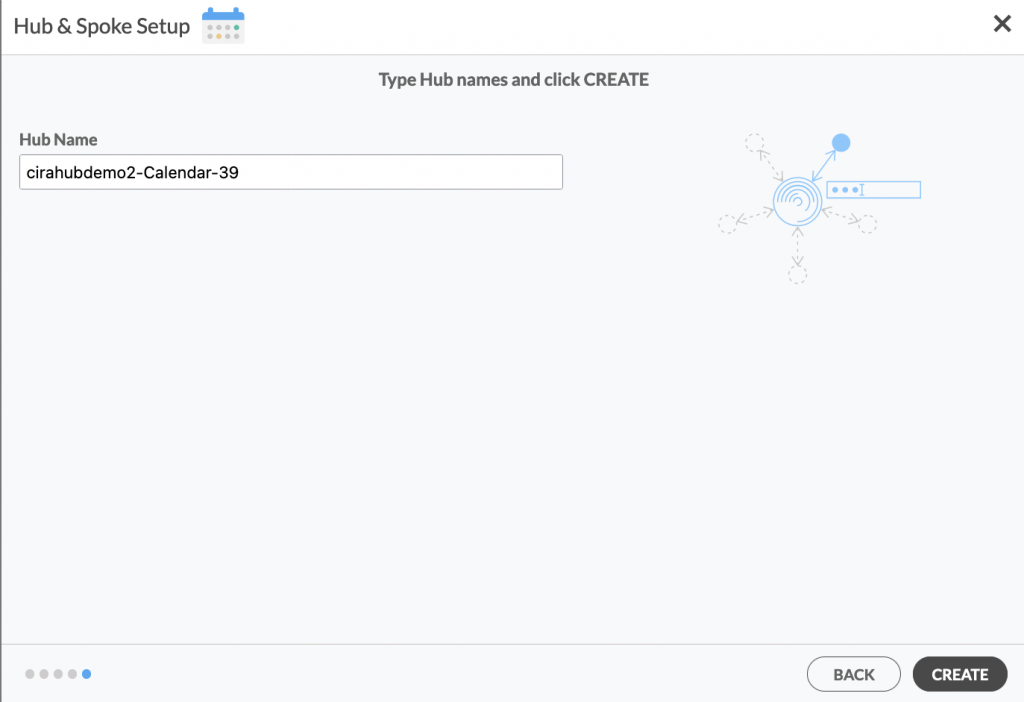
13. Name your Hub, then click CREATE. (See figure below.)
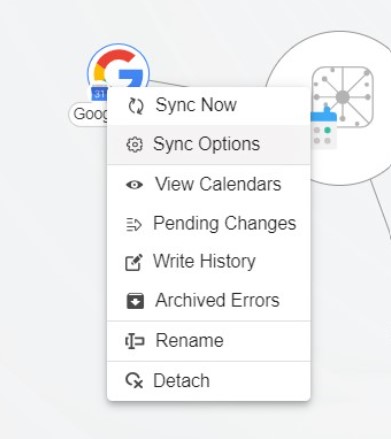
14. Next, click on each Spoke, select Sync Options.
15. Click Allow Hub to create and two-way sync items in this spoke and click SAVE. (See figure below.)
Note
Depending on your organization’s needs, you can utilize a variety of additional sync options, such as private and tentative events, reminders, syncing meetings as appointments, and categorizing data in spokes. You can edit synchronization settings for each of your spokes using the options at the bottom of the page.
16. On the CiraHub Dashboard, click on the Hub, then click Sync Now.
Learn More About CiraHub!
Exchange Server Public folders provide a quick and easy method to collect, arrange, and share content with other team members or employees. You may use CiraHub to sync all of the data in your Exchange Server Public folder straight into SharePoint. You can better manage your clients and all of your important information by doing this. Click here to learn more about how you can start a CiraHub trial today!
