This article will outline how you can create a task in Microsoft Outlook. CiraHub consolidates numerous data sources from multiple platforms ensuring that the information remains consistent across devices and software.
How to Create a Task in Microsoft Outlook
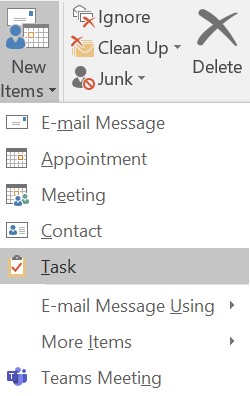
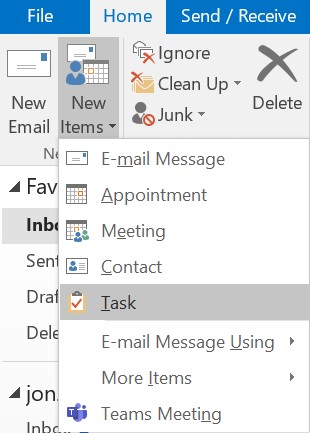
- Open Outlook, and on the Home tab, choose New Items.
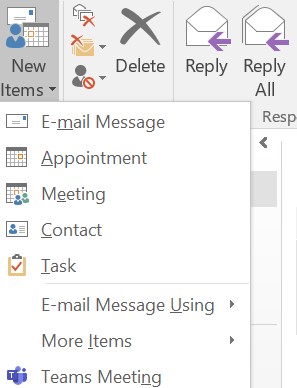
- Choose Task, and fill in the task form.
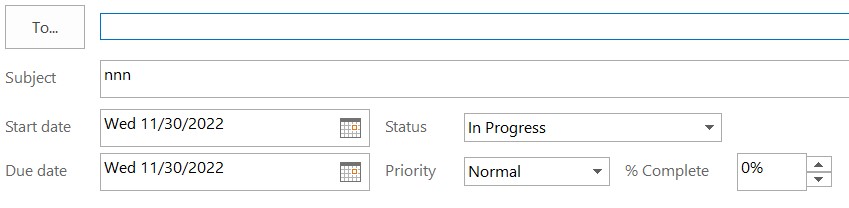
3. In the Subject box, enter a name for the task.
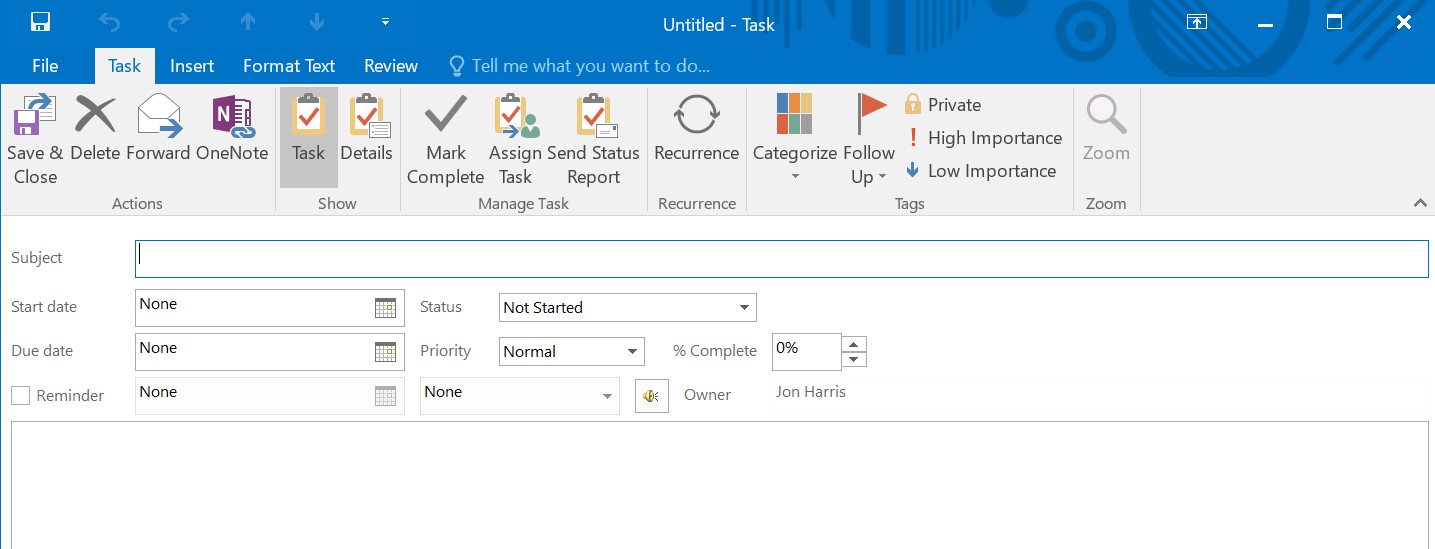
4. If there’s a fixed start or end date, set the Start date or Due date.
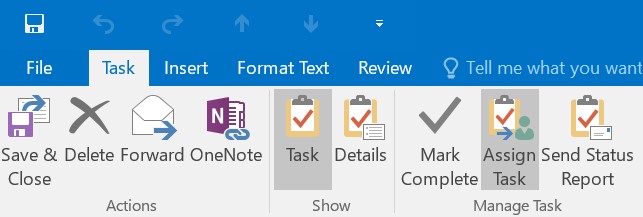
5. Click Task > Save & Close.

How to Assign a Task
- Select Tasks on the navigation bar.
2. Choose Assign Task.
3. In the task form, do the following:
- In the To box, enter a name or an email address.
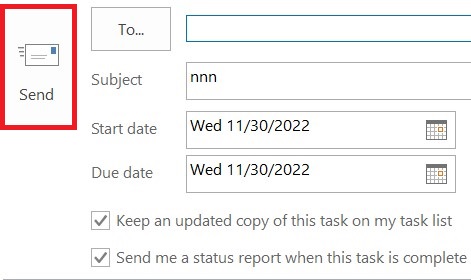
- Add a Subject, choose a Start date and Due date, and set Status and Priority as needed.
4. Then Choose Send.
Why CiraHub?
As Microsoft’s Outlook client doesn’t automatically sync contacts from multiple sources, most organizations will need a third-party bi-directional sync solution. CiraHub synchronizes both contacts and calendars, making it the ideal solution for syncing or merging information from various sources as well as between tenants. This cuts down on errors and saves a significant amount of employee time.
