Legal professionals need a centralized directory of firm-wide contacts to improve communication.
Without a direct sync, Clio contacts may not appear in the organization’s Global Address List (GAL), leading to organization having access to incomplete contact lists, resulting in miscommunication.
A two-way sync keeps Clio contacts visible in the GAL and vice versa, making it easier for teams to connect with the right people.
How to Two-Way Sync Contacts Between Clio and Global Address Lists
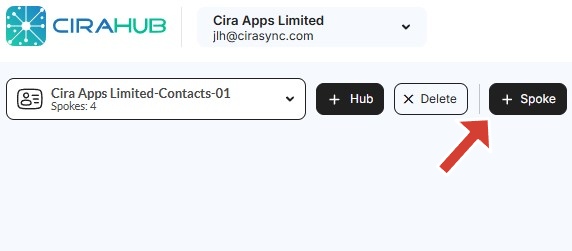
1. Log in to CiraHub and click on the Add Spoke icon on the top of your CiraHub Dashboard.
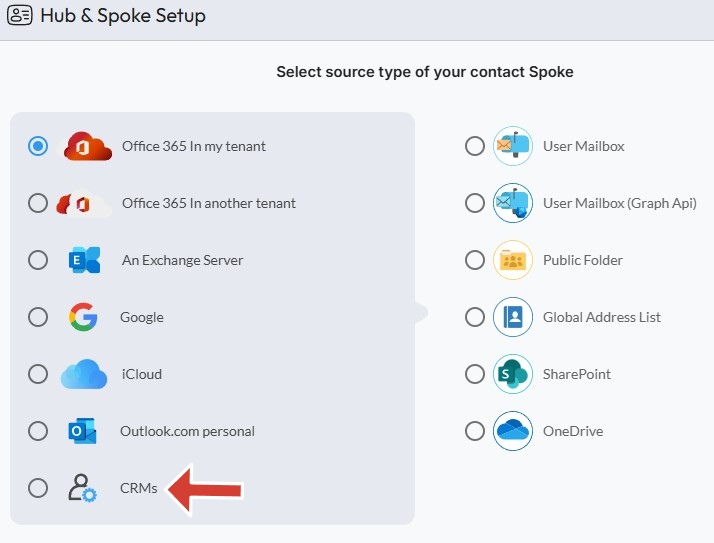
2. Next, start the Hub and Spoke setup. Click on “CRMs” as your source type for your contact spoke. (The Hub contains all synced Contacts from each spoke; a spoke can be a Public Folder, a user mailbox, the GAL or a CRM.)
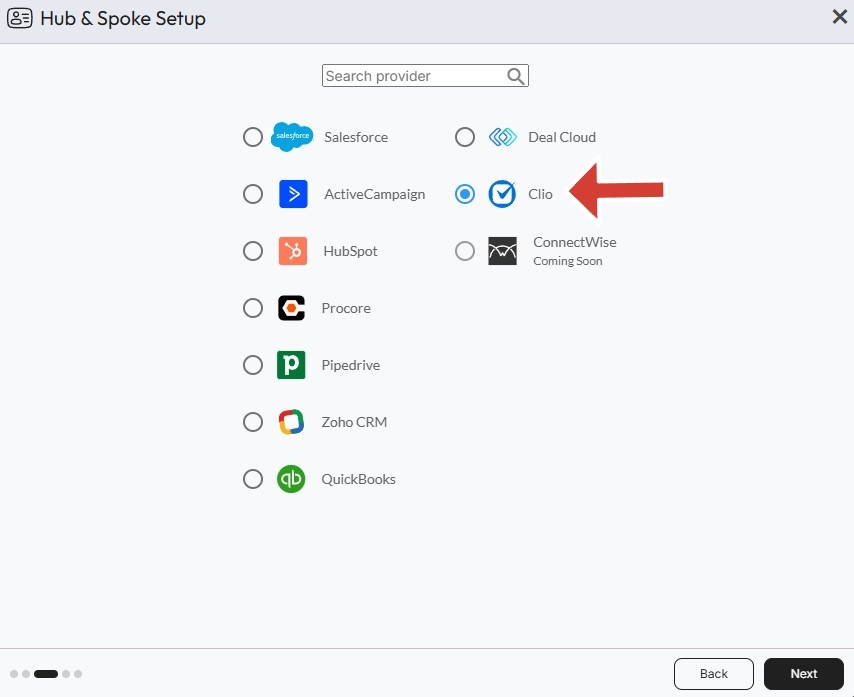
3. Select Clio as the contact spoke type.
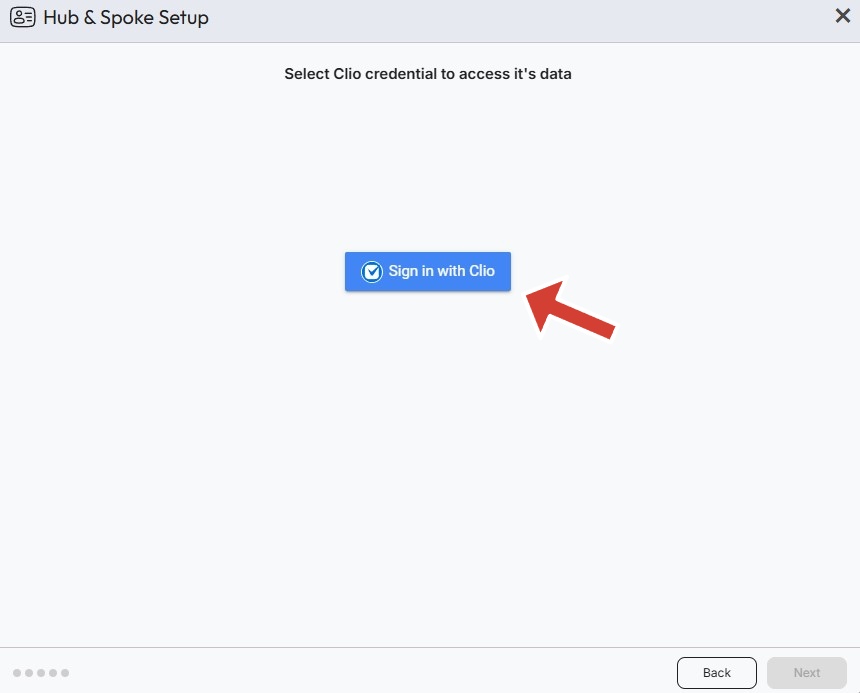
4. Click Sign in with Clio.
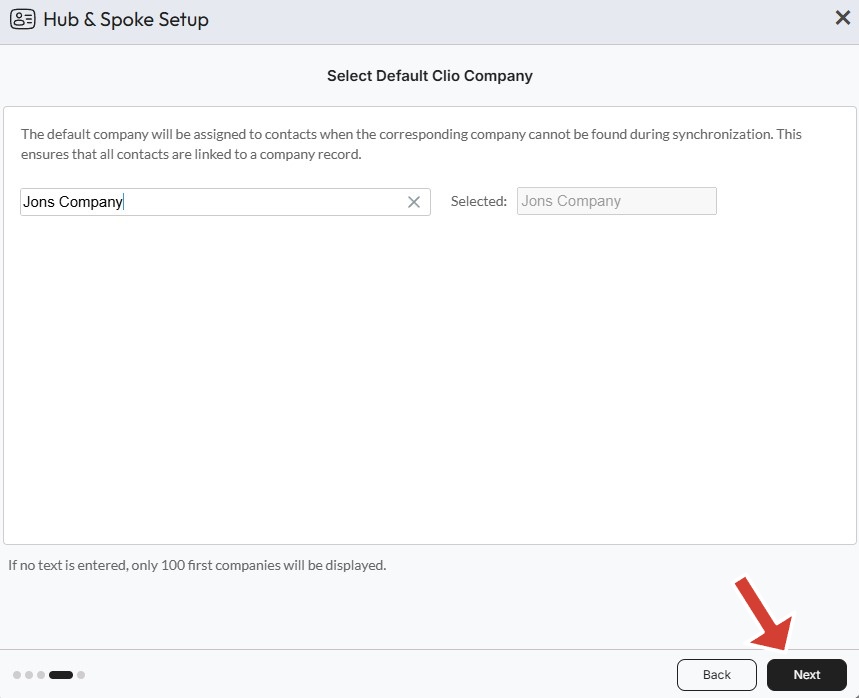
5. Select a default Clio company which will be assigned to contacts when the corresponding company cannot be found in a synchronization and click next.
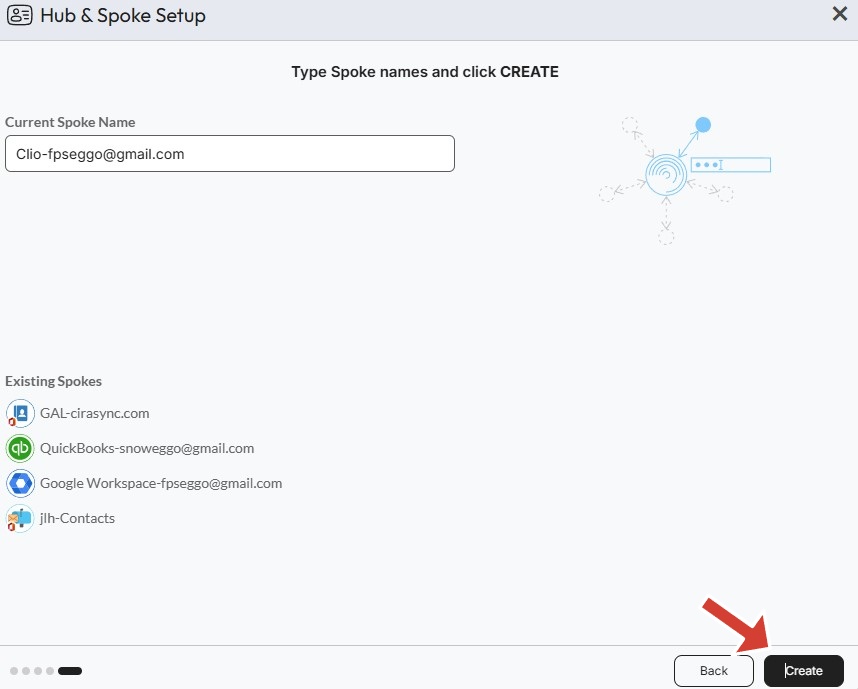
6. Type in a spoke name and click Create.
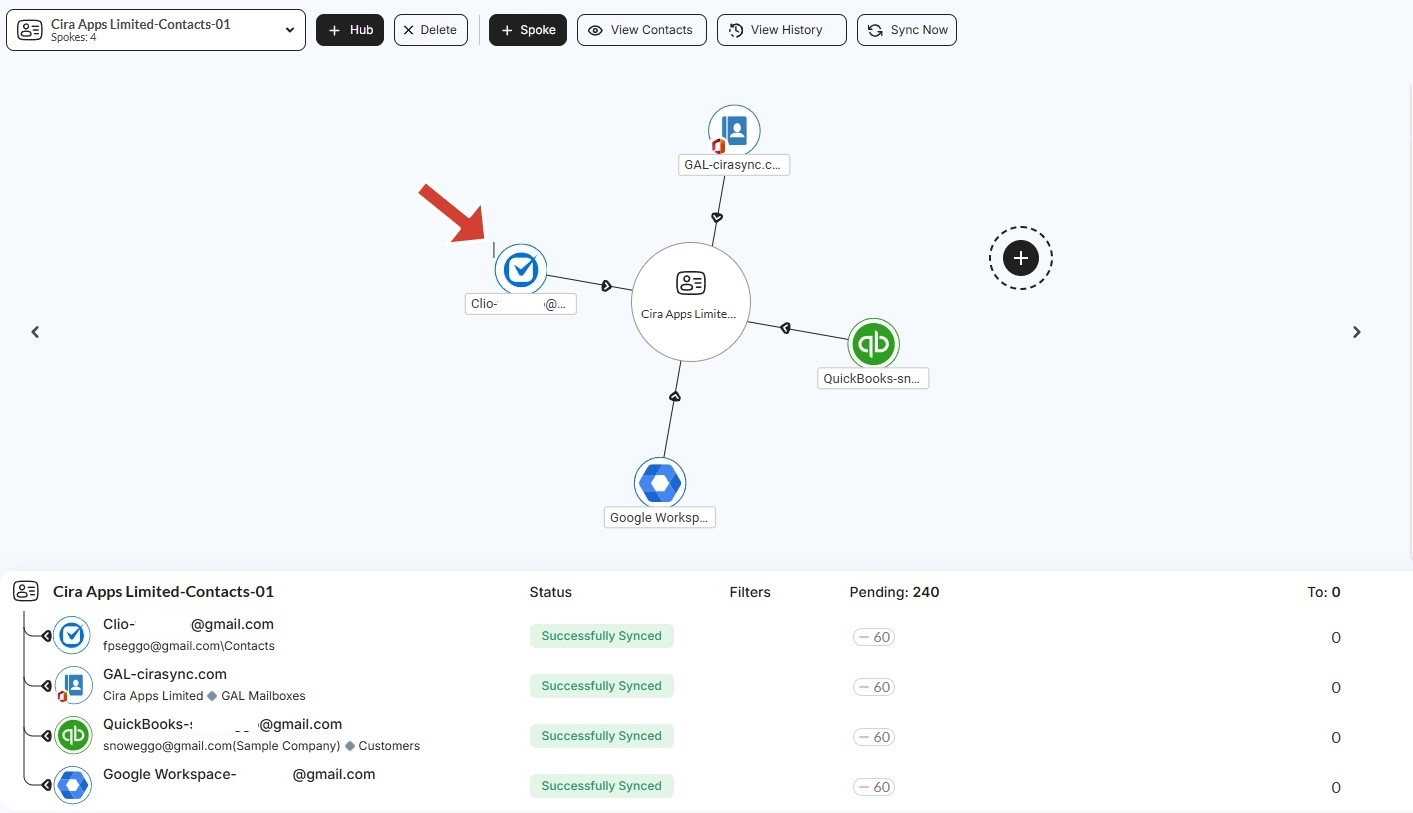
6. Now you should see your newly created Clio spoke added to your Hub and spoke setup.
7. Select the option to add an Additional Spoke.

Step 2: Create a Spoke for Global Address List
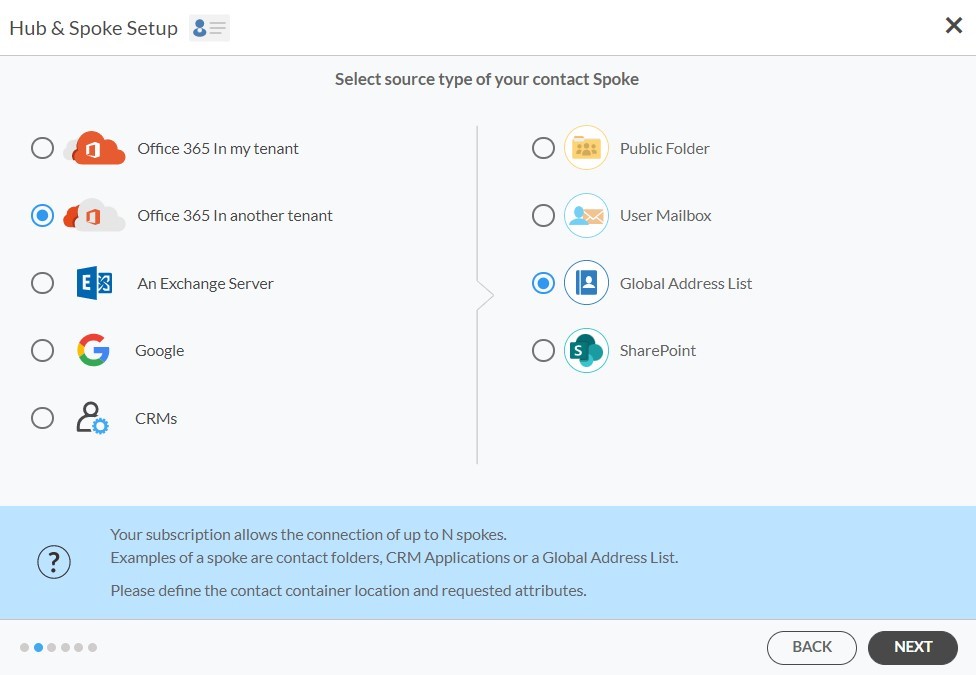
7. Select Microsoft 365 In another tenant and Select Global Address List as the source type of your contact spoke. Each tenant will need a Dedicated Service Account with the following roles: access to Address Lists, Mail Recipient Creation, Mail Recipients permissions.
Check out this guide to learn the permissions and settings required for a two-way Gal sync in CiraHub.
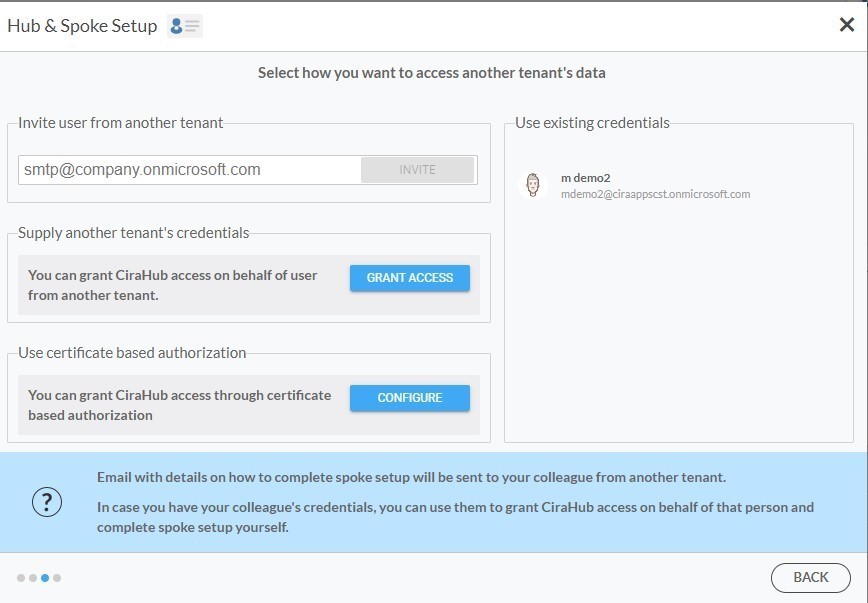
8. Click “GRANT ACCESS” or select any existing credentials that have already been saved. You can also choose to invite users from another tenant by entering their email address or Click “CONFIGURE” to grant CiraHub access through Certificate Based Authorization.
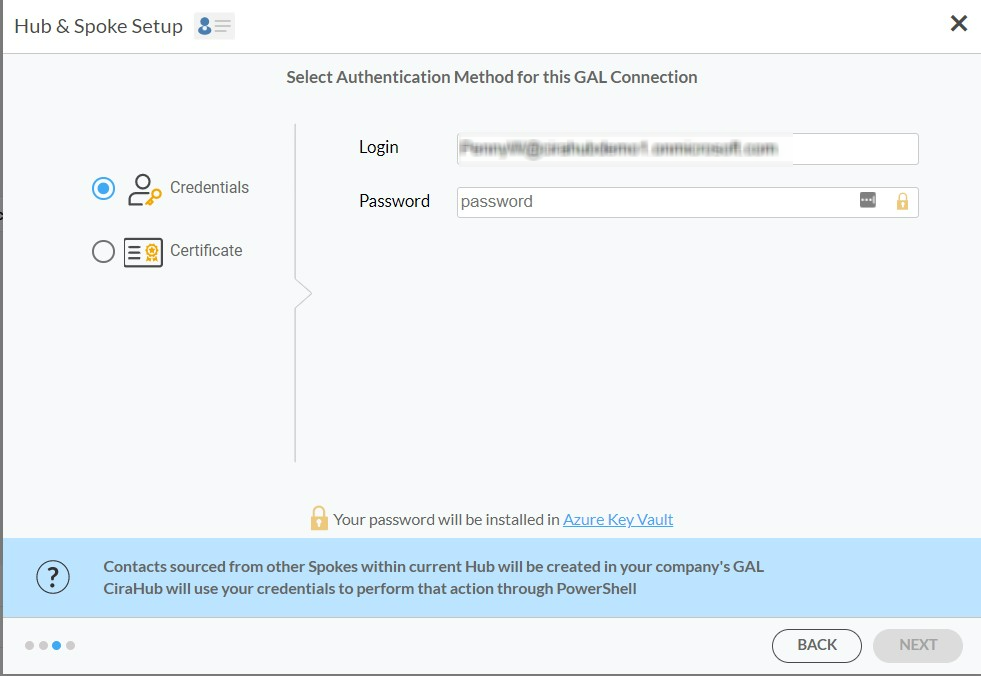
9. Next, you can sync your Microsoft Service account to the GAL connect by choosing an Authentication Method. In this example, we selected credentials and entered the login and password.
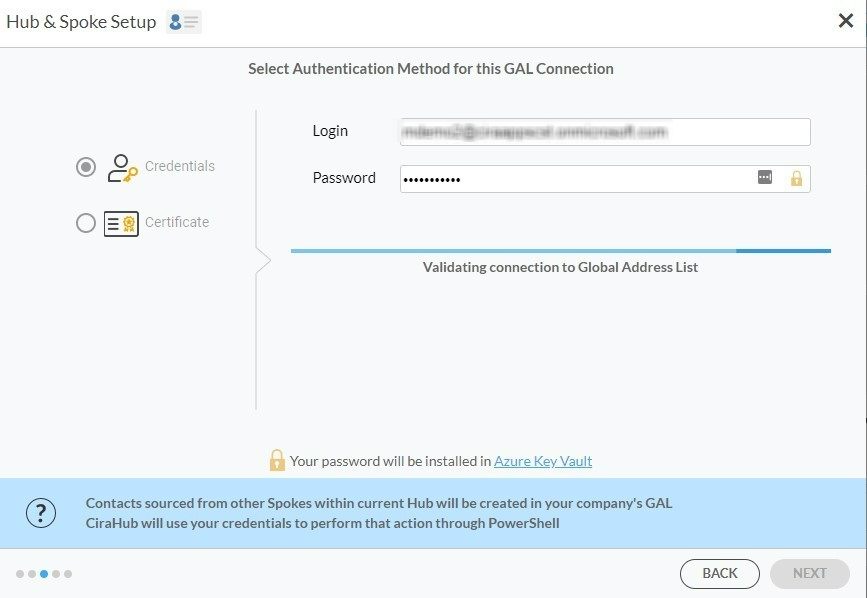
10. Wait for CiraHub to validate the connection to the Global Address List after entering the Microsoft Login and Password.
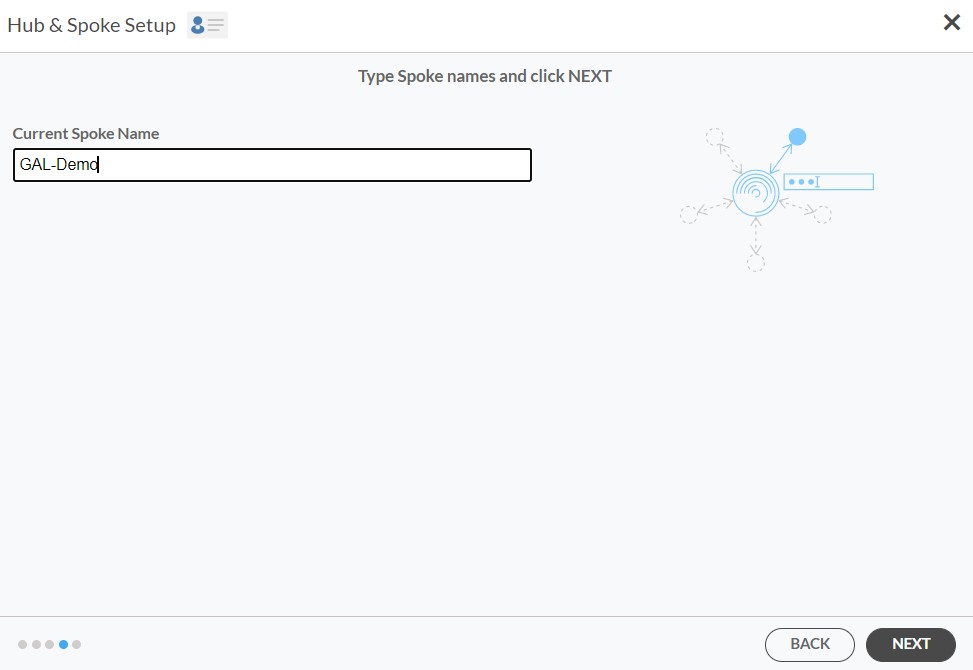
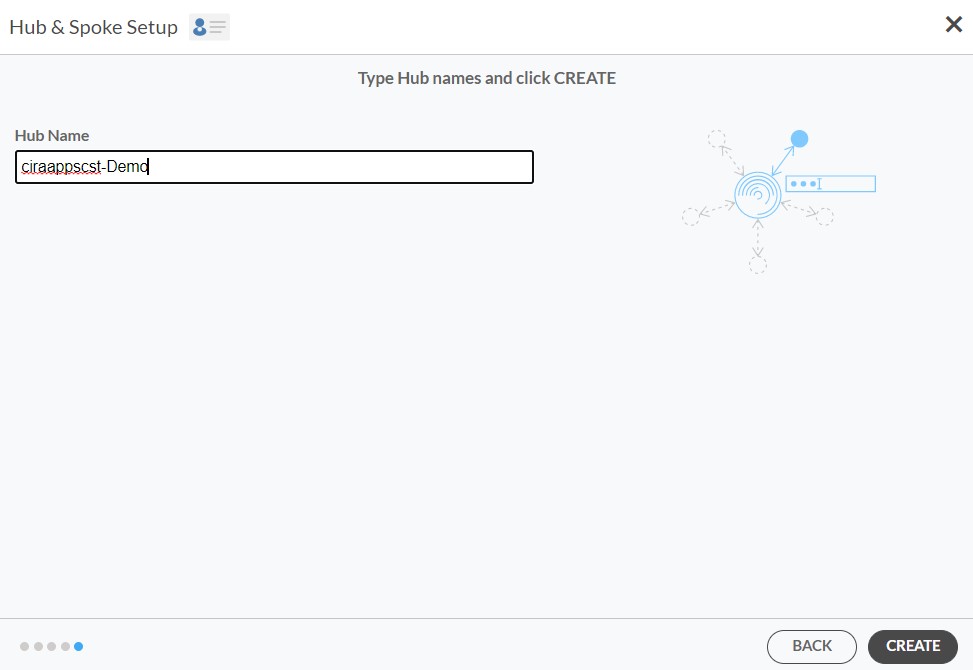
11. Type in a Spoke Name and click Next.
12. Type in a Hub Name and click Create.
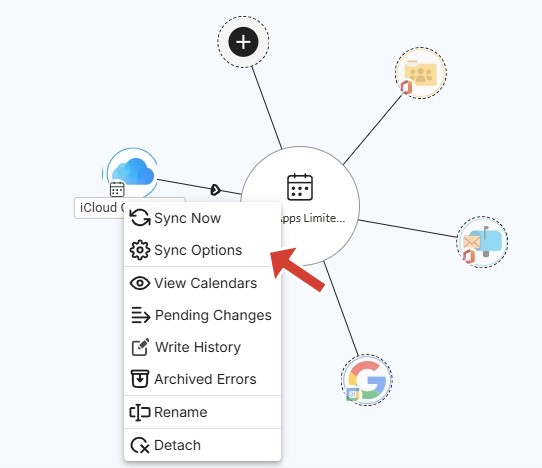
13 Right click and select “Sync Options”.
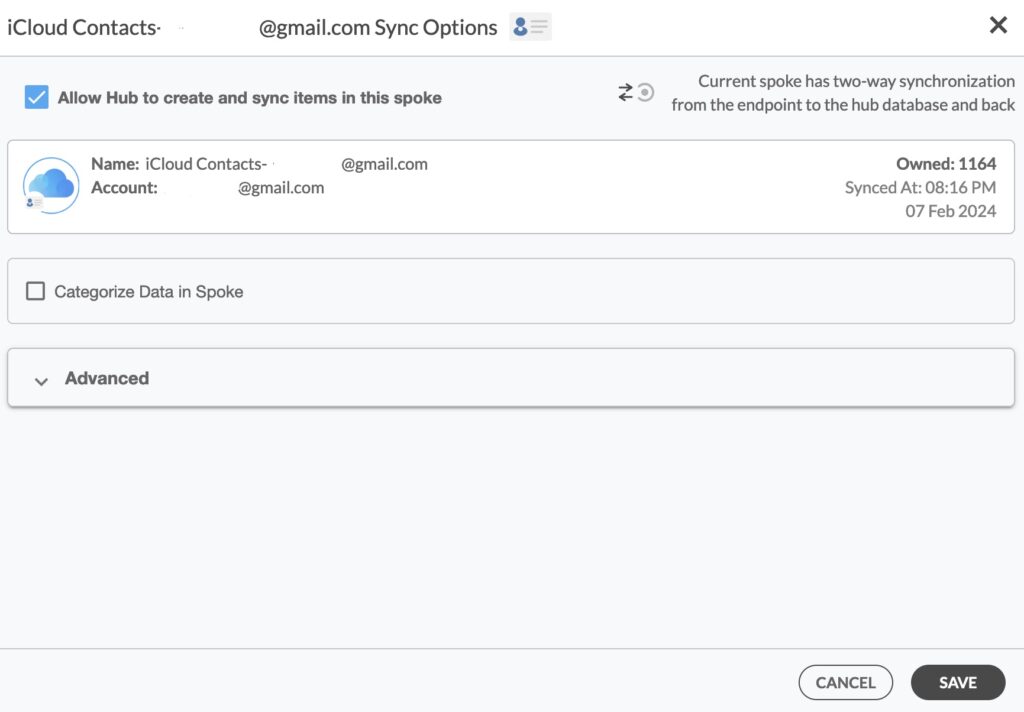
14. Click on “Allow Hub” to create and sync items in this spoke. This will enable two-way synchronization from the endpoint to the hub database and back.
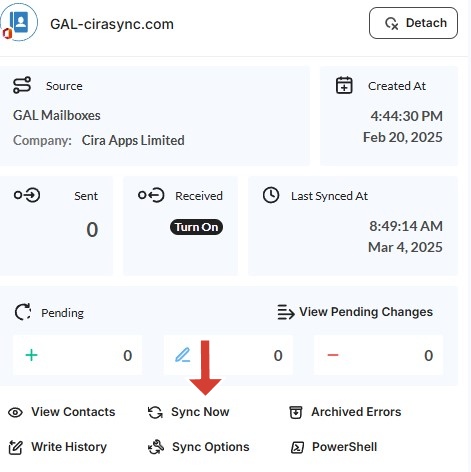
15. Click on “Sync now” to two-way sync your contacts. You can also edit any synchronization options for each of your spokes below.
Conclusion
The steps above have described how to two-way sync Deal Cloud and Global Address Lists Contacts with CiraHub. CiraHub’s software makes it easy for anyone to quickly set up a multi-way CRM sync and more (i.e contact and calendar sync) for their company. Start your CiraHub trial today!
