This comprehensive article will outline how to two-way sync contacts between Deal Cloud and Global Address Lists.
Synchronizing contacts in global address lists and deal cloud enable organizations to communicate with ease and enhance collaboration. Integration of both systems allows employees to access contact information conveniently, make communication with clients, and colleagues more effectively. This allows employees to focus on core tasks and eliminate the troubles managing contacts information on multiple platforms.
Thanks to this Two-way sync feature, you can:
- Two-way sync Deal Cloud contacts with Global Address Lists.
- Update contacts simultaneously across the two platforms
- Without producing duplicates, CiraHub effortlessly syncs and moves data from Deal Cloud to Global Address Lists.
This article will show you how to enable a two-way contact sync between Deal Cloud and Global Address Lists.
Set Up a Two-Way Contact Sync Between Deal Cloud and Global Address Lists
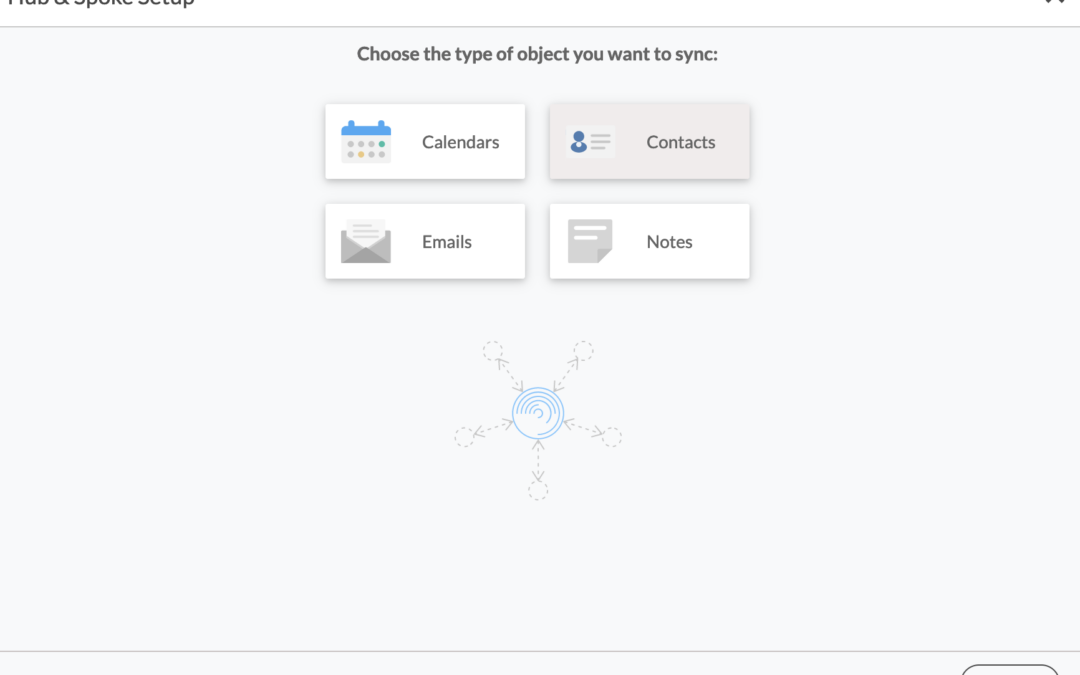
1. Log in to CiraHub. It will take you to the onboarding wizard. (See figure below.) Next, select the object you want to sync. In this example, the « Contacts » object has been selected. 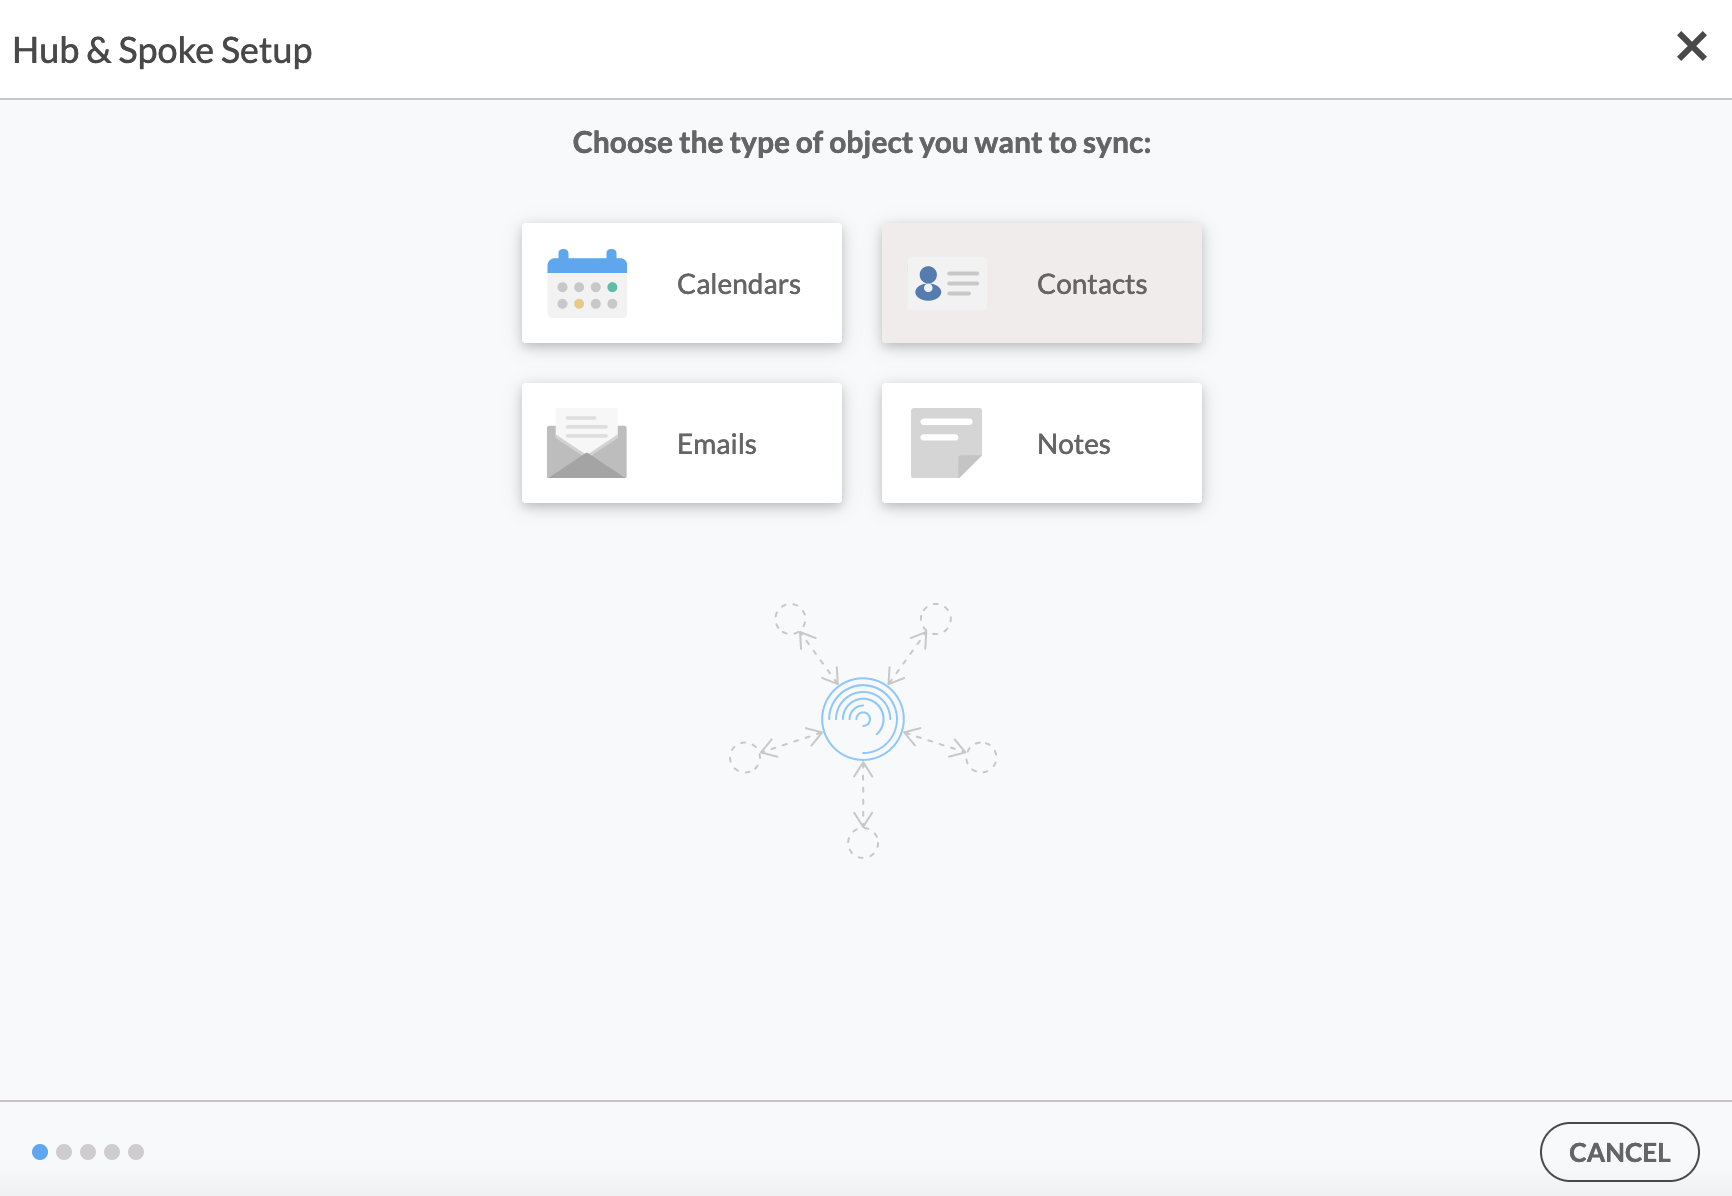
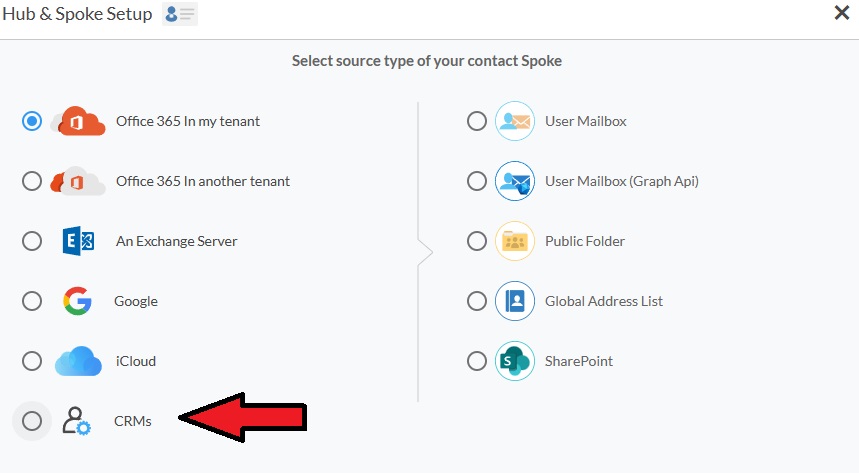
2. Next, start the Hub and Spoke setup. Click on “CRMs” as your source type for your contact spoke. (The Hub contains all synced Contacts from each spoke; a spoke can be a Public Folder, a user mailbox, the GAL or a CRM.)
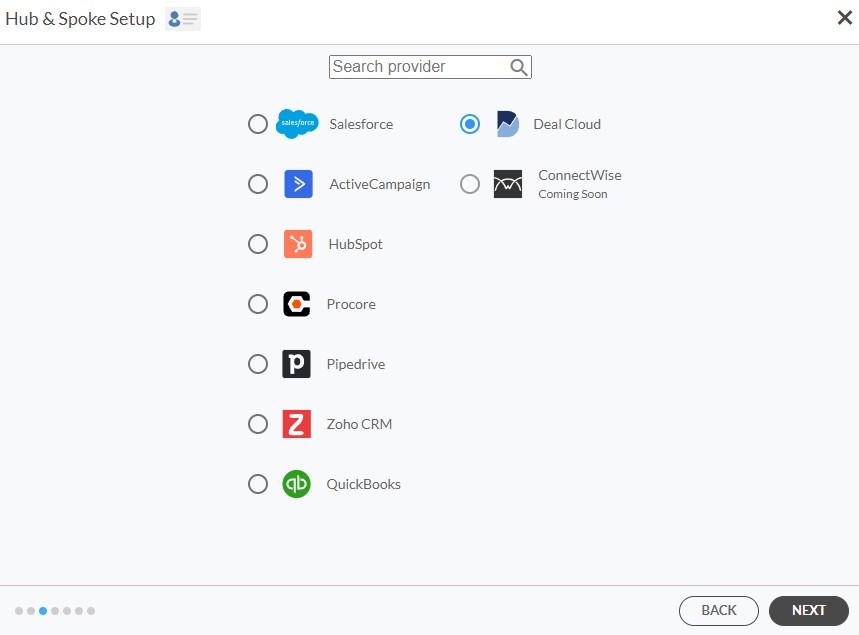
3. Select Deal Cloud as the contact spoke type.
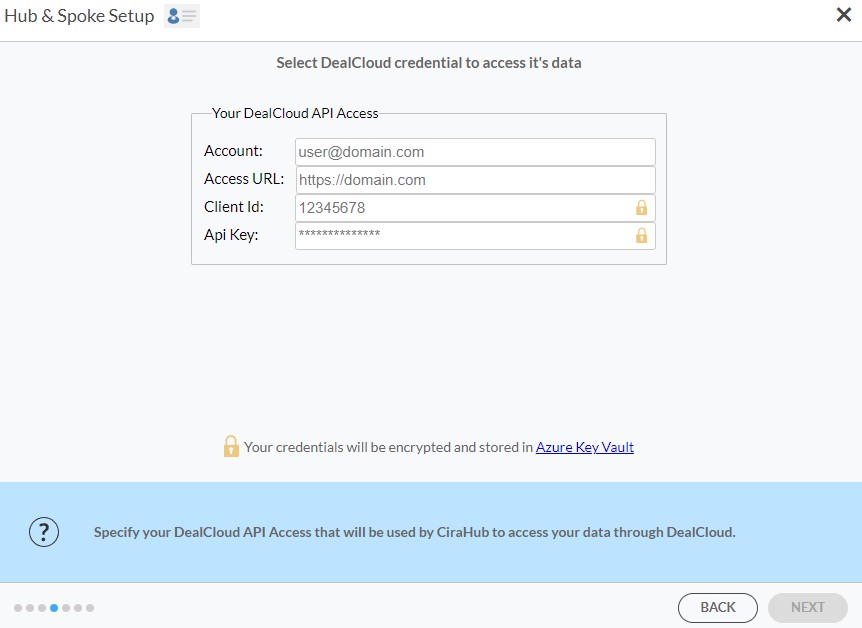
4. Type in Deal Cloud API Access information to sync its account data to CiraHub.
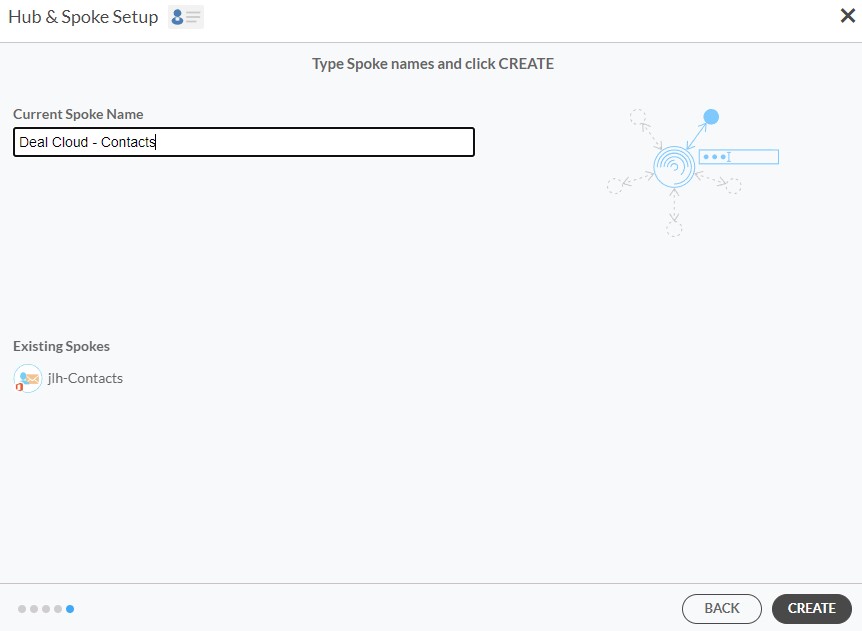
5. Type in a Spoke name and click Create.
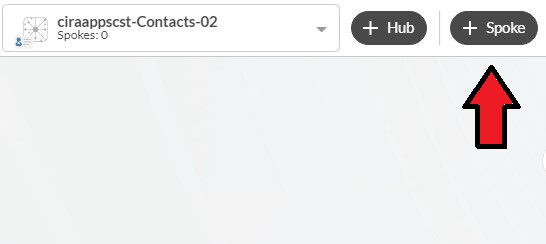
6. Select the option to add an Additional Spoke.
Step 2: Create a Spoke for Global Address List
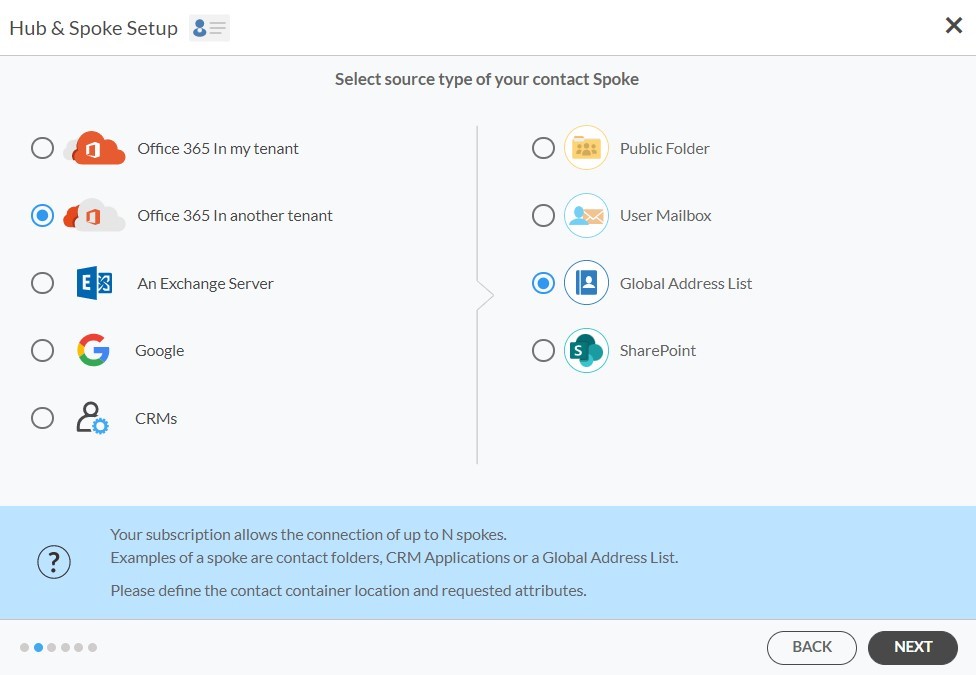
7. Select Microsoft 365 In another tenant and Select Global Address List as the source type of your contact spoke. Each tenant will need a Dedicated Service Account with the following roles: access to Address Lists, Mail Recipient Creation, Mail Recipients permissions.
Check out this guide to learn the permissions and settings required for a two-way Gal sync in CiraHub.
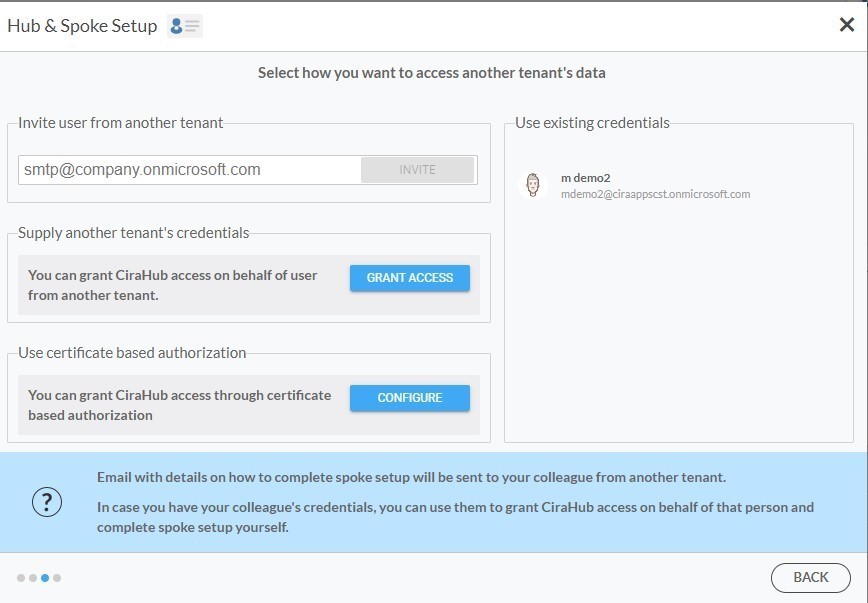
8. Click “GRANT ACCESS” or select any existing credentials that have already been saved. You can also choose to invite users from another tenant by entering their email address or Click “CONFIGURE” to grant CiraHub access through Certificate Based Authorization.
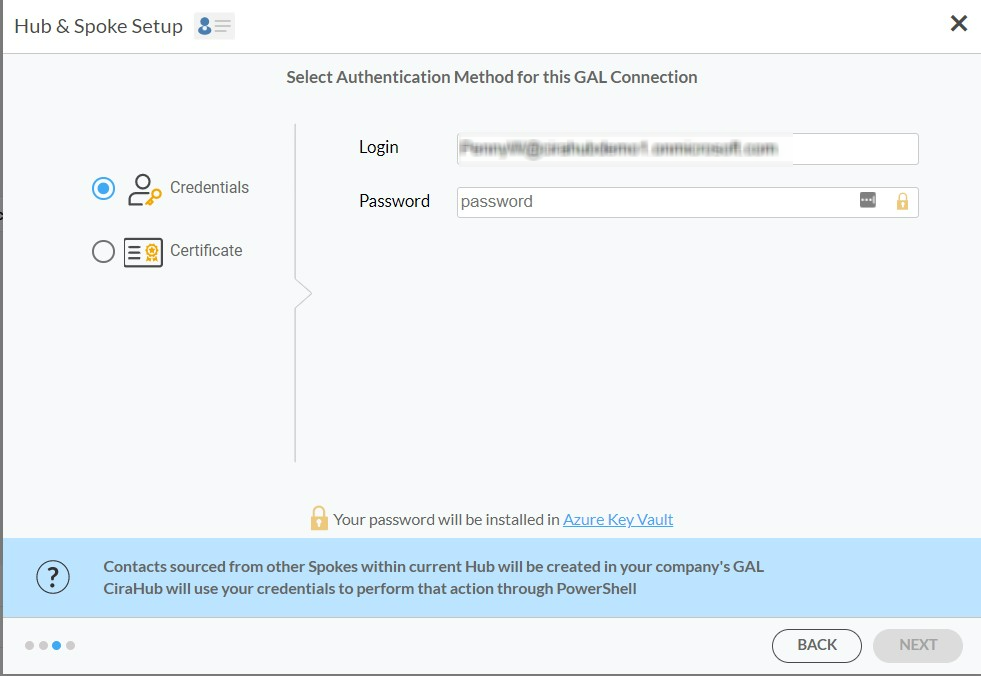
9. Next, you can sync your Microsoft Service account to the GAL connect by choosing an Authentication Method. In this example, we selected credentials and entered the login and password.
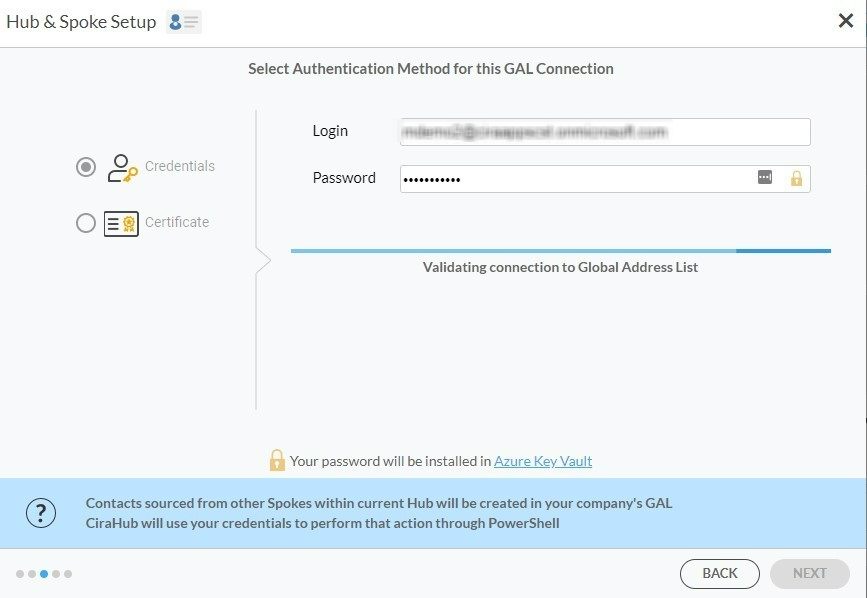
10. Wait for CiraHub to validate the connection to the Global Address List after entering the Microsoft Login and Password.
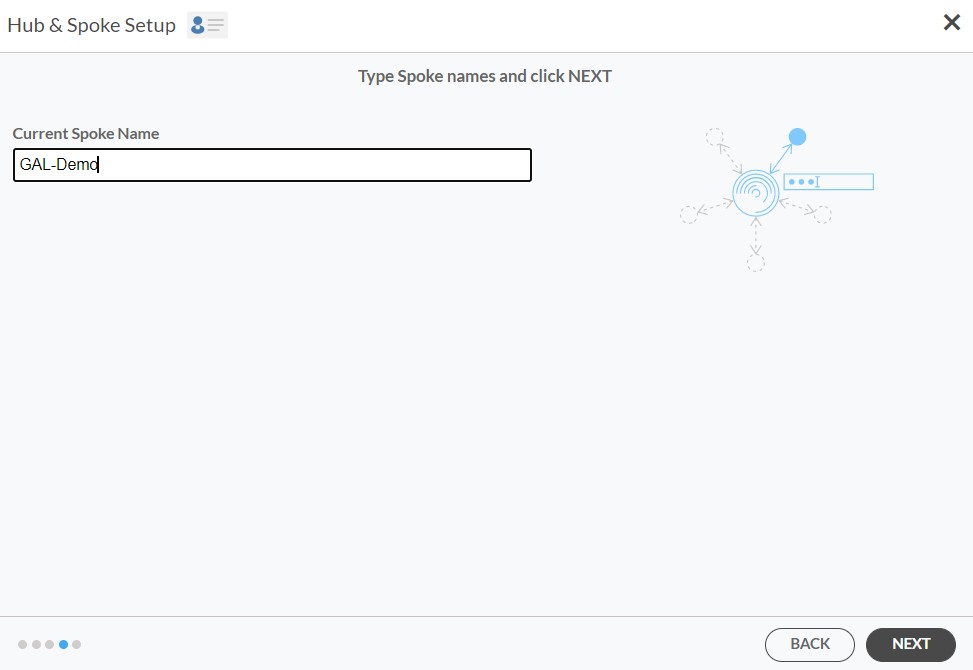
11. Type in a Spoke Name and click Next.
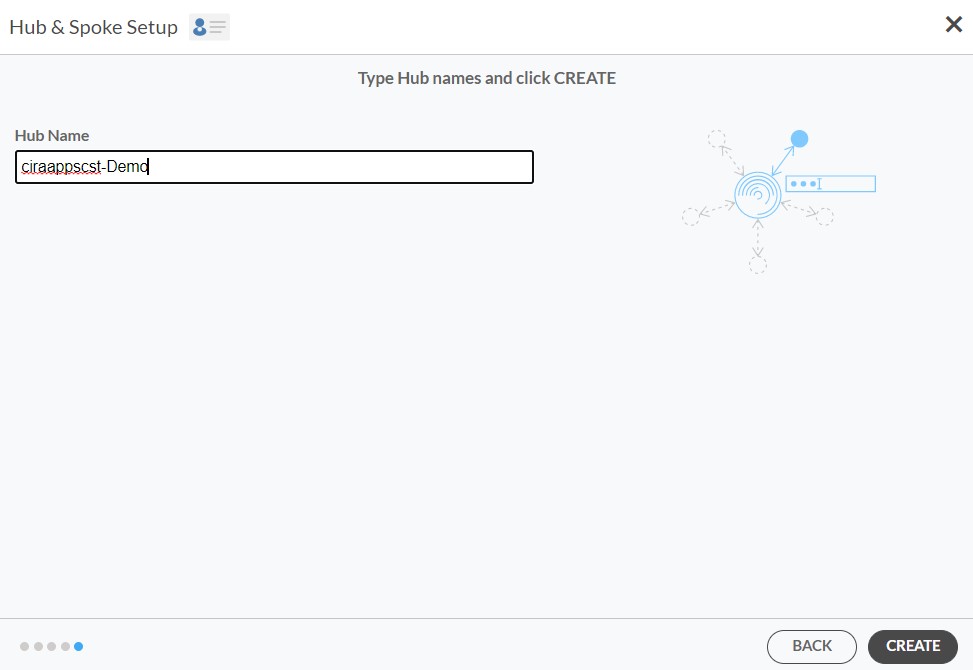
12. Type in a Hub Name and click Create.
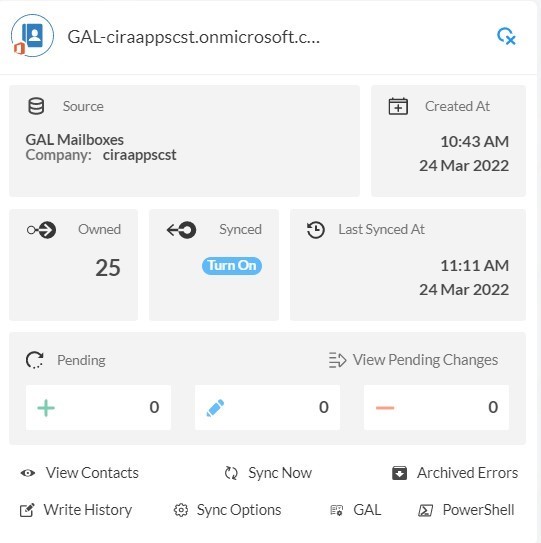
13. Click the Spoke that was just created. Click Turn On under the Synced tile.
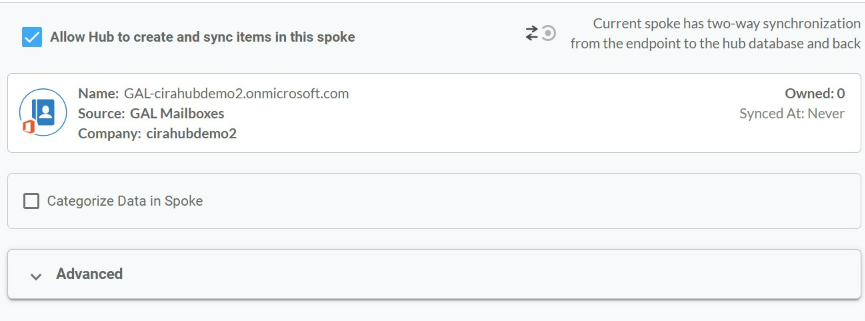
14. The Spoke Sync Options will open. (See figure below.) Click the Allow Hub to create and sync items in this spoke checkbox to enable two-way sync.
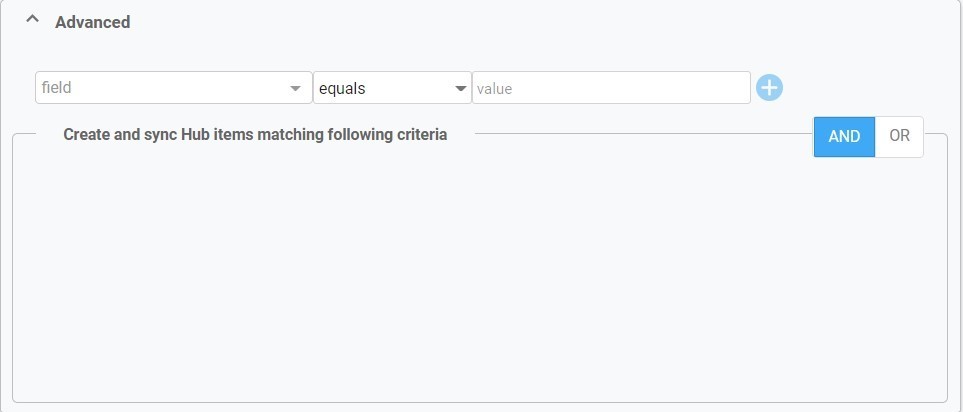
15. Users can customize sync settings by expanding the Advanced Tab and adding sync filters to the Spoke. This would enable a user to synchronize and create Hub items based on specific criteria. Then Click Save.
Check out this guide to learn how to use contact filtering.
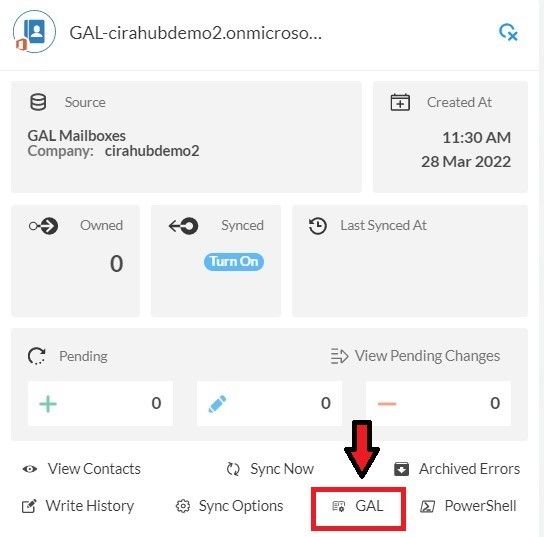
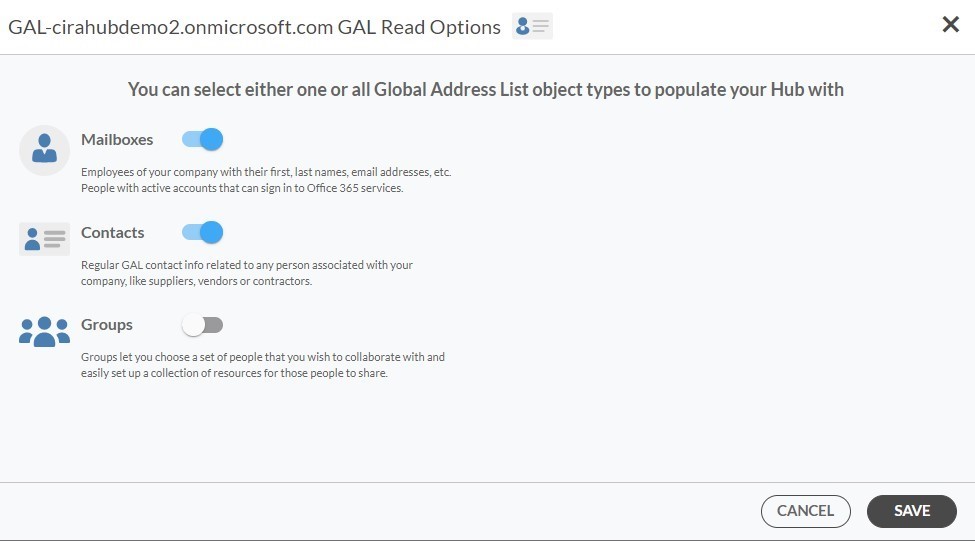
16. Click on the GAL Tab to set up GAL Read Option Settings.
17. Here, you can choose which Global Address List Objects (Mailboxes, Contacts, and Groups) you would like to populate this Hub with.
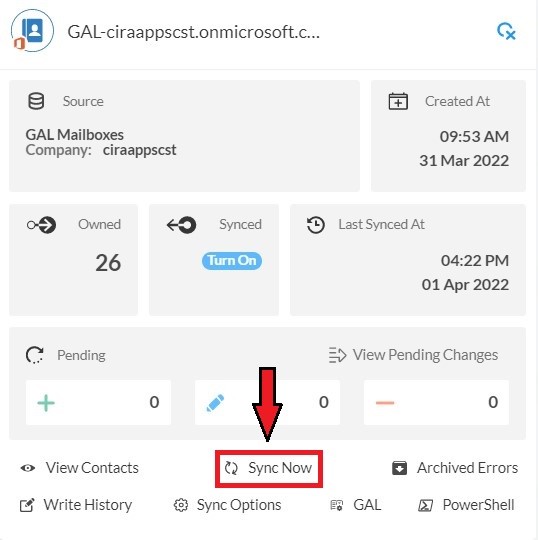
18. Click on the Hub and then click Sync Now to enable two-way GAL sync.
Conclusion
The steps above have described how to two-way sync Deal Cloud and Global Address Lists Contacts with CiraHub. CiraHub’s software makes it easy for anyone to quickly set up a multi-way CRM sync and more (i.e contact and calendar sync) for their company. Start your CiraHub trial today!
